I am SO excited to share all my Patagonia travel knowledge with you!! I just got back, everything is still very fresh, and I truly cannot wait to talk about it.
In this post, I am sharing my full Patagonia hiking itinerary. This is the exact route I followed through Puerto Natales, Torres del Paine (including the iconic W Trek), El Calafate for a glacier trek on Perito Moreno, and finally El Chaltén for even more hiking, including the famous Laguna de los Tres.
This trip was packed with some of the most incredible landscapes I have ever seen, and if Patagonia has been on your bucket list, this itinerary will give you a realistic, hike-focused plan to make it happen.
Alright, let’s get into the itinerary!
Want my exact Patagonia itinerary?
Email me at windowseatsonly@gmail.com, and I’ll send a PDF of my exact day-by-day plan I followed!
My Full Patagonia Hiking Itinerary (Chile + Argentina)
Before we jump in, a quick but important note: I work with limited time off (as many of us do!), so this itinerary reflects the maximum time I could realistically do. This ended up being the perfect amount of time to experience both Chilean and Argentinian Patagonia. It was a lot of hiking and busy, but that is how I like my trips.
That said, I would not recommend doing any less time if you are trying to see both sides. If you have fewer days or you do not enjoy a rushed itinerary, my honest advice is to pick one country (either Chile or Argentina) and do it well.
If you have more time? Amazing, I am jealous!! You can absolutely add rest days/extra buffer days for the weather or add on Barlicohe to round out your Patagonian experience!
Additionally, I have included the accommodations I stayed at during this trip. I booked all of them through Booking.com, and some of the links are affiliate links, which means I may earn a small commission at no extra cost to you if you make a booking. All of these places I stayed at, and I genuinely recommend them!
Trip Overview
Total Time: 13 days (9 Patagonia Days + 2 Travel Days + 2 Days In Buenos Aires)
Countries: Chile + Argentina
Stops:
- Puerto Natales
- Torres del Paine (W Trek)
- El Calafate (Perito Moreno Glacier)
- El Chaltén (Laguna de los Tres + Laguna Torre)
Vibe: Fast-paced and hiking-focused
Day 1: Arrive in Puerto Natales (Chile)
Puerto Natales is the jump-off town for Torres del Paine.
What I Did:
- I took a morning flight from Santiago to arrive in Puerto Natales ~noon
- I grabbed shared transportation from the taxi stand in the baggage claim at the airport, and they dropped me off at my accommodation, El Patagónico Hostel.
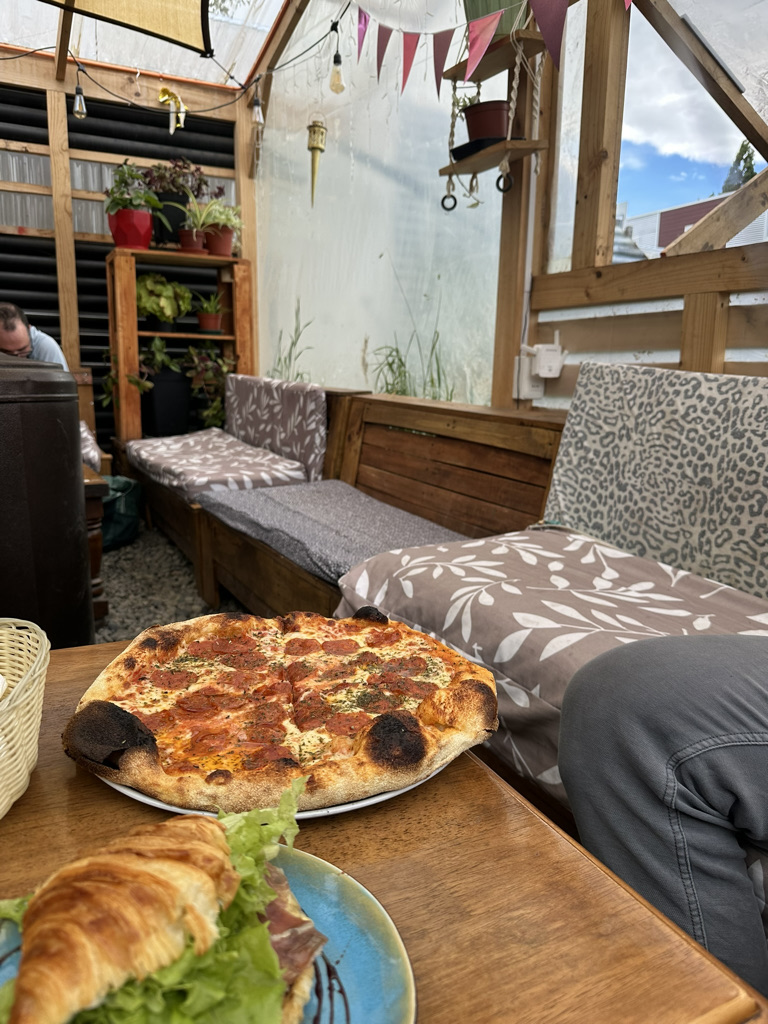
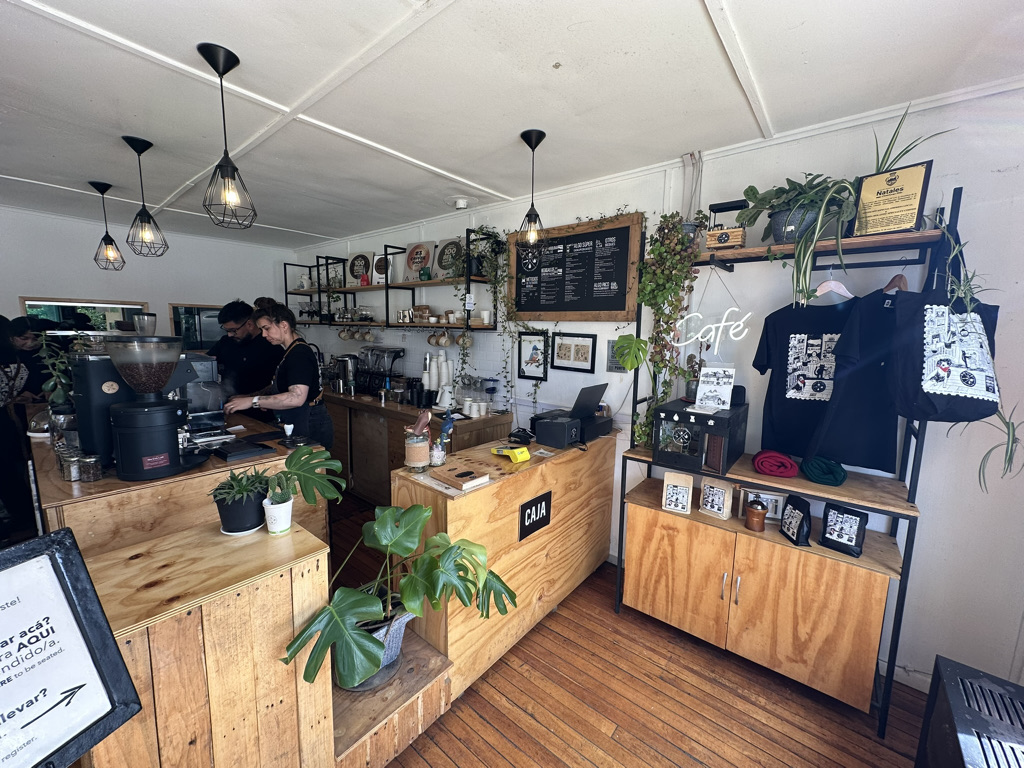
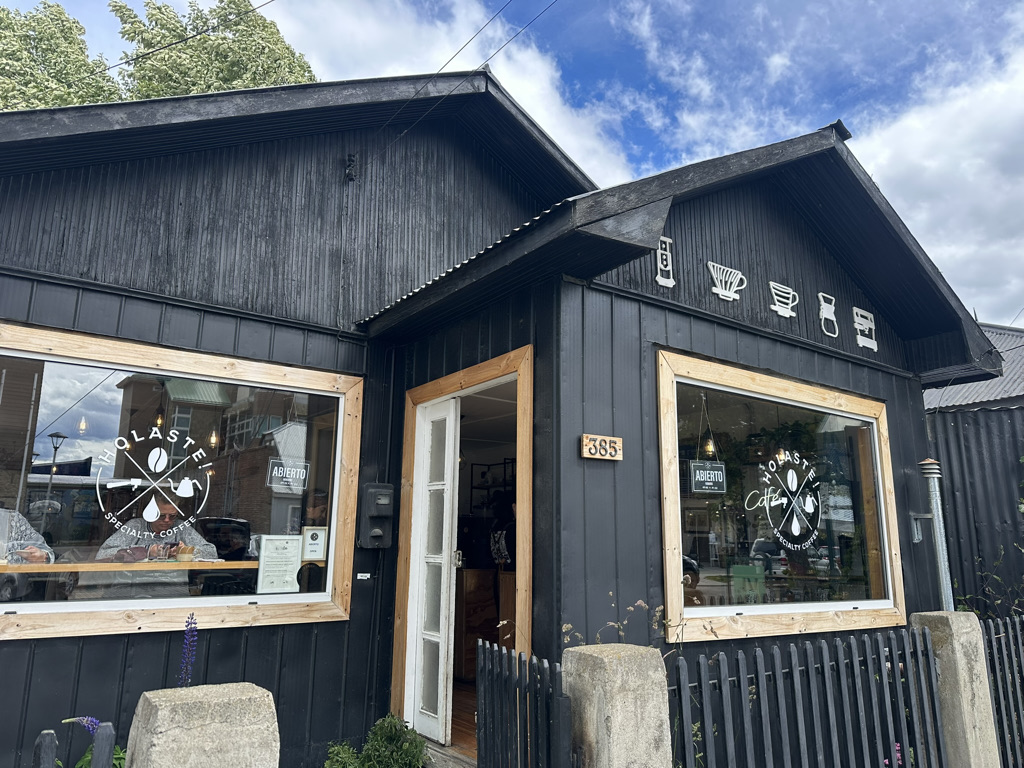
- I spent the afternoon exploring the town, getting food at Alveloi (great pizza and croissants!) and coffee/chai at Holaste Specialty Coffee.
- I went to bed EARLY. I was exhausted from traveling the full day before and was ready to get a good night’s sleep before heading to Torres del Paine the next morning.
Tip: You can stock up on any last-minute items you need for the W-Trek here. Snacks, Hiking Poles, and any other Hiking/Camping Gear you might need
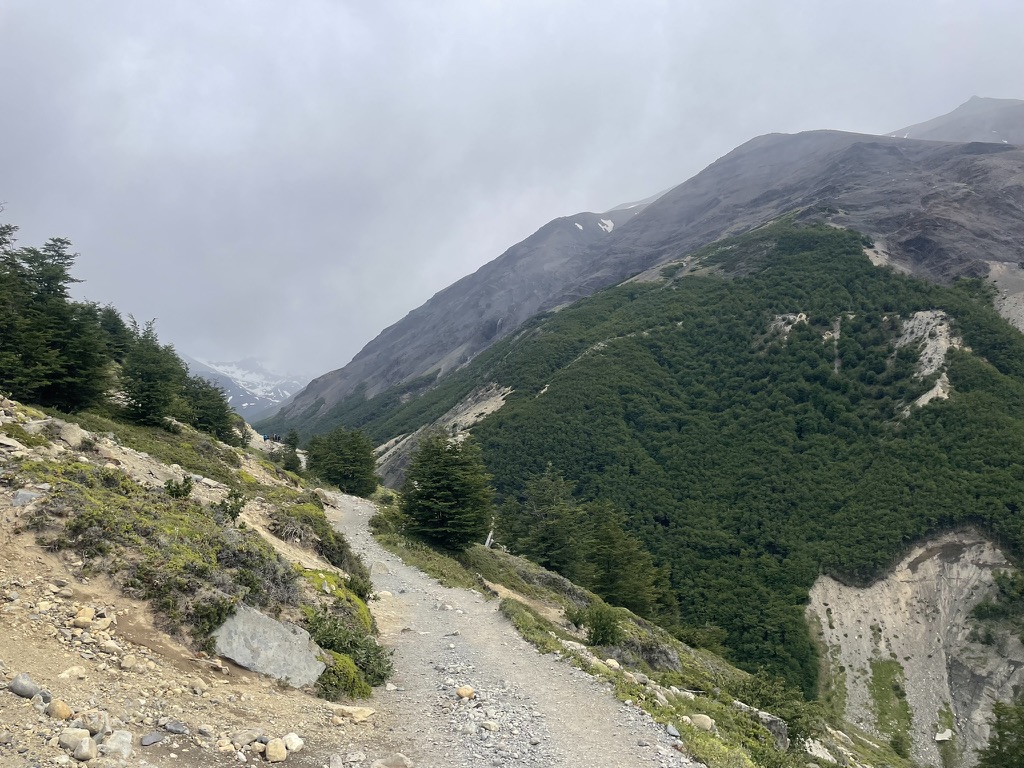
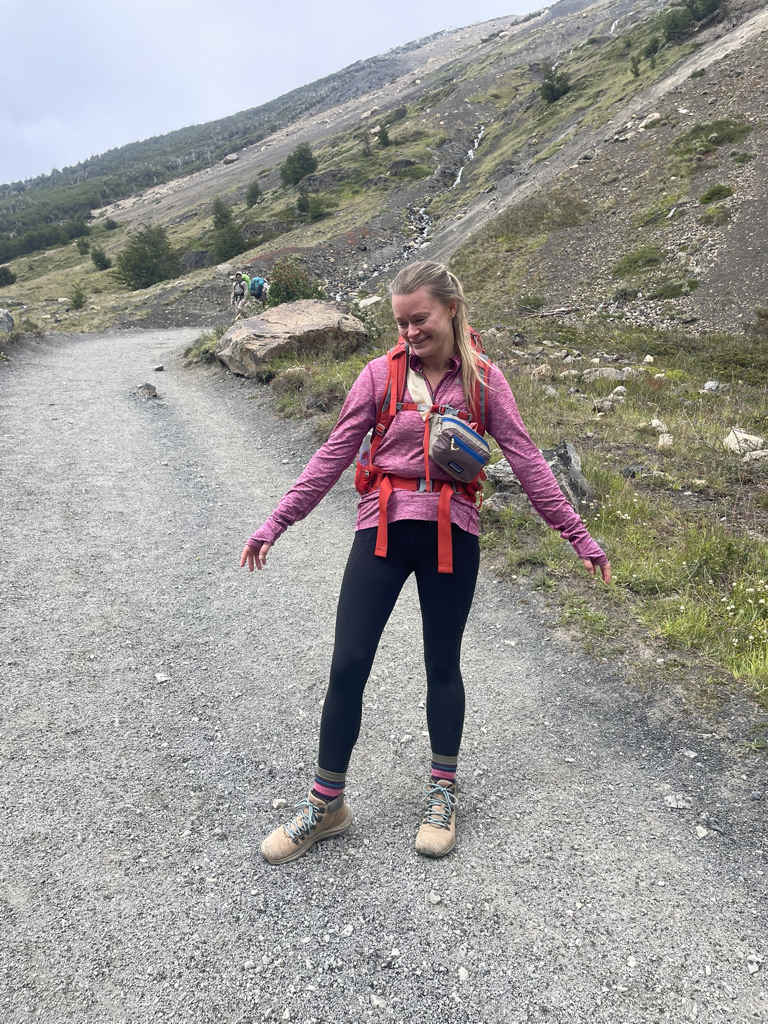
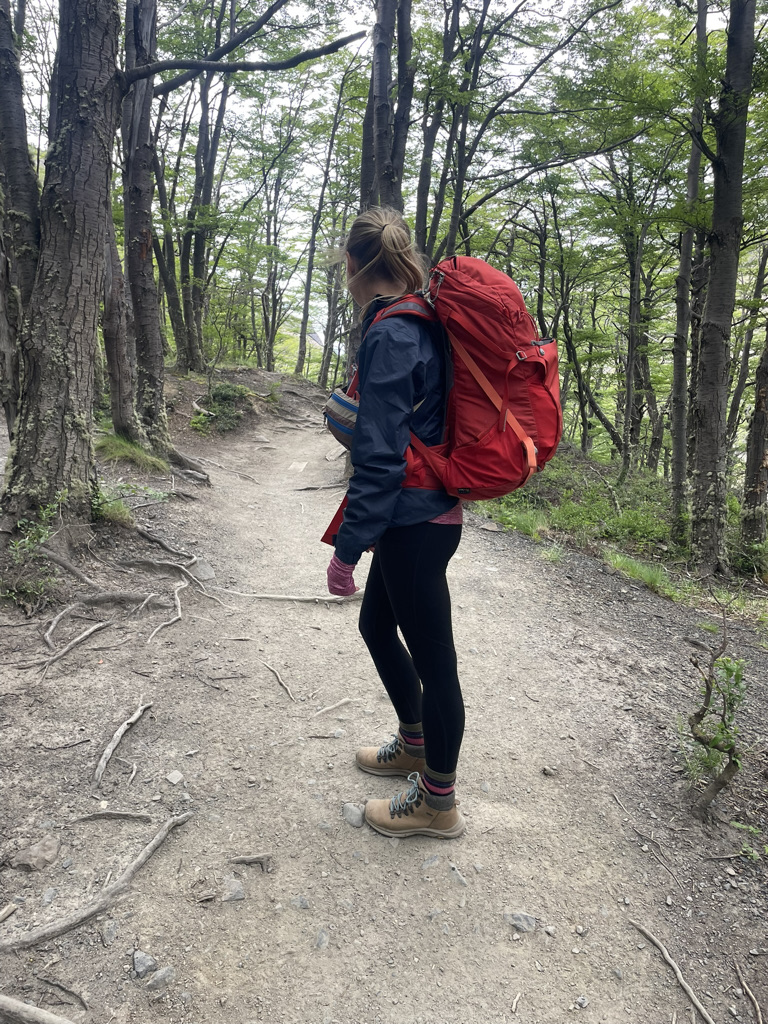
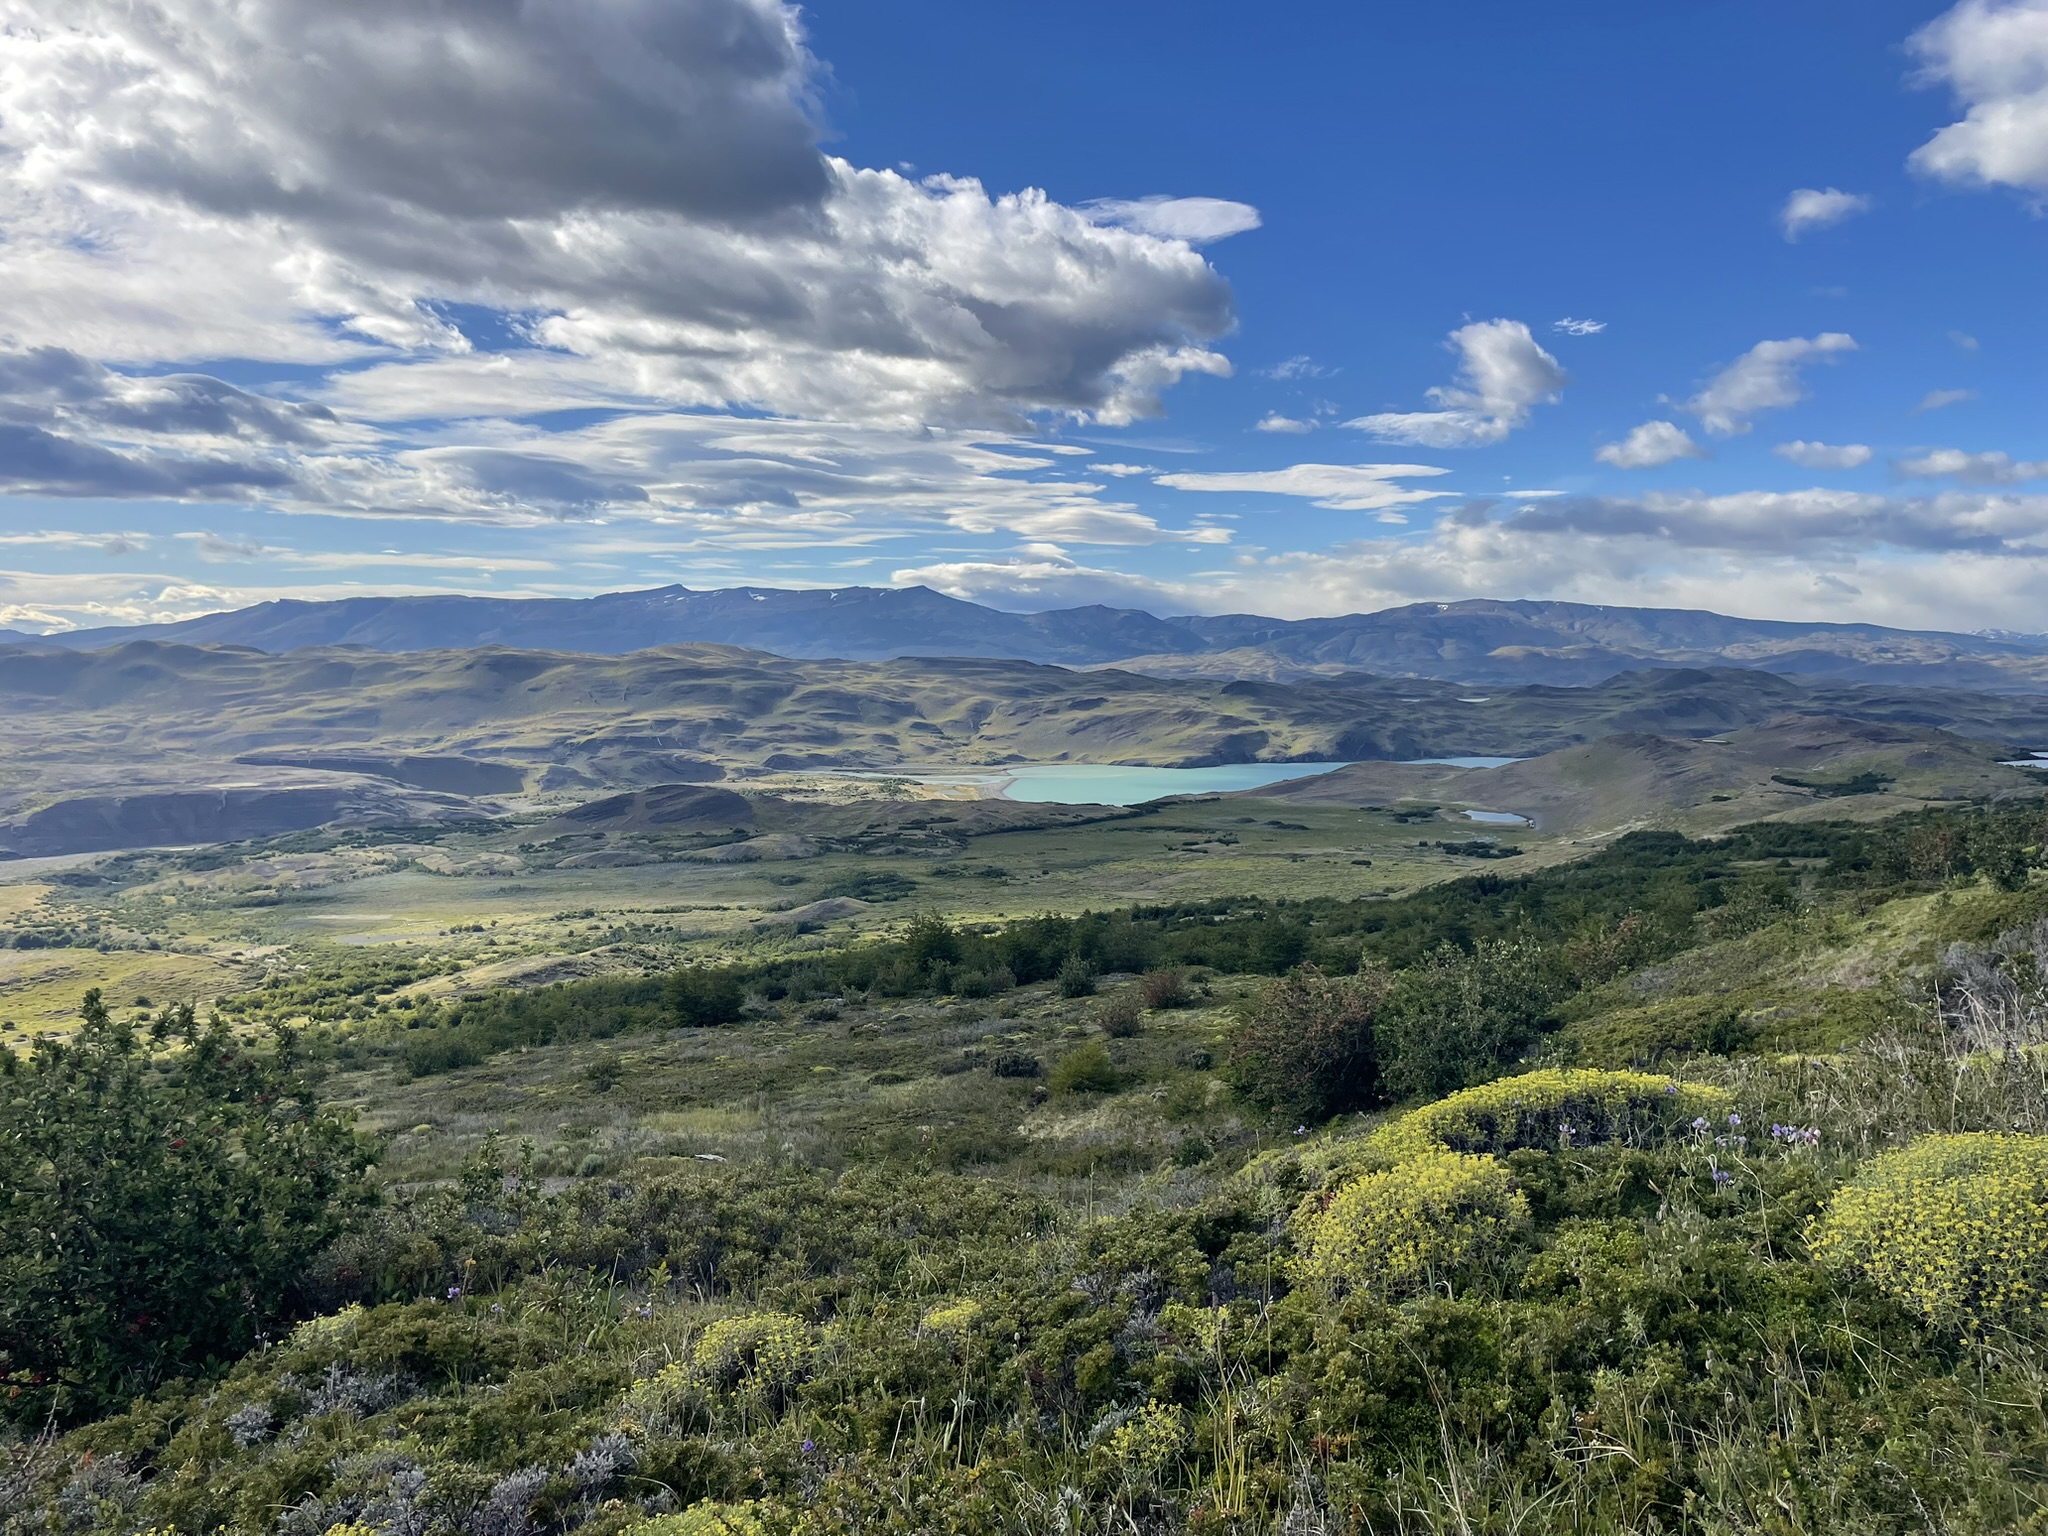
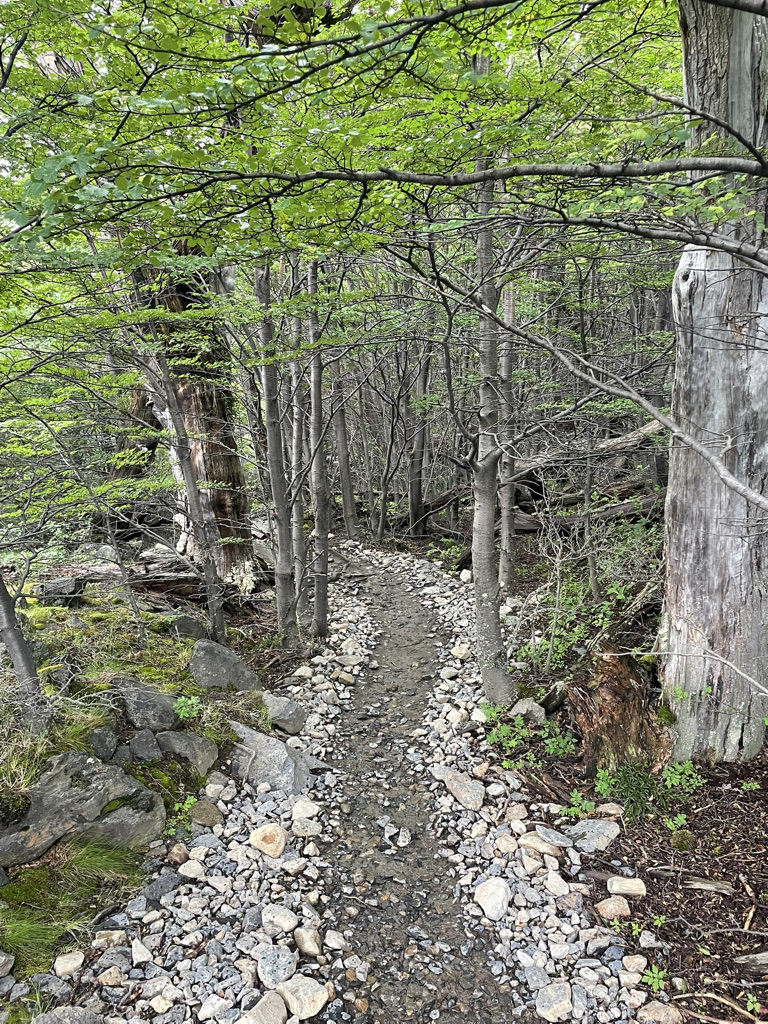
Days 2-4: Torres del Paine – The W Trek
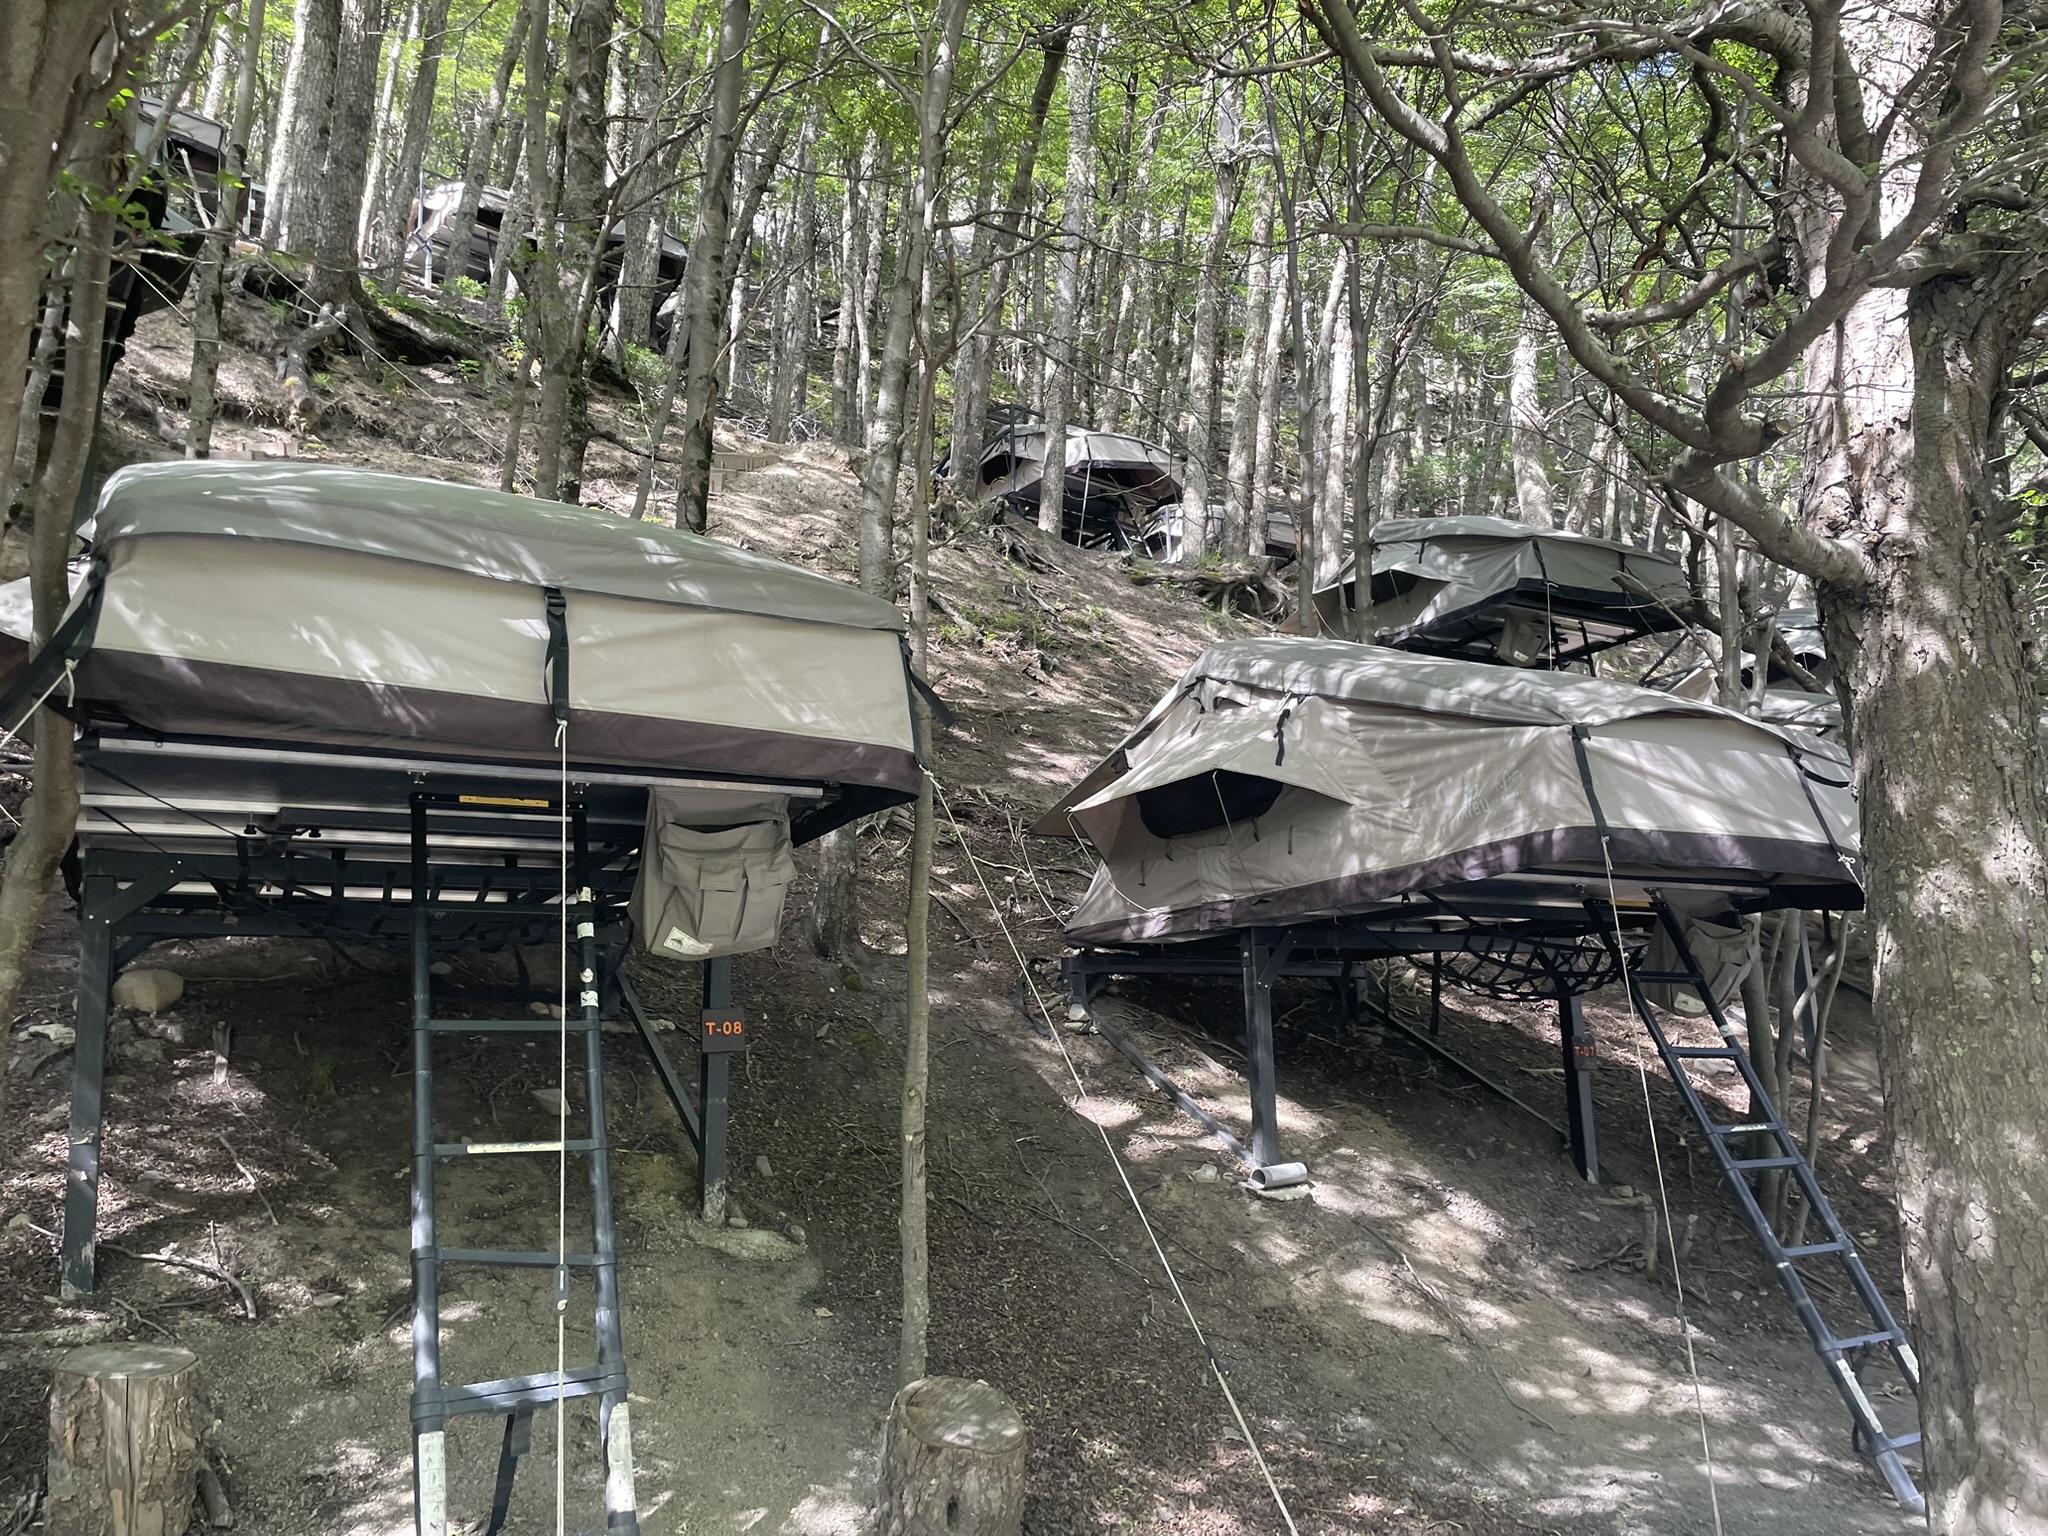
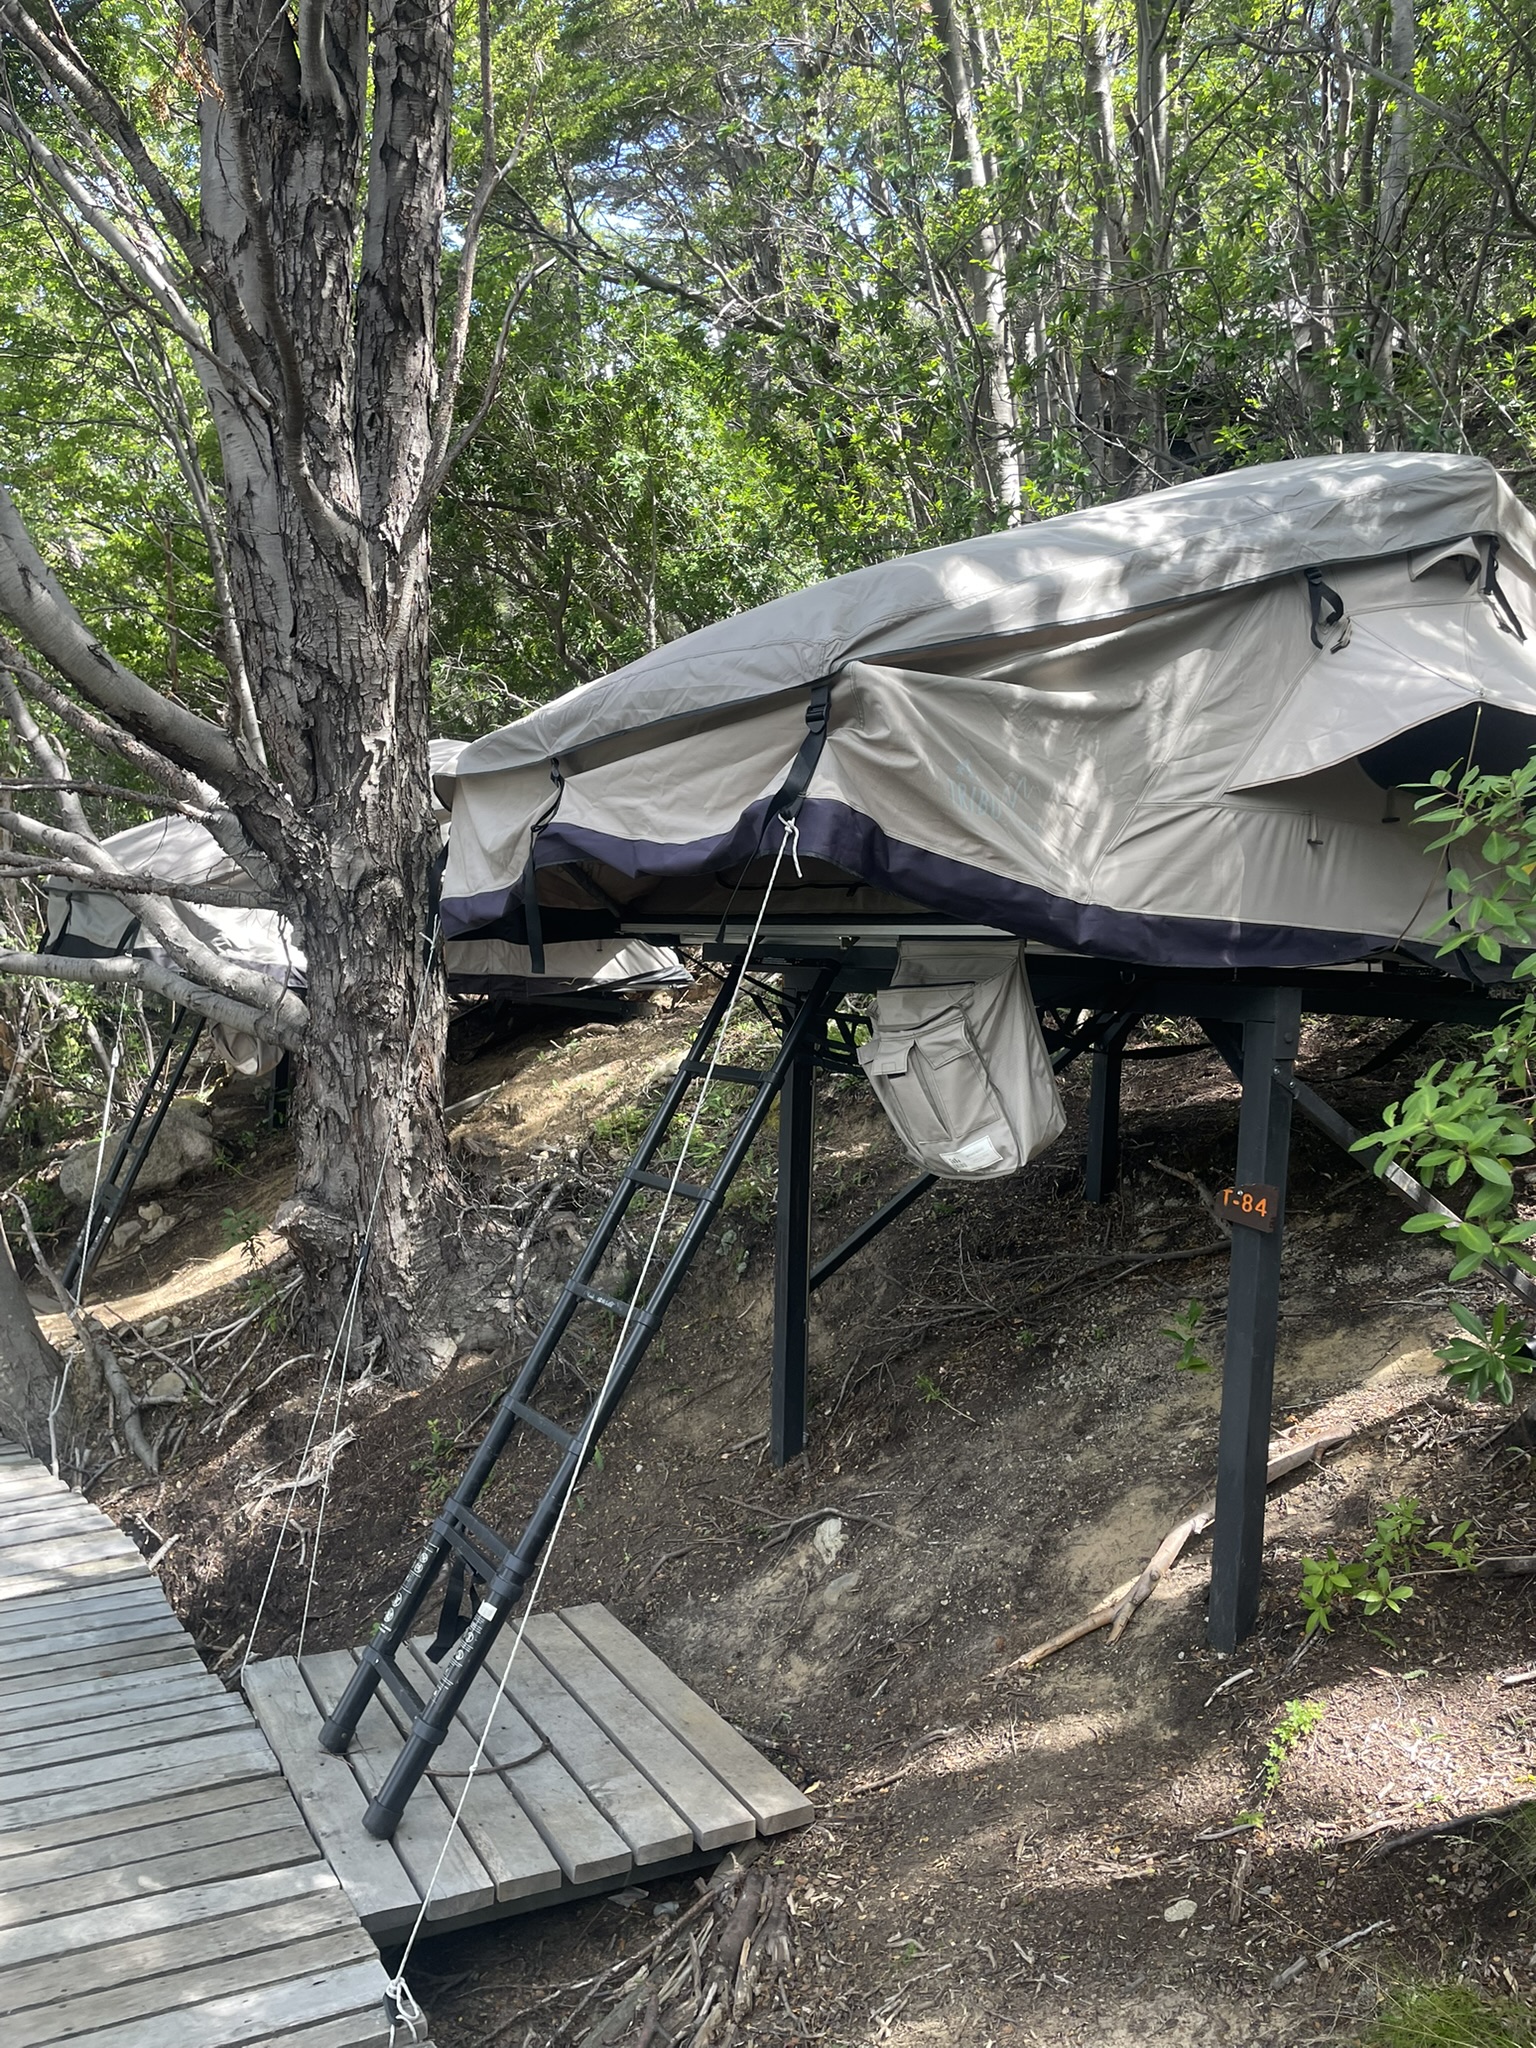
This was an absolute highlight of the trip! I did the W Trek east to west, staying in refugios with tents provided (no carrying camping gear, which I 10/10 recommend if you are willing to pay more).
This is where my time limit was affected… I sadly only had 3 days for the W-Trek, so I cut it a bit short. I did east to west and cut out going to Grey Glacier. If I had more time, I definitely would have loved to finish, but I knew I was headed to Perito Moreno Glacier later in the trip, so I felt okay skipping that section.
I have a full blog post on how to plan your W-Trek Hike here, so check that out for more details.

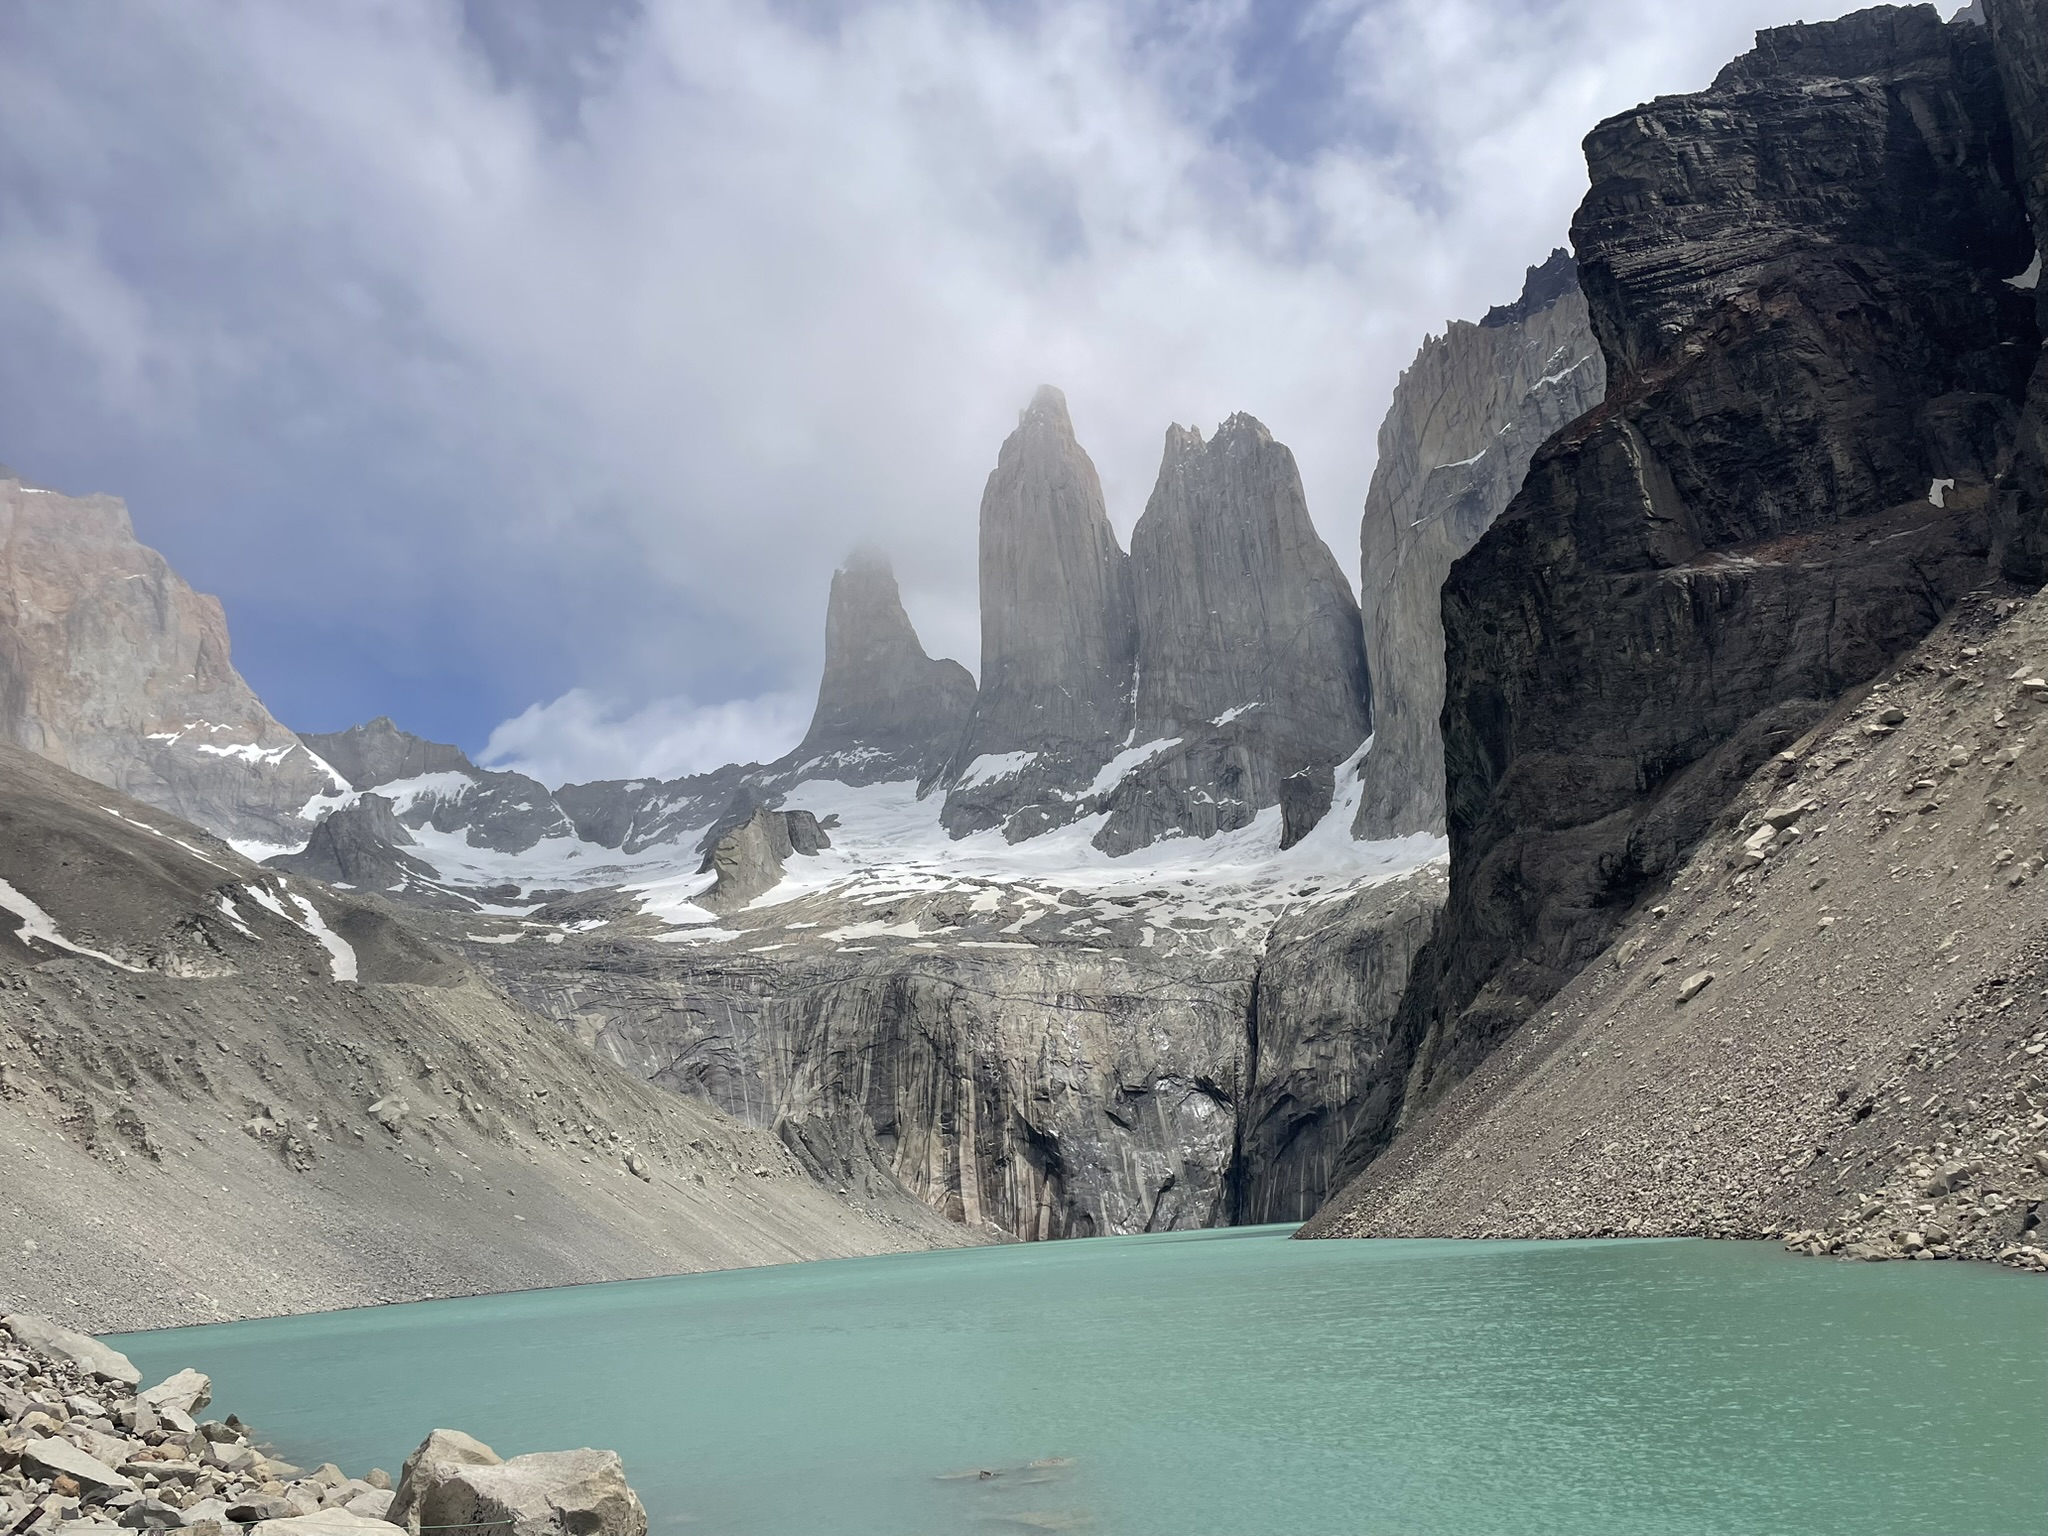
Day 2: Central → Base Torres → Refugio Chileno
What I Did:
I took the 6:45 AM Bus-Sur bus from Puerto Natales to Laguna Armarga, then I hopped off that bus and got on another shuttle to take me to Torres Central & Norte.
And just like that, it was time to start the W Trek! My legs were feeling fresh, my adrenaline was high, and I was so excited to finally be there. This day is absolutely beautiful, but do not be fooled because it is also steep, and my calves were very aware of that by the end. It is also good to know that this is the hike many people do as a day hike, so it is the busiest section of the W-Trek.
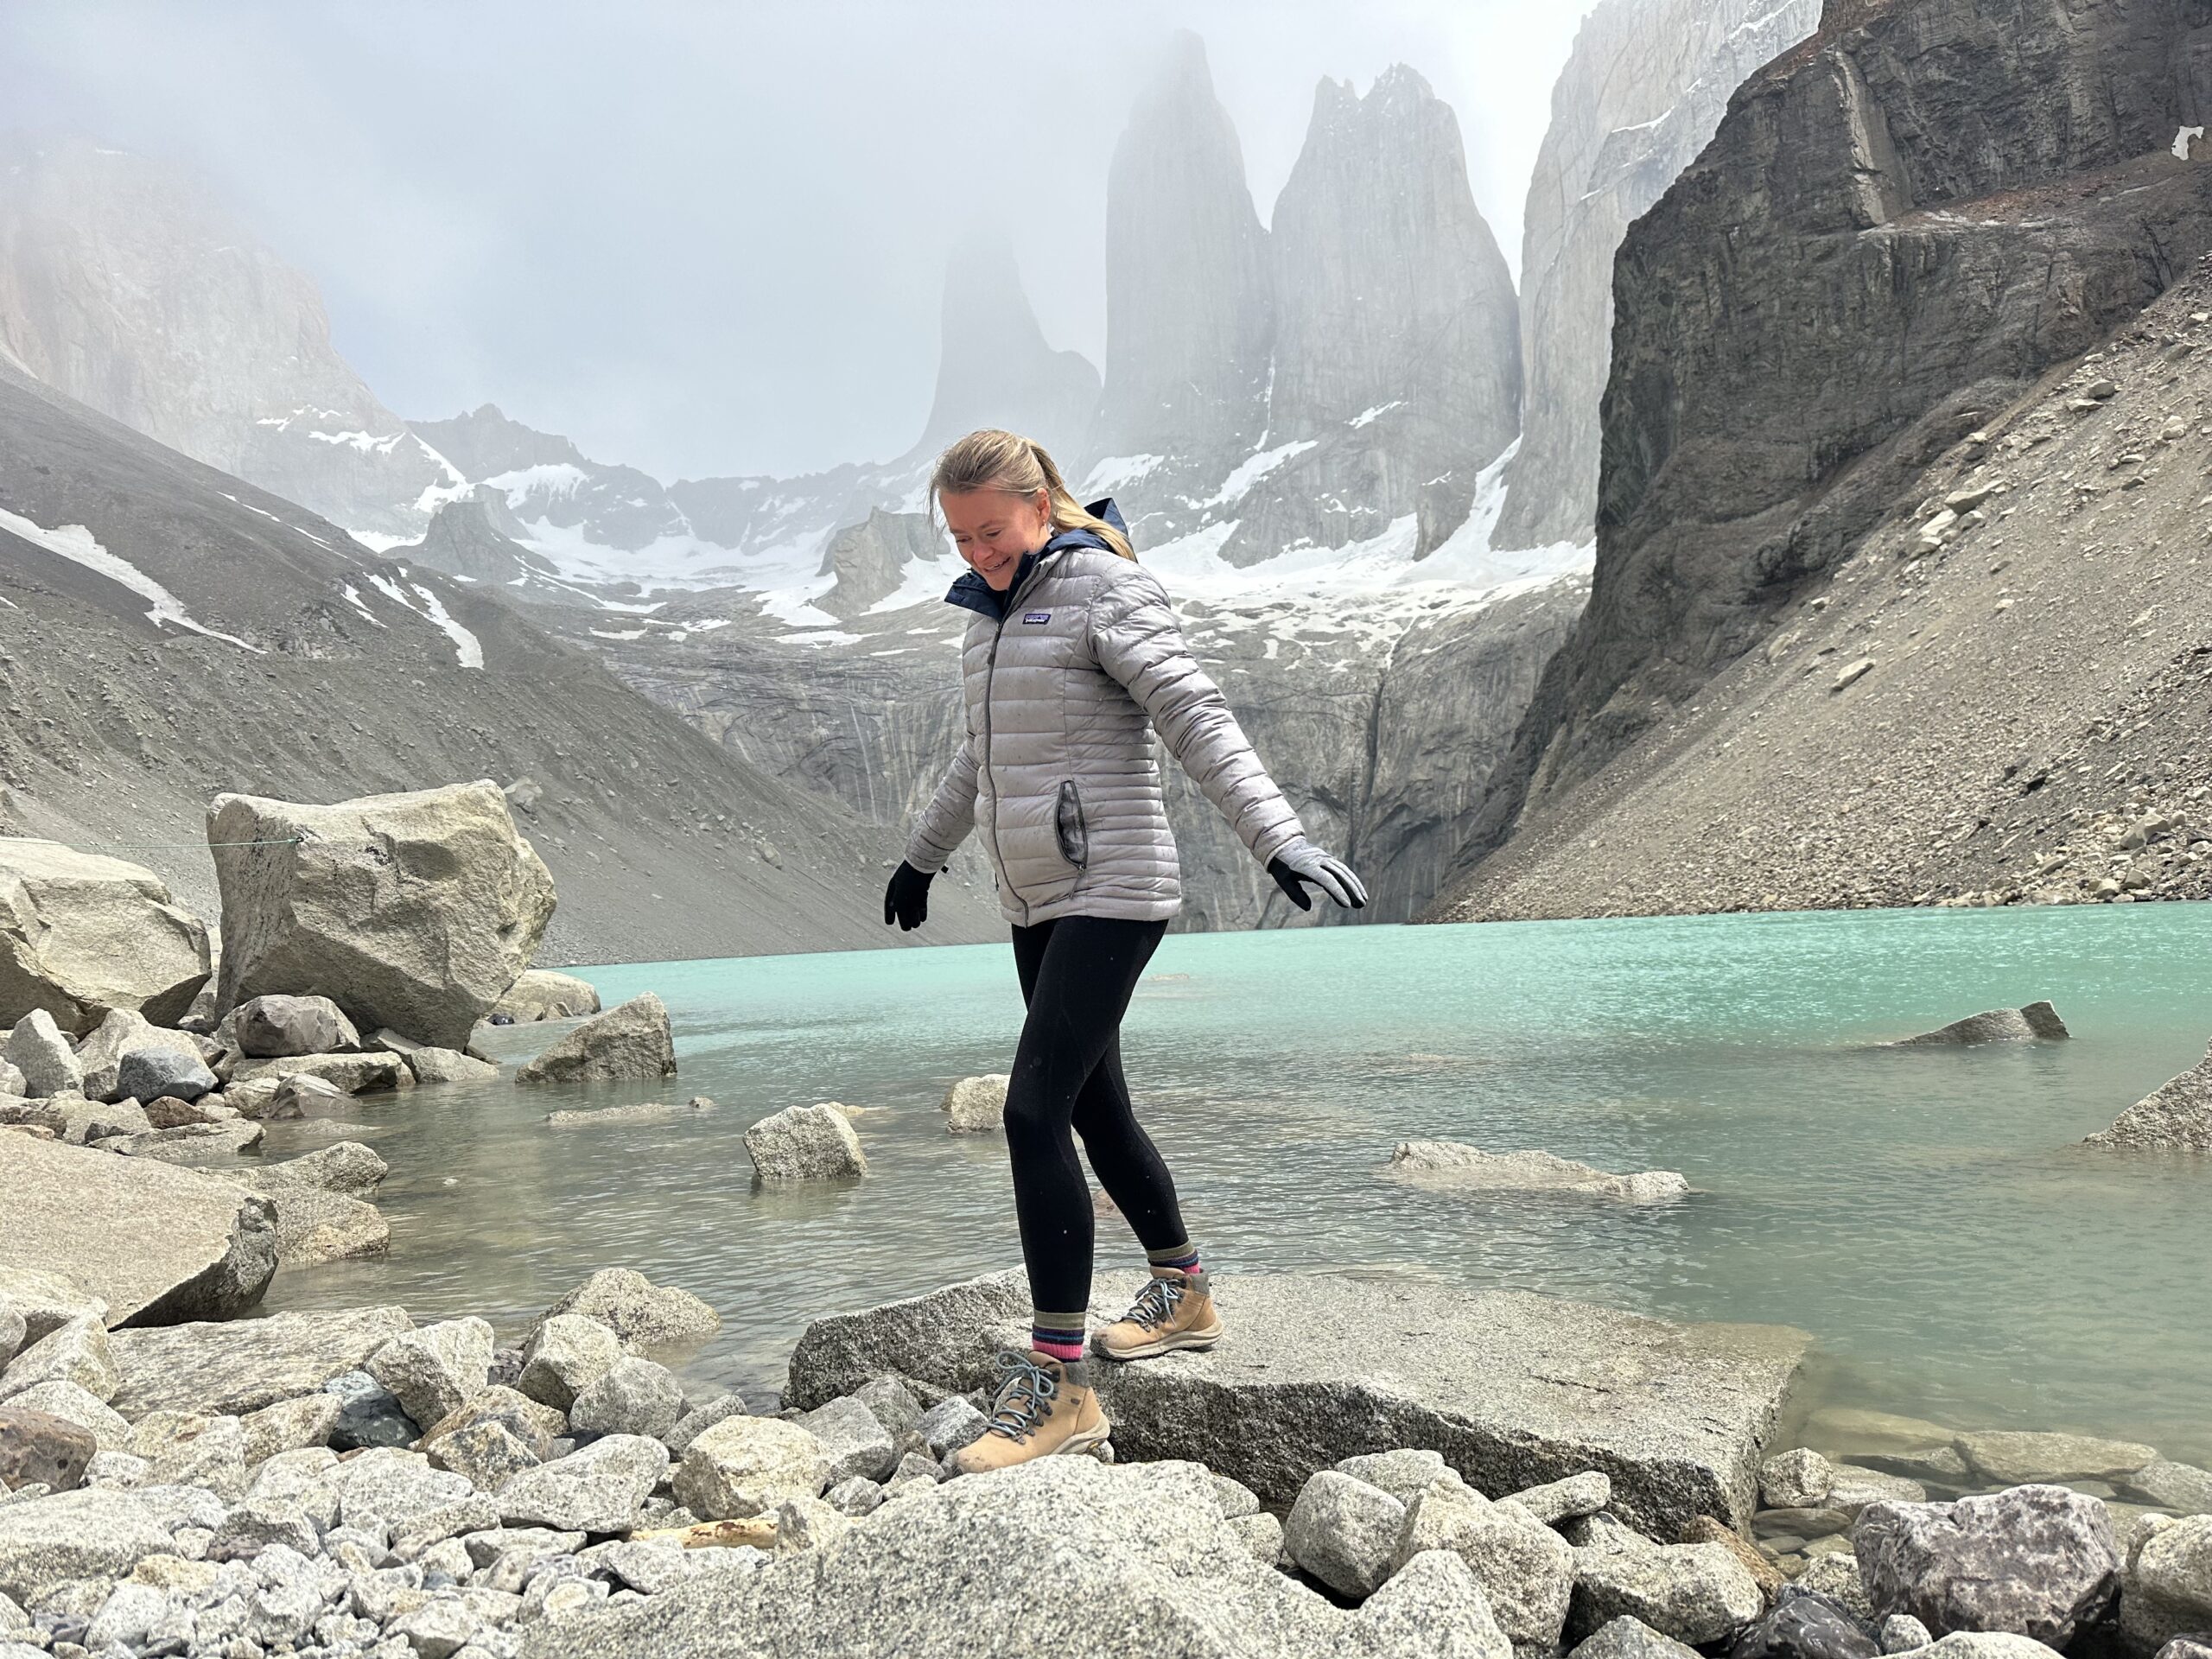
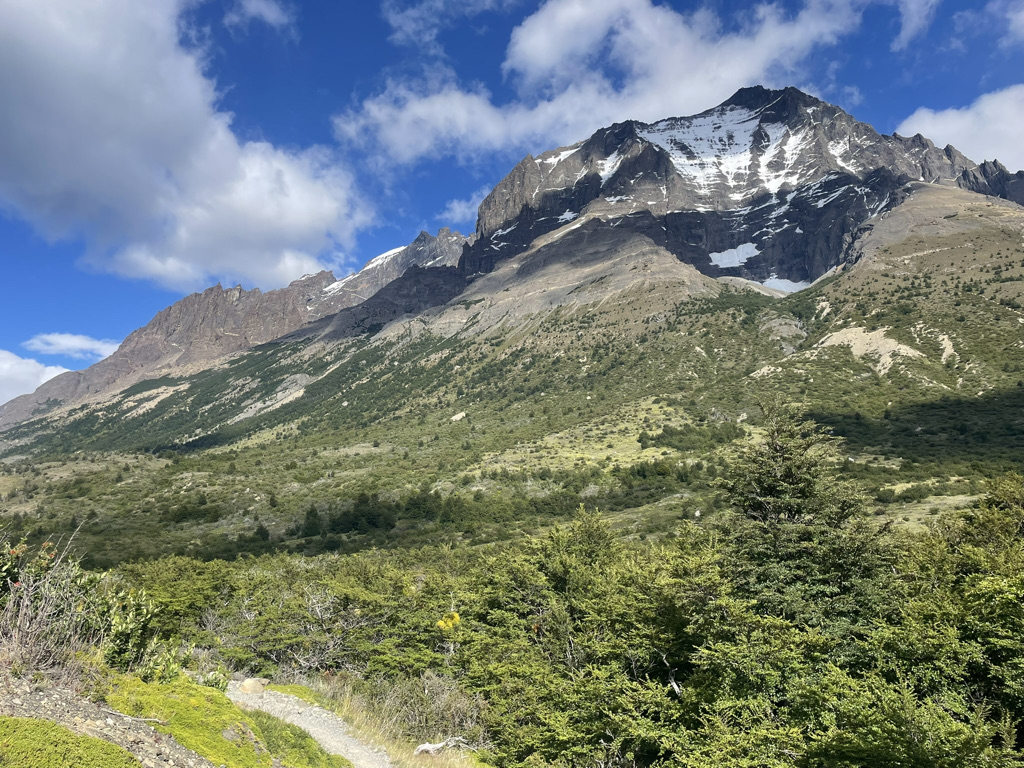
You will pass Refugio Central early on, then continue toward Refugio Chileno before making the final push up to Mirador Torres. Seeing the iconic granite towers for the first time was unreal. I spent a long time at the top taking photos, sitting quietly, and just soaking it all in. It really lived up to the hype! When I first arrived, the towers were visible, but there were some clouds surrounding them. Right before I was about to leave, it completely opened up, and it was blue skies, making what was already incredible even more stunning!
What I Wore:
Hiking boots, hiking socks, leggings, and a long-sleeve Nike quarter zip. Throughout the hike, I rotated between my Patagonia puffer, Columbia rain jacket, or no jacket at all, depending on the wind and sun. Once I reached Mirador Torres, I was freezing and needed every layer plus a winter beanie and gloves.
Where I Stayed:
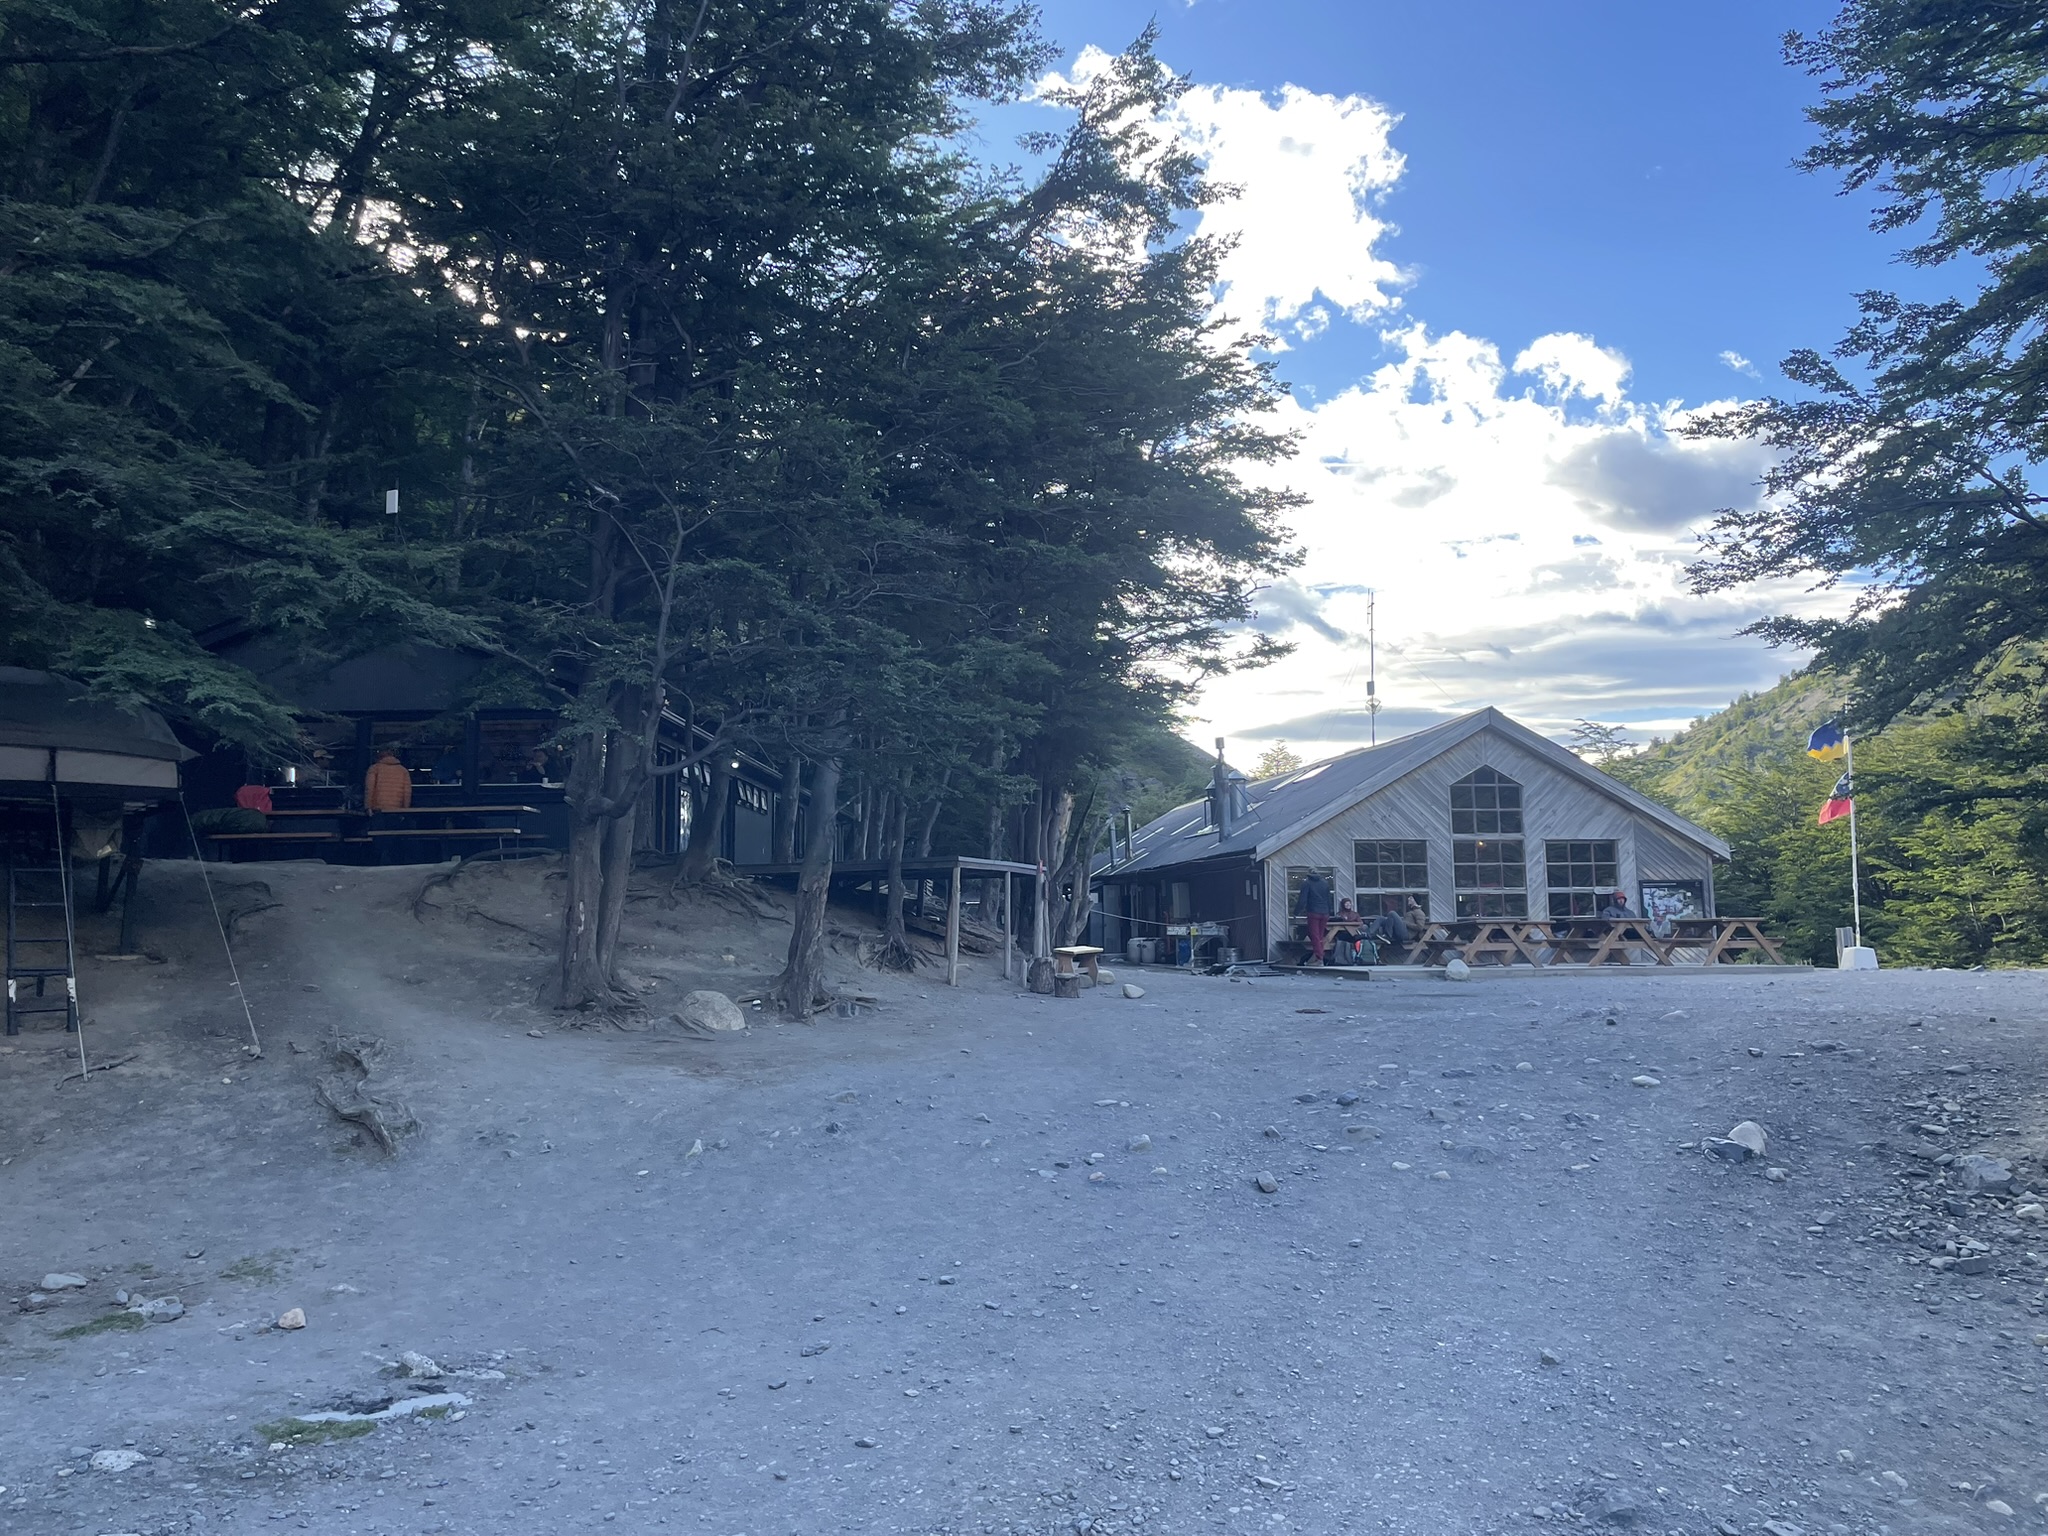
I stayed in a premium tent at Refugio Chileno with the half-board option (dinner + breakfast), and I would 100% recommend staying here.
Mileage:
~10.18 miles and ~3,903 feet of elevation gain (Apple Watch)
Day 3: Chileno → Francés
What I Did:
I woke up, and my legs were feeling it from the day before, but I was ready! I had breakfast at Regugio Chileno and then headed out for my second day of hiking!
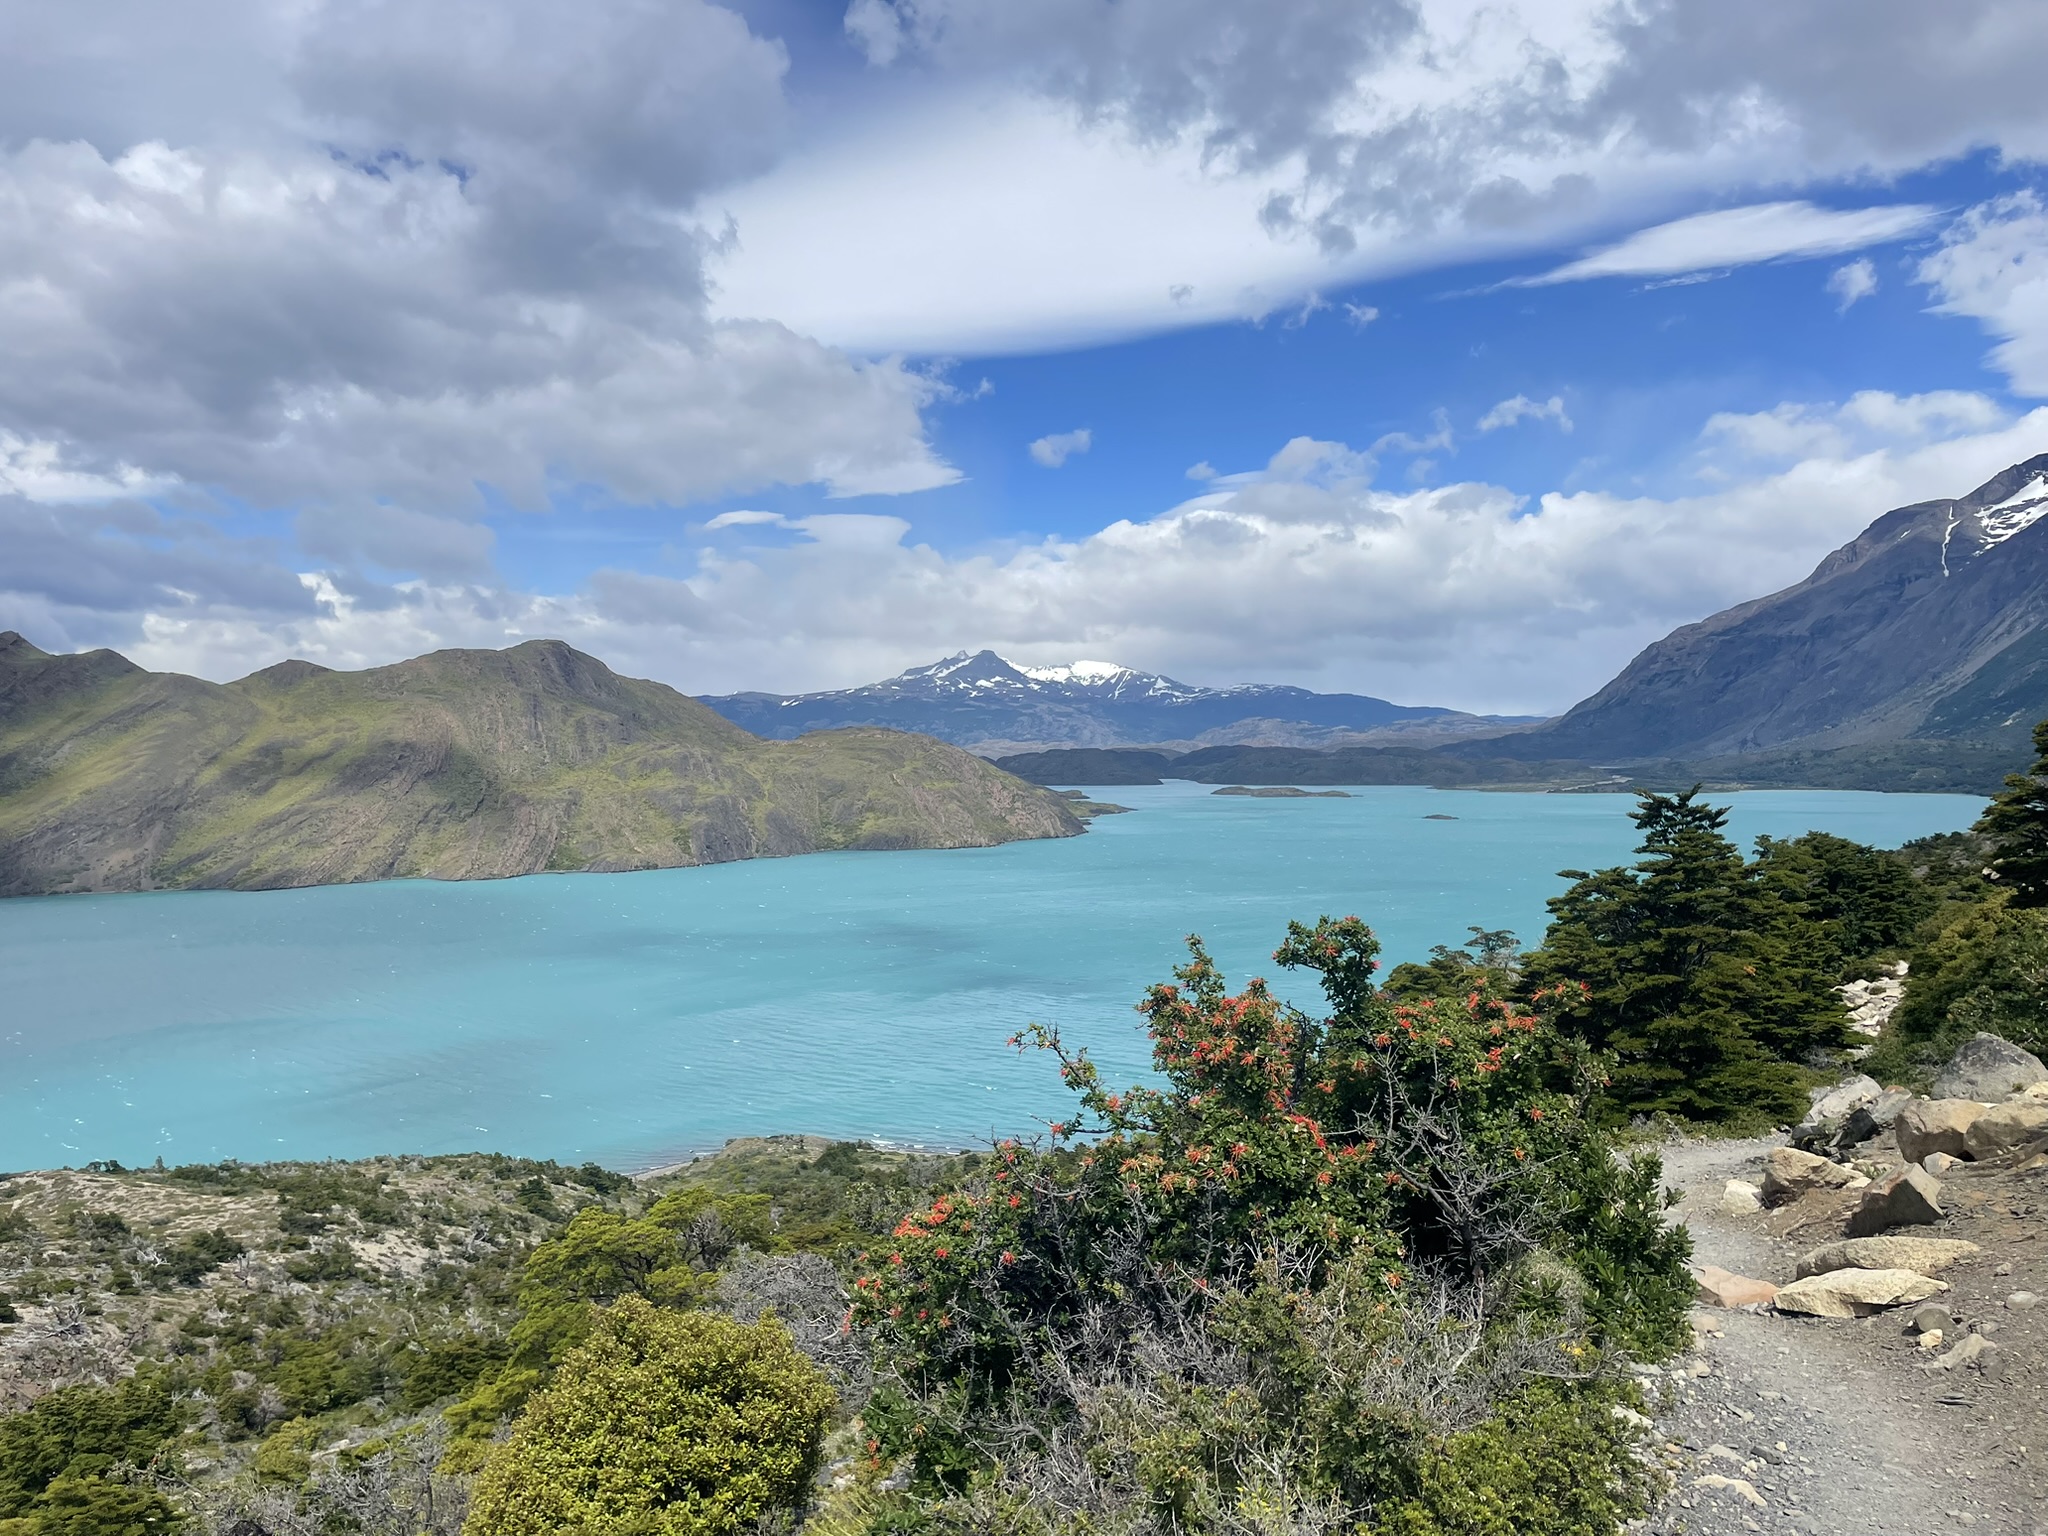
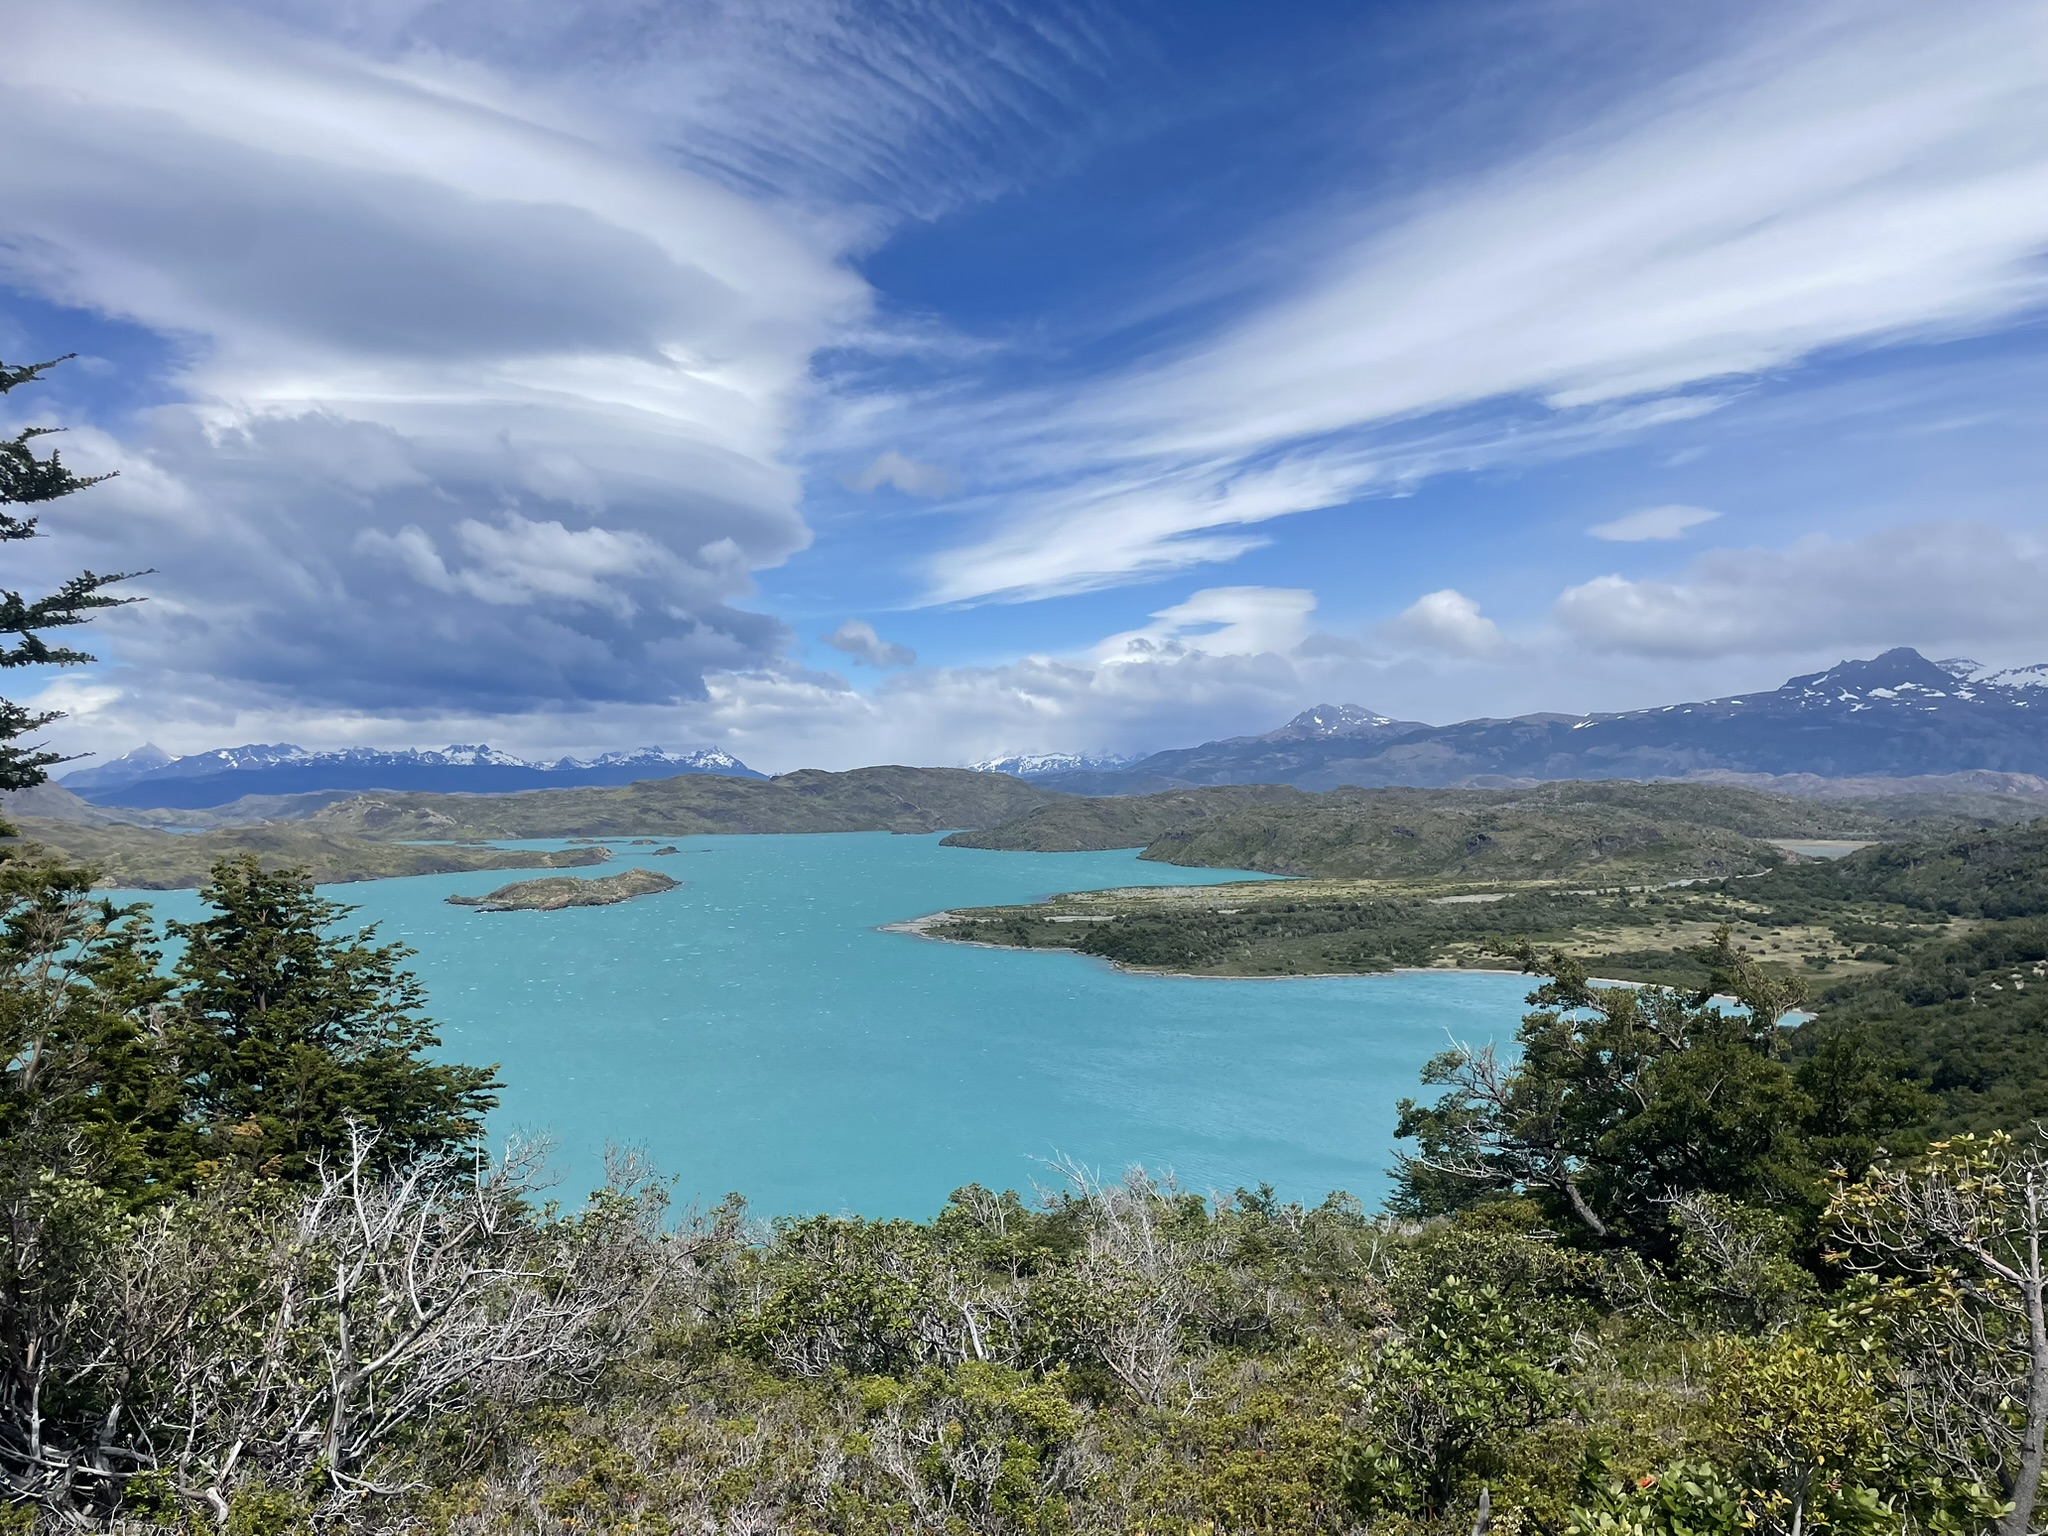
This day was my favorite hike! I did not know exactly what to expect going into this day, but it completely blew me away. We had blue skies, which helped, and the entire hike felt quieter and less crowded than the day before. Walking alongside the bright blue lagoon was absolutely stunning, and the views just kept coming the whole way. It was one of those hikes where you feel like you are constantly stopping to look around.
What I Wore:
Hiking boots, hiking socks, hiking pants, and a long-sleeve Nike quarter zip. This was our nicest and warmest day.
Where I Stayed:
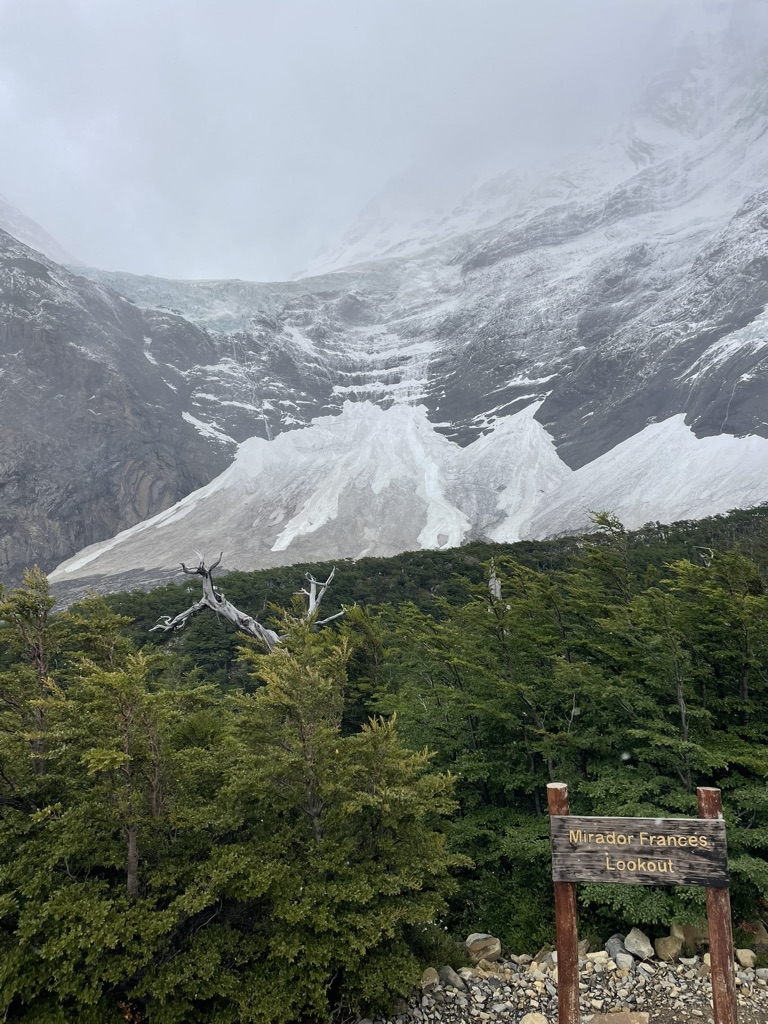
I stayed in a premium tent at Refugio Francés with the half-board option (dinner + breakfast). You will pass Refugio Cuernos along the way, which is the other main option for this night. Cuernos has really beautiful cabins and seemed a bit nicer overall, but I wanted to add a bit more mileage this day, so Francés worked out perfectly. I would say either option works!
Mileage:
~10.91 miles and ~2,782 feet of elevation gain (Apple Watch)
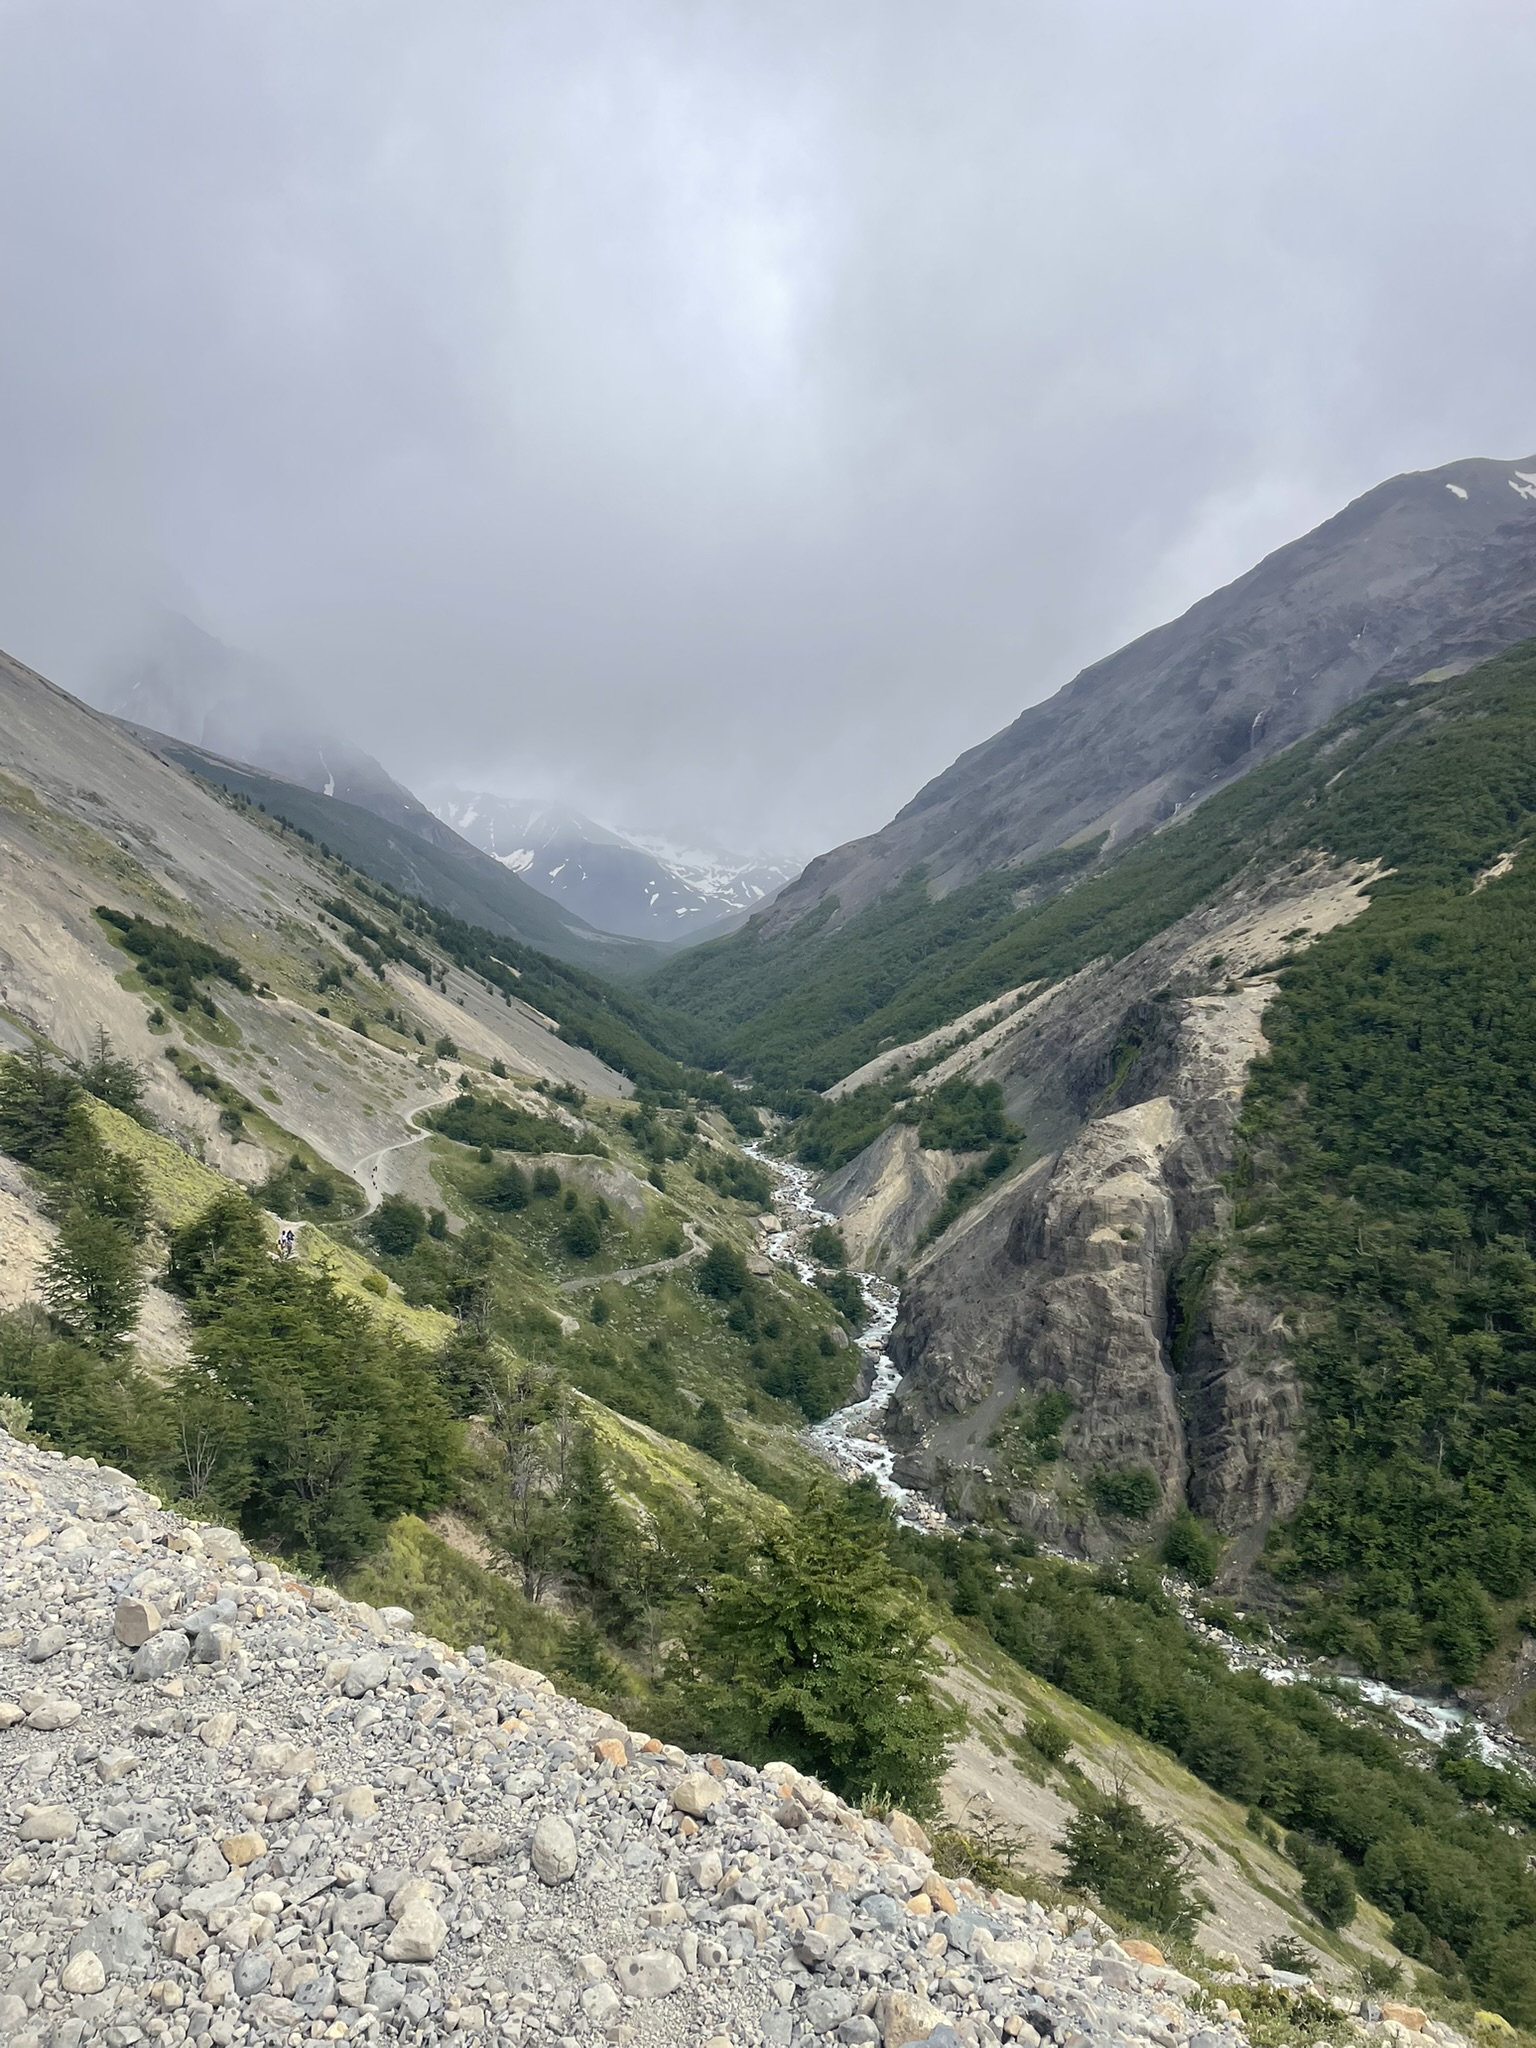
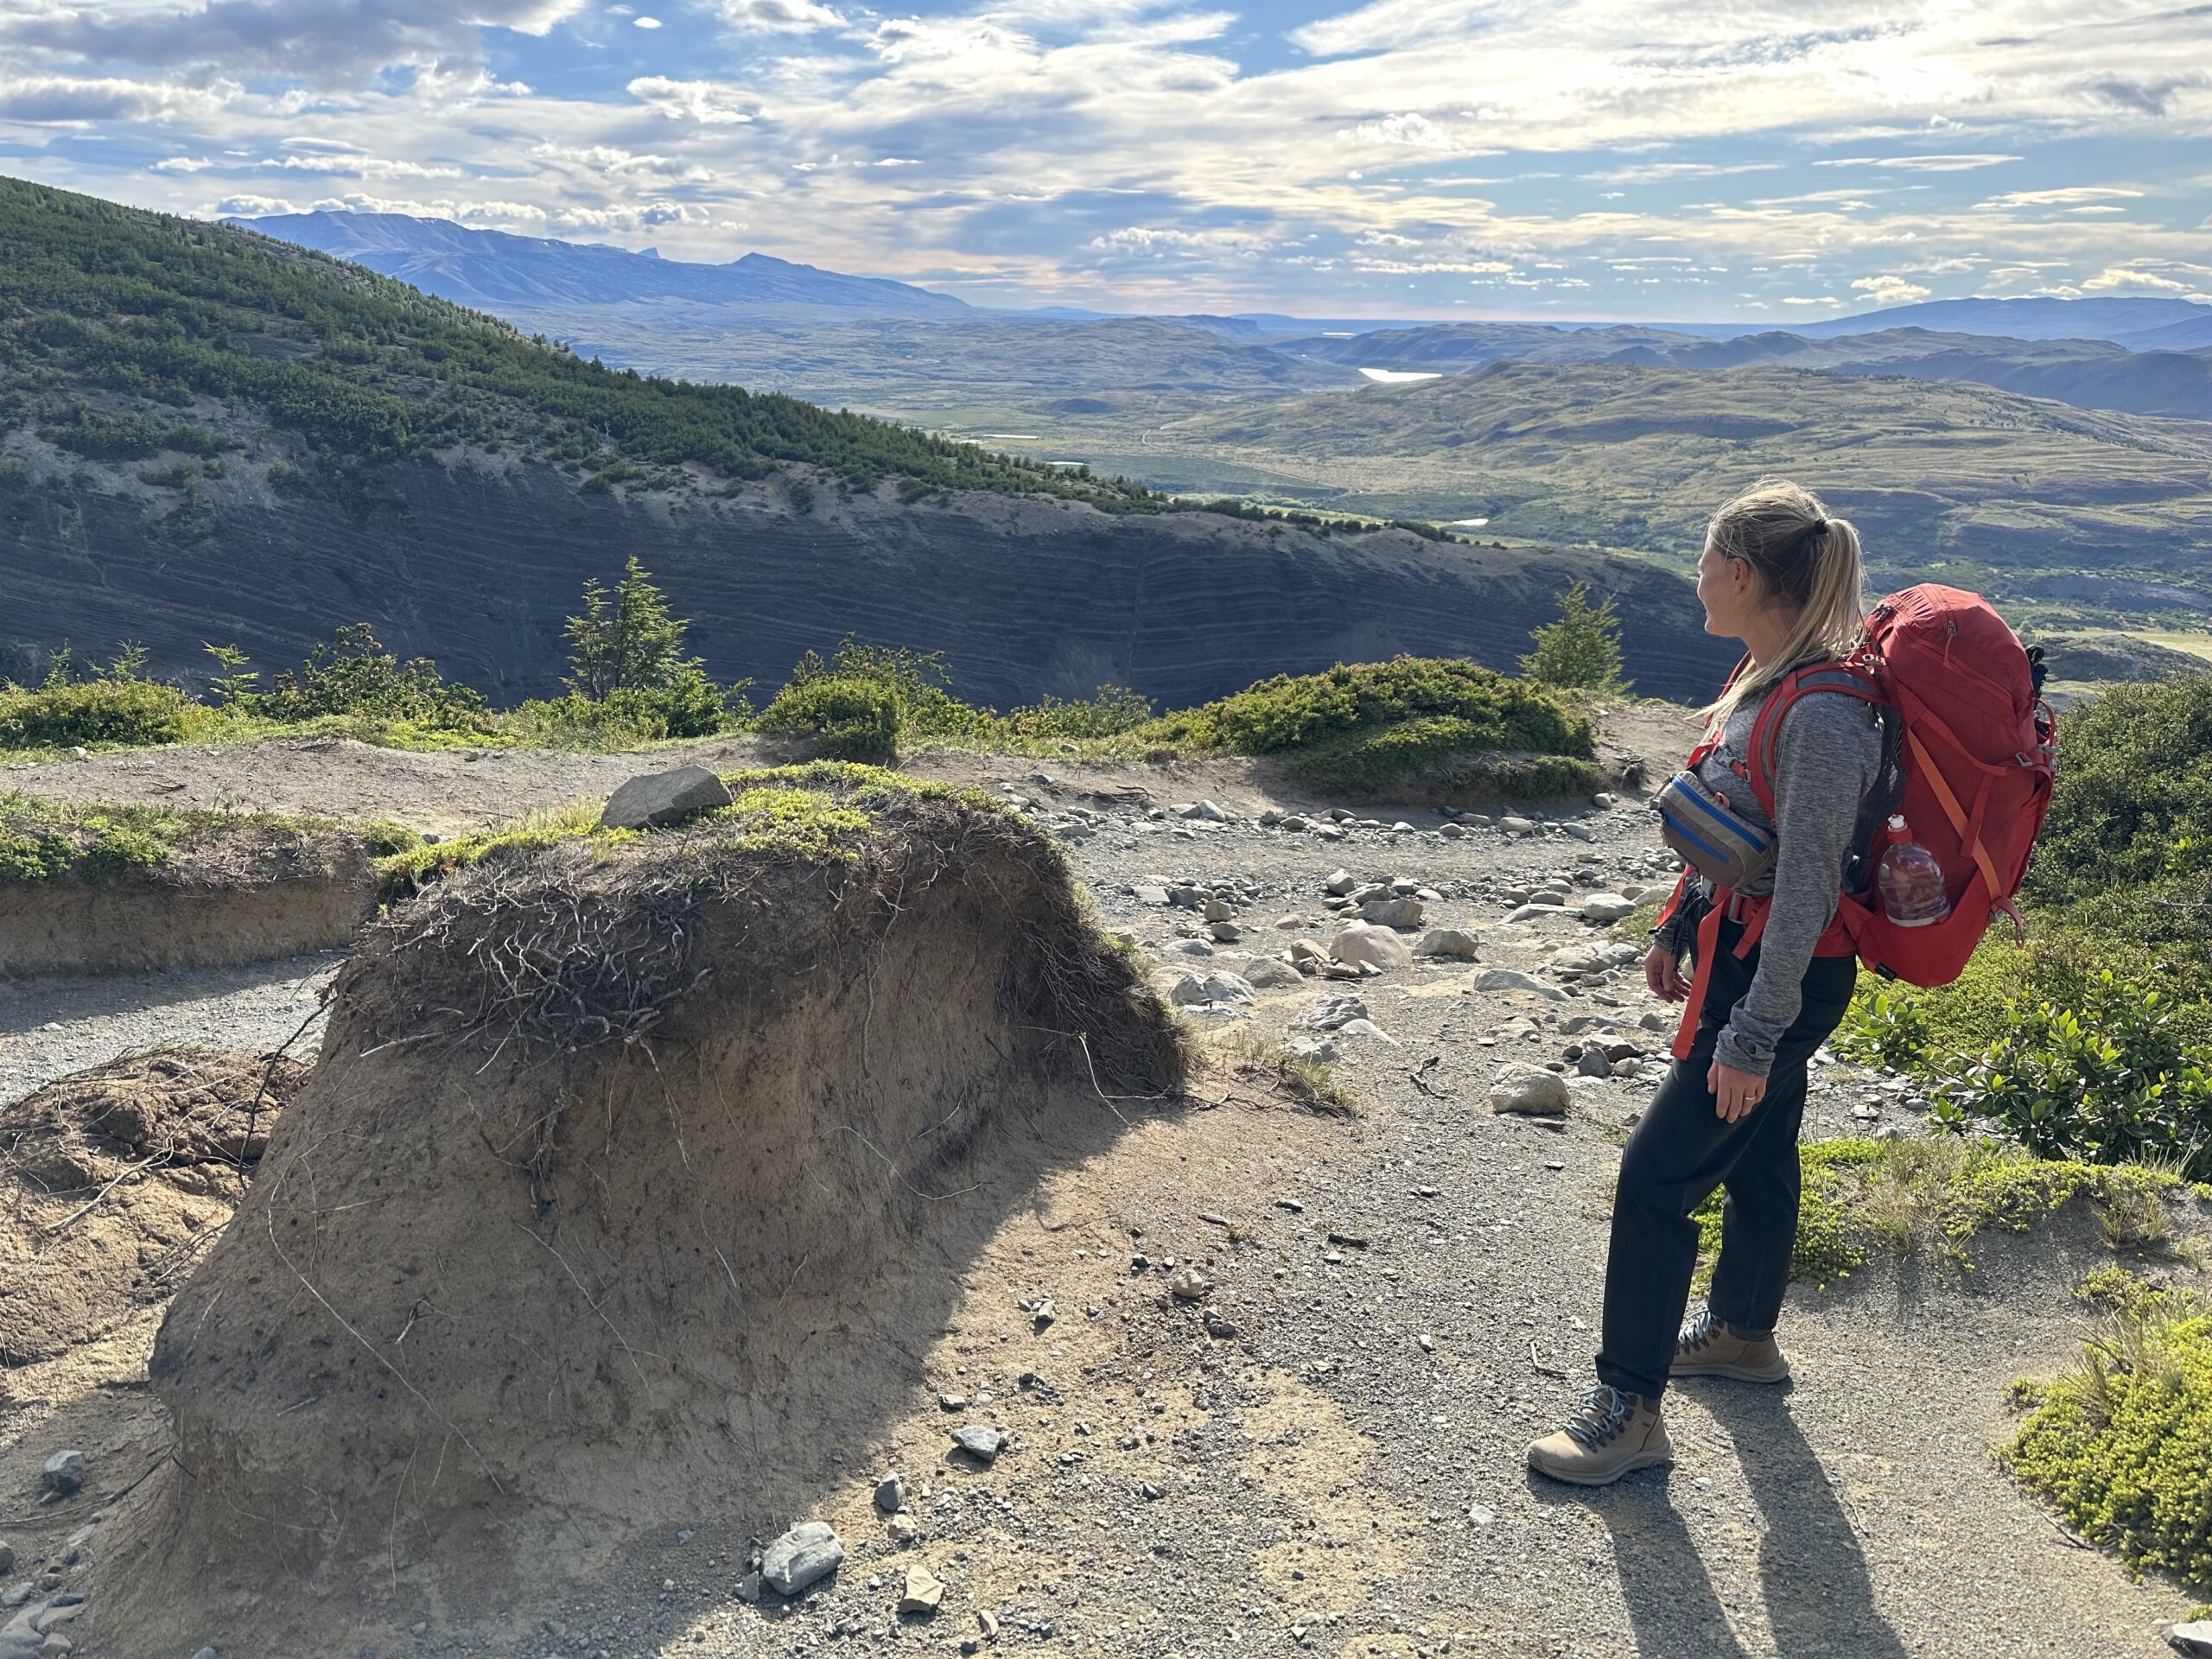
Day 4: Francés → Mirador Británico → Paine Grande → Puerto Natales
What I Did:
I grabbed my breakfast from Refugio Francés and headed out for my final day of the W Trek. This was the longest mileage day!
The first section was the out-and-back hike to Mirador Británico. You can leave your main backpack at Camp Italiano, which feels incredibly freeing after a few days of carrying weight. I packed a small dry bag with snacks and water and started the climb.
The weather, however, had other plans. It was very windy and snowy, and while I pushed all the way to the top, the views were nonexistent. It is a steep and tough climb, so here is my honest take: if the weather is clear, absolutely do this hike (the photos I have seen on good days are stunning). If conditions are bad, I would consider skipping it and saving your legs.
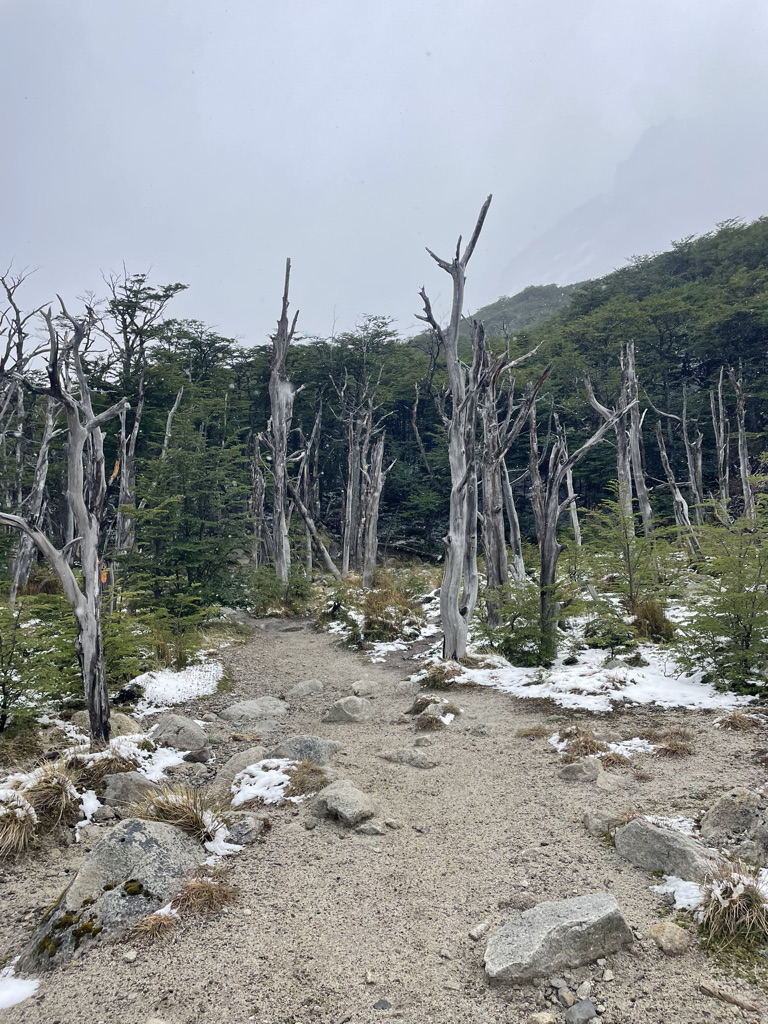
After backtracking, I continued on toward Paine Grande. This section was wide open and fully exposed, with the strongest winds I experienced in Patagonia. I had to stop multiple times just to brace myself so I would not get knocked over! Slightly terrifying, slightly exhilarating, and very on brand for Patagonia!
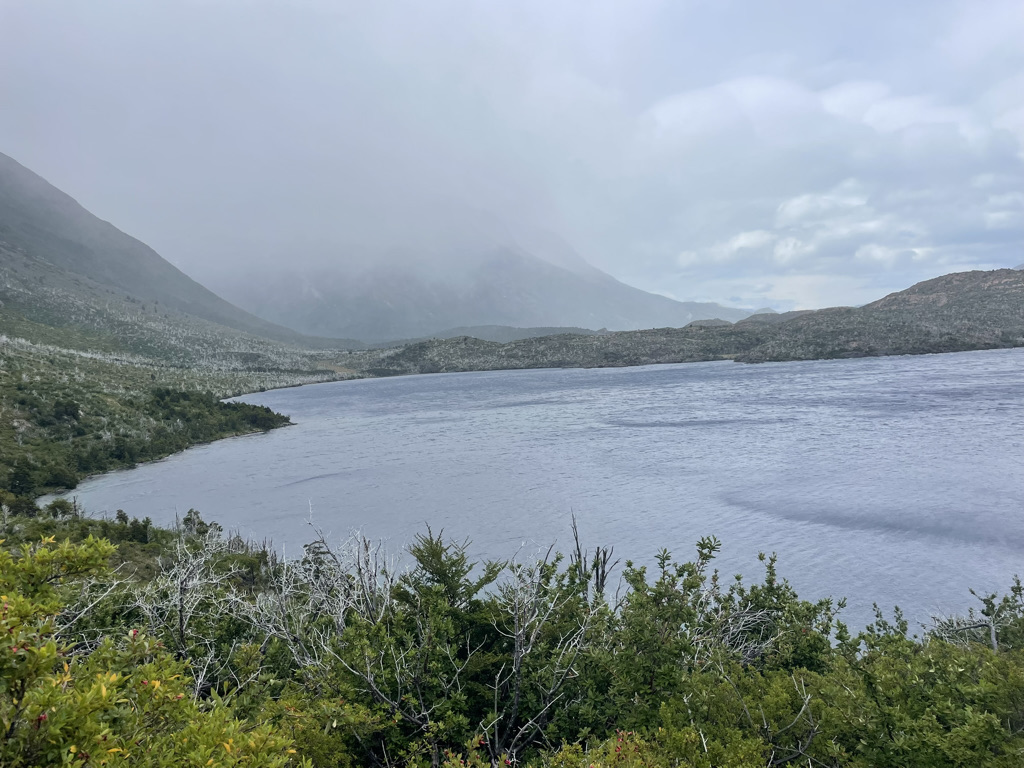
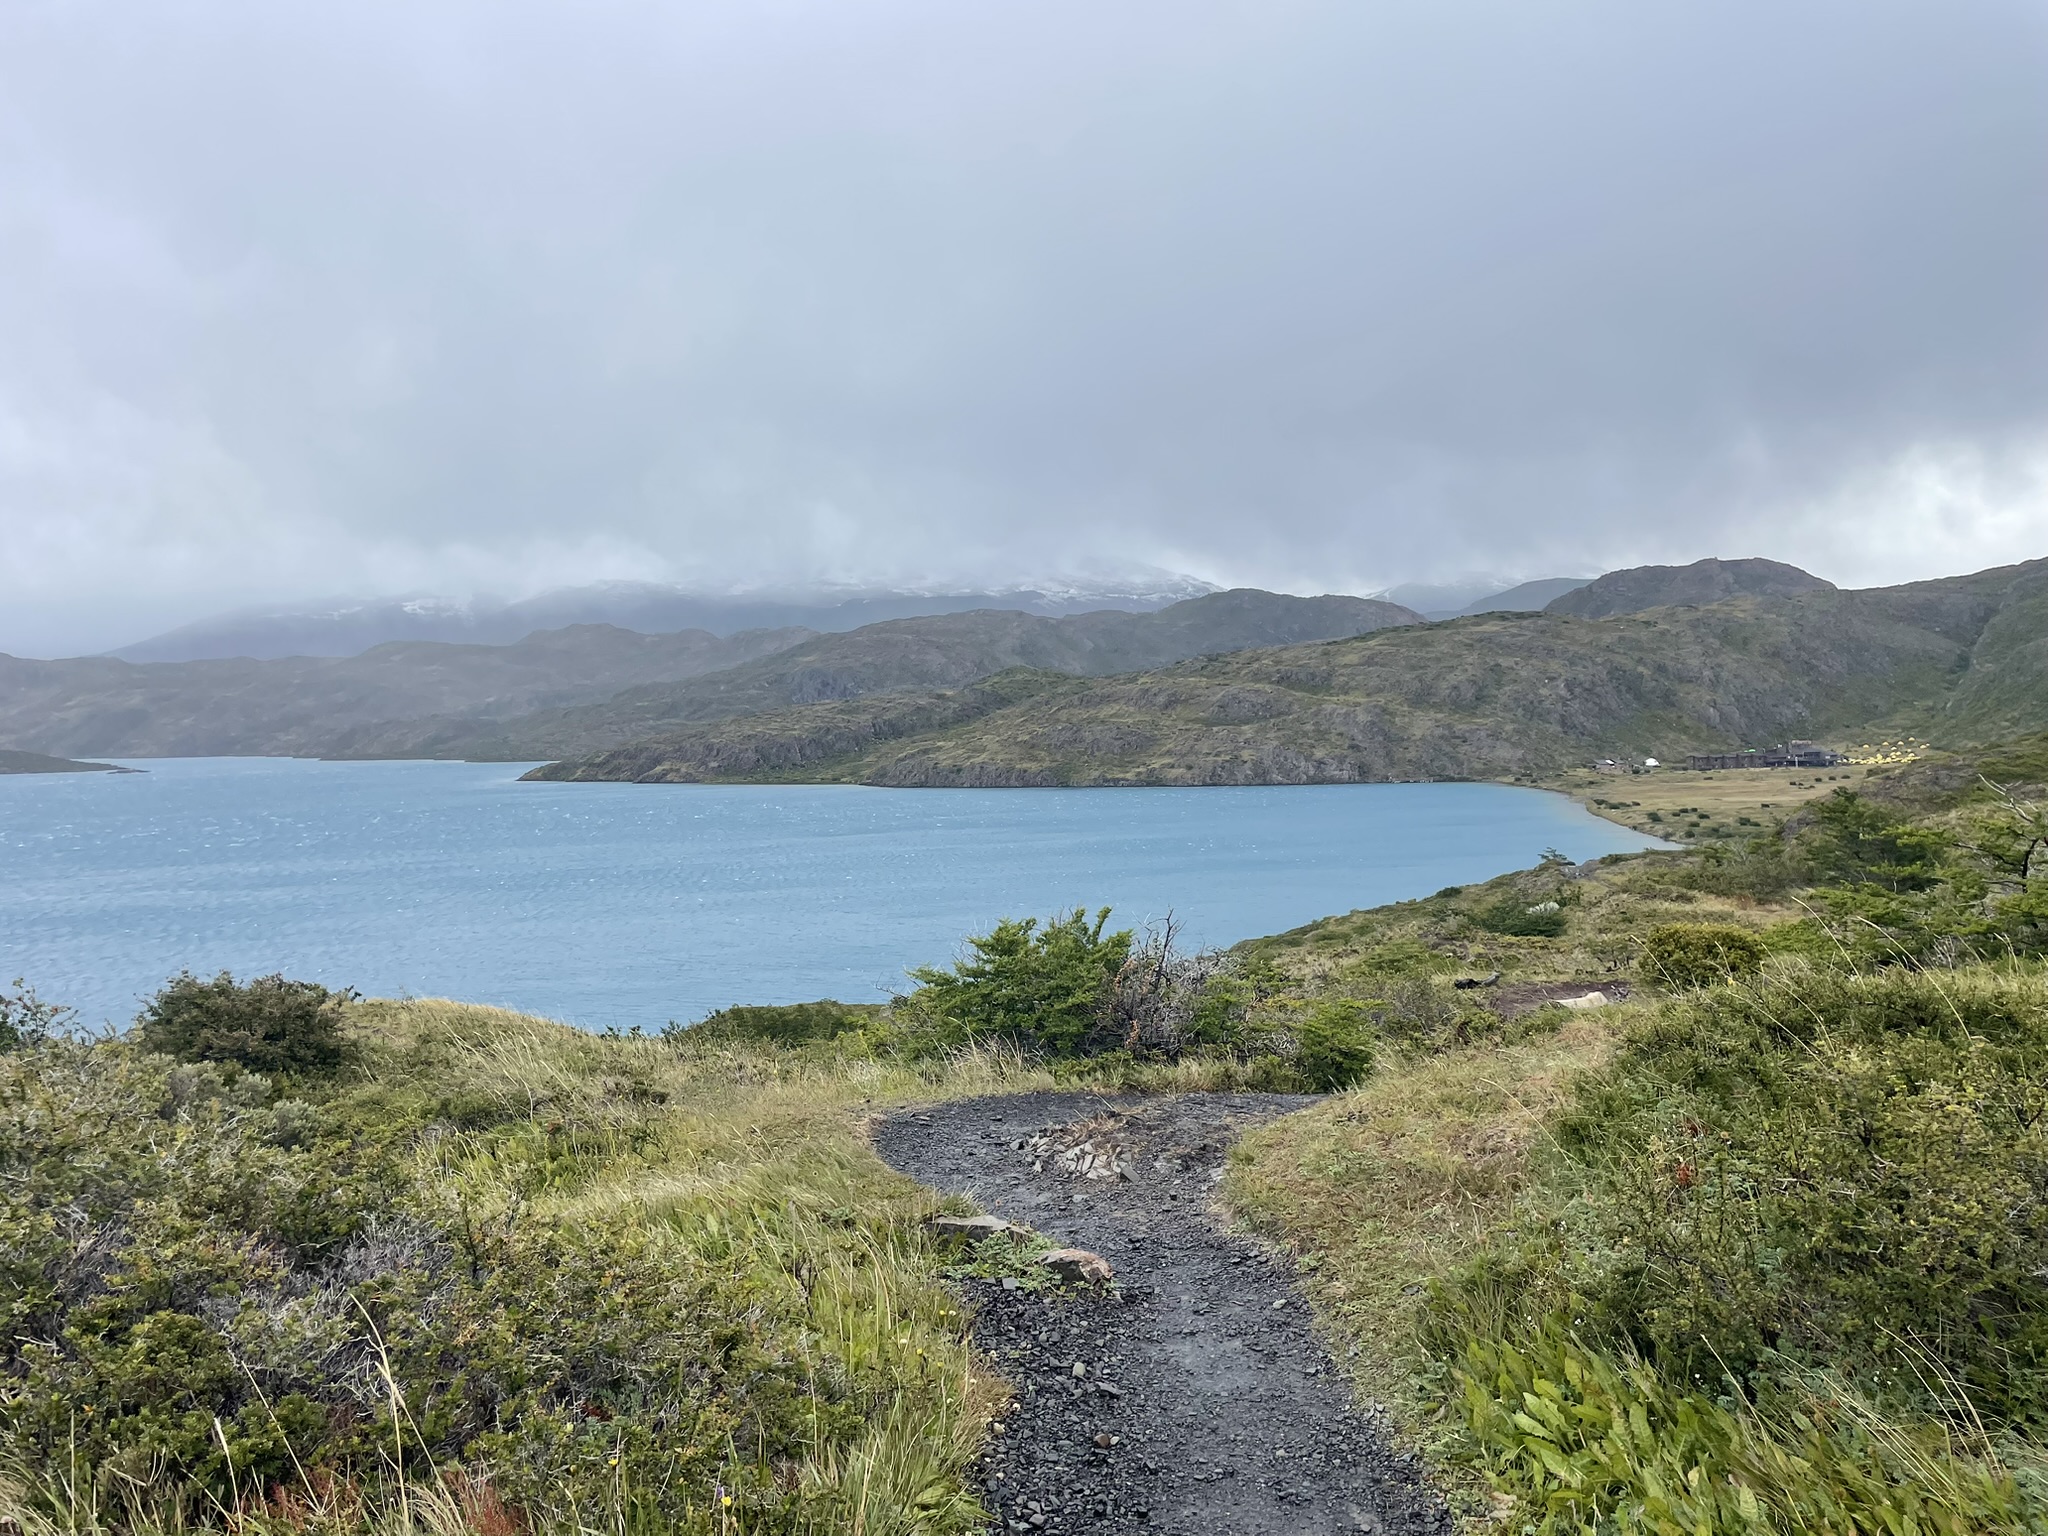
I moved quickly through this stretch because I was catching the 5:00 PM catamaran across Lago Pehoé to Pudeto. I ended up arriving at Paine Grande with about an hour to spare, which was perfect timing to grab a beer and warm up.
After the catamaran, we were originally planning to take a Bus-Sur bus back, but ended up hopping into a shared shuttle that got us back to Puerto Natales much faster.
Once back in town, we checked back into El Patagónico Hostel, took an amazing shower, grabbed dinner, and immediately crashed. We were sad our W-Trek was over, but happy to be in a traditional bed again!
What I Wore:
Hiking boots, hiking socks, leggings, a long-sleeve quarter zip, Patagonia puffer jacket, a Columbia rain jacket, and gloves. This was the coldest, windiest, and snowiest/rainiest day we had.
Where I Stayed:
After finishing the trek, I stayed back in Puerto Natales at the same hostel as before, El Patagónico Hostel. Sleeping in a real bed and grabbing a proper dinner in town felt incredibly earned after big hiking days.
Mileage:
~14.44 miles and ~ 5,659 feet of elevation gain (Apple Watch)
My Biggest W-Trek Takeaways:
- Don’t just look at the mileage. The distances can feel so much harder/take so much longer than you may think because of the steep inclines and weather.
- Book everything in advance (park entrance ticket, accommodations, buses, ferry).
- Have all your bookings printed (or screenshotted in a separate album) of every bus, boat, park reservation, and accommodation. You have so many confirmations that having them handy (and not buried in your email) makes everything way less stressful.
- Start early every day.
- Don’t expect perfect weather. First, this won’t happen, and second, it is better to be prepared and pleasantly surprised (like I was on my second day).
Day 5: Puerto Natales to El Calafate (Argentina)
This was a full travel day crossing the border from Puerto Natales, Chile, to El Calafate, Argentina on the 7:30 AM bus on Bus-Sur.
It is about a 6-hour bus ride, and you will get off the bus twice: once right before the border to present your passport on the Chilean side to leave, and once right after the border to present your passport to enter on the Argentine side.
Once in El Calafate, I checked into my hotel at Mabra Suites, walked around the town, and got a beer and empanadas at Cerveza Patagonia – Refugio Calafate. We continued to explore the town, stopping in some shops.
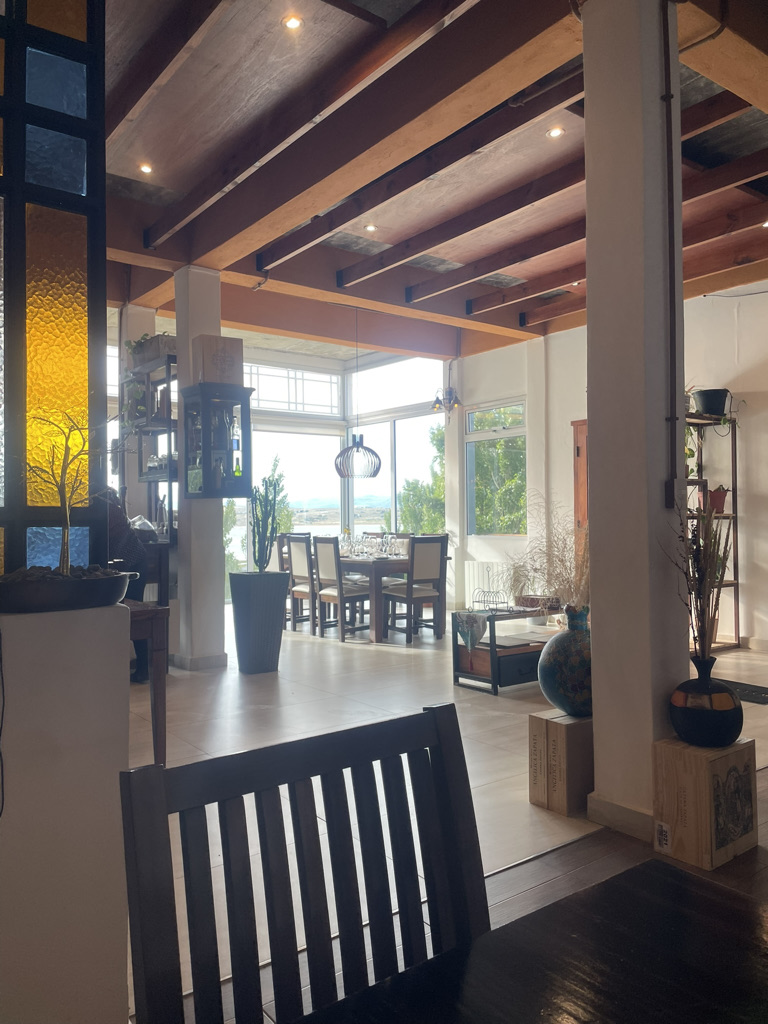
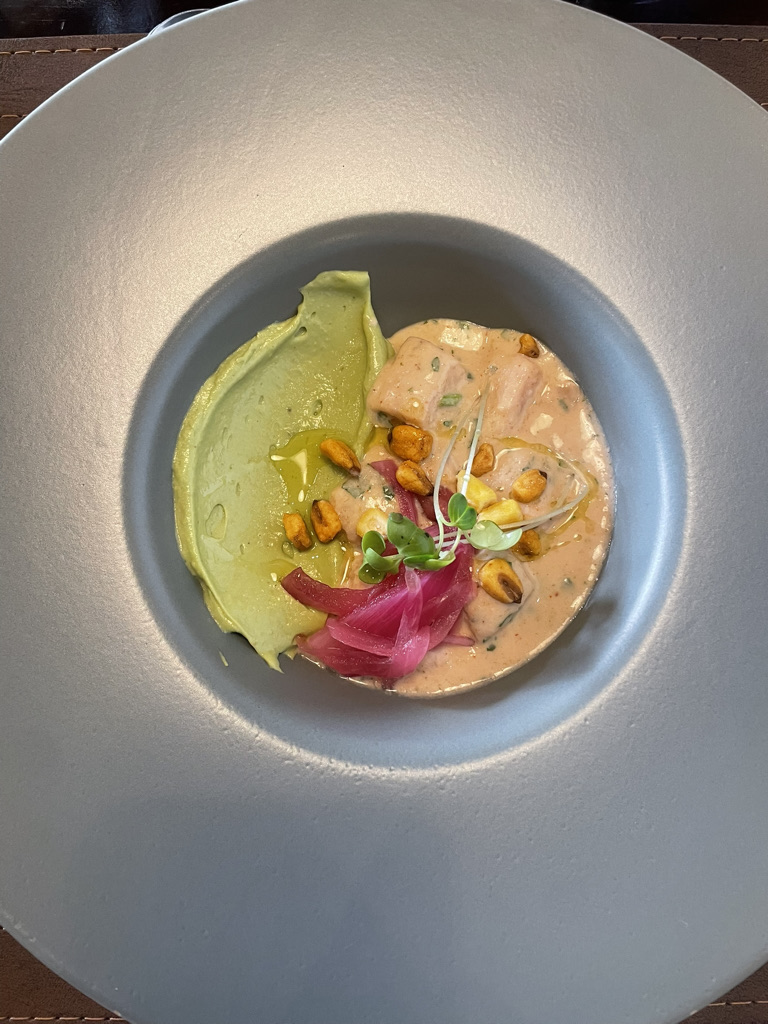
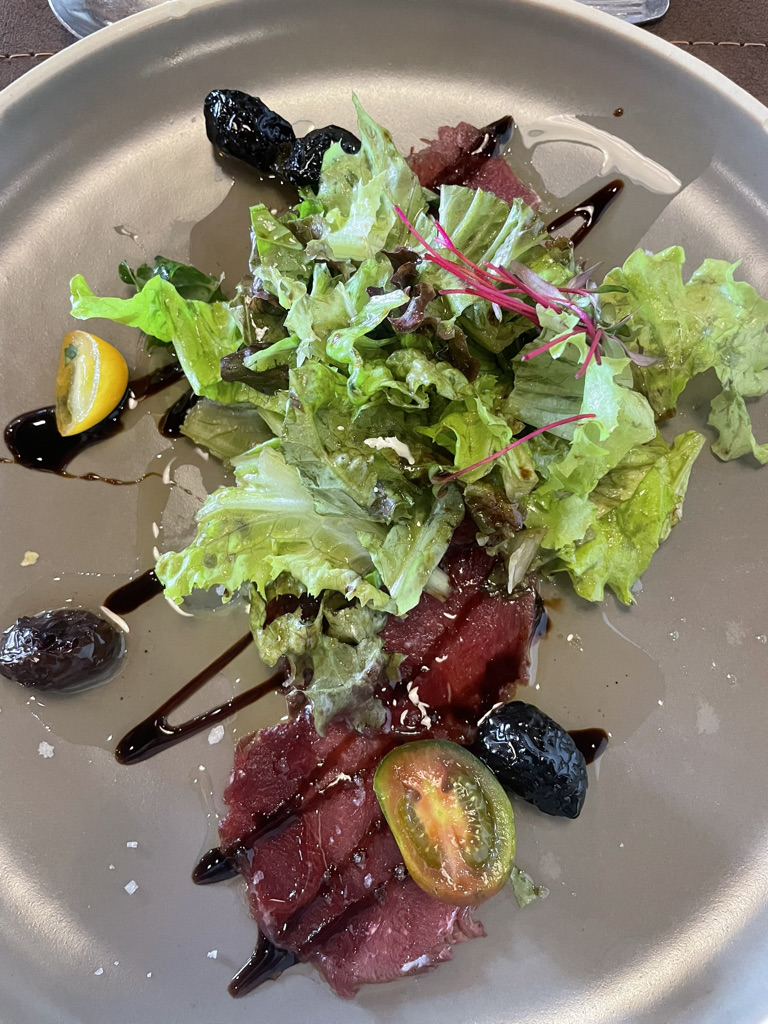
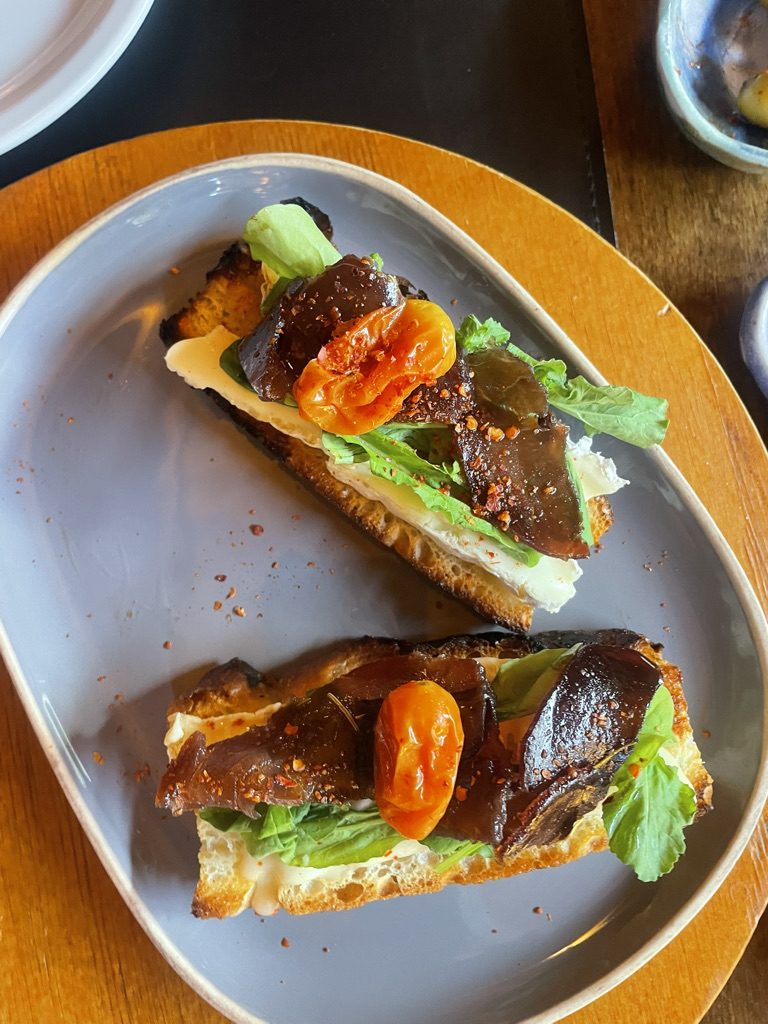
Then, we had an AMAZING dinner that you have to book! We ate at Volpi Bistro Chef’s House at 7 PM. This restaurant is located in a house, which is such a cozy, intimate experience. The staff are incredibly welcoming and really make you feel at home. Plus, the food is SO good! It is a multi-course meal (we chose the 5-courses which I would recommend). I’ll let the pictures speak for themselves!

Note: We also had our accommodation in El Calafate do laundry for us, which I would hightly recomend at this point in your trip!
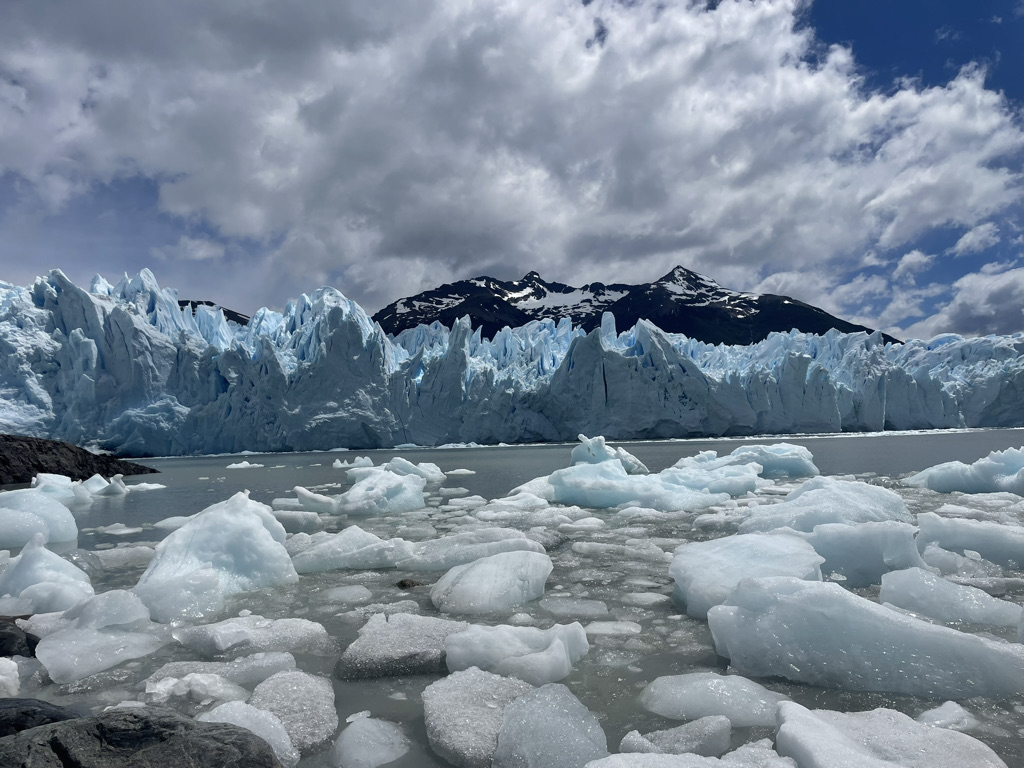
Day 6: El Calafate: Perito Moreno Glacier (Ice Trekking!)
One of the most unique experiences of the trip was ice trekking on Perito Moreno Glacier! We booked an 11:15 AM Minitrekking tour, which included a scenic boat ride to the glacier, learning about the glacier, strapping on crampons, walking directly on the ice, and finishing with drinking fresh glacier water (or glacier ice cubes with whiskey!).
WOW! That’s what I have to say about this glacier. I was not sure if it was going to be worth spending extra time in El Calafate, but Perito Moreno Glacier is honestly spectacular! It is truly unfathomable how something like that exists and how cool nature is. I honestly could not take my eyes or mind off of it! It is very much worth making this stop in your Patagonia itinerary!

Notes:
- Big Ice vs. Minitrekking: I wanted to book the Big Ice Trekking, which is a longer time walking on the ice (3 hours vs. 1 hour), but it was fully booked. The minitrekking is definitely worth it if you can’t get the big ice!
- Booking: There is only one company that does the tours for Perito Moreno Glacier, so book here. Otherwise, third parties like GetYourGuide or Viator also sell the tours, but they are all with the one provider, Hielo & Aventura.
- Transportation: Most bookings include transportation from your accommodation in El Calafate to Perito Moreno Glacier; however, the only spots they had left did not include transportation. So, we took a taxi (arranged with our accommodation), which took us there and back, which worked out just fine!
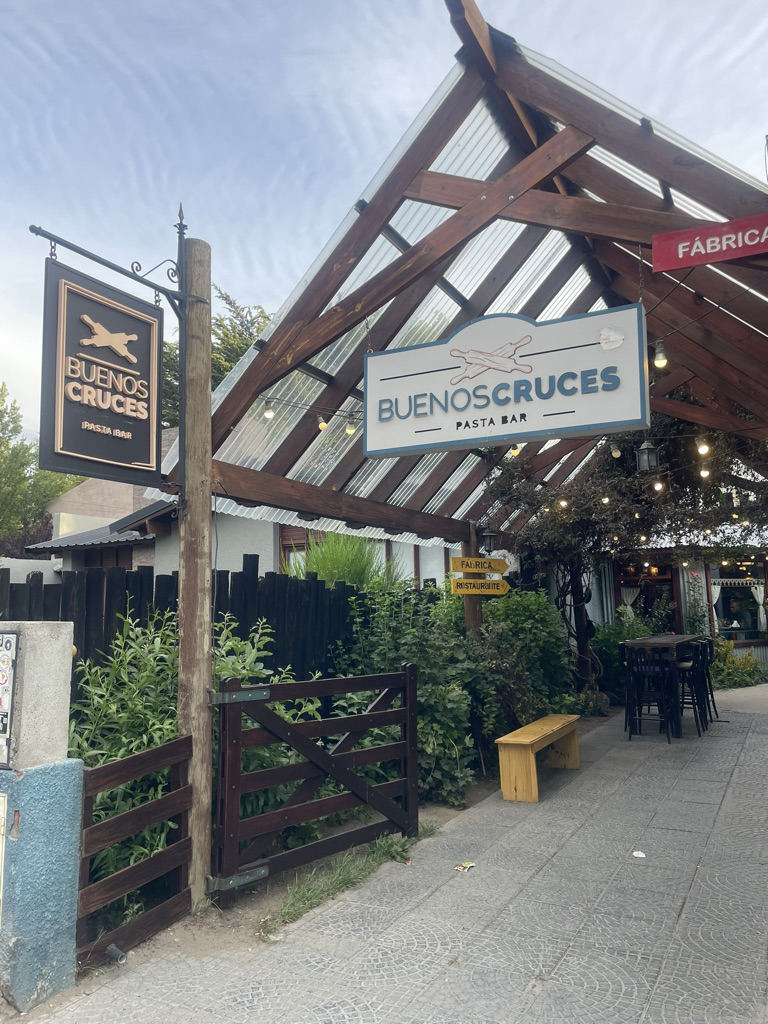
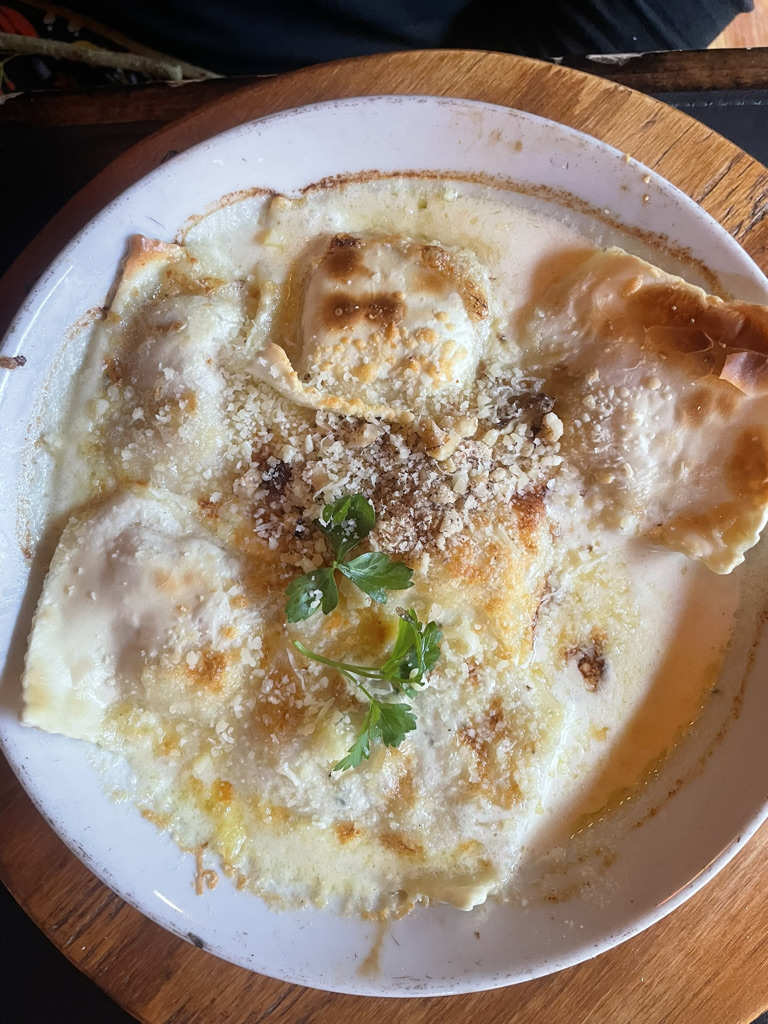
After the glacier tour, we came back to El Calafate and had an amazing pasta dinner at Buenos Cruces Pasta Bar.
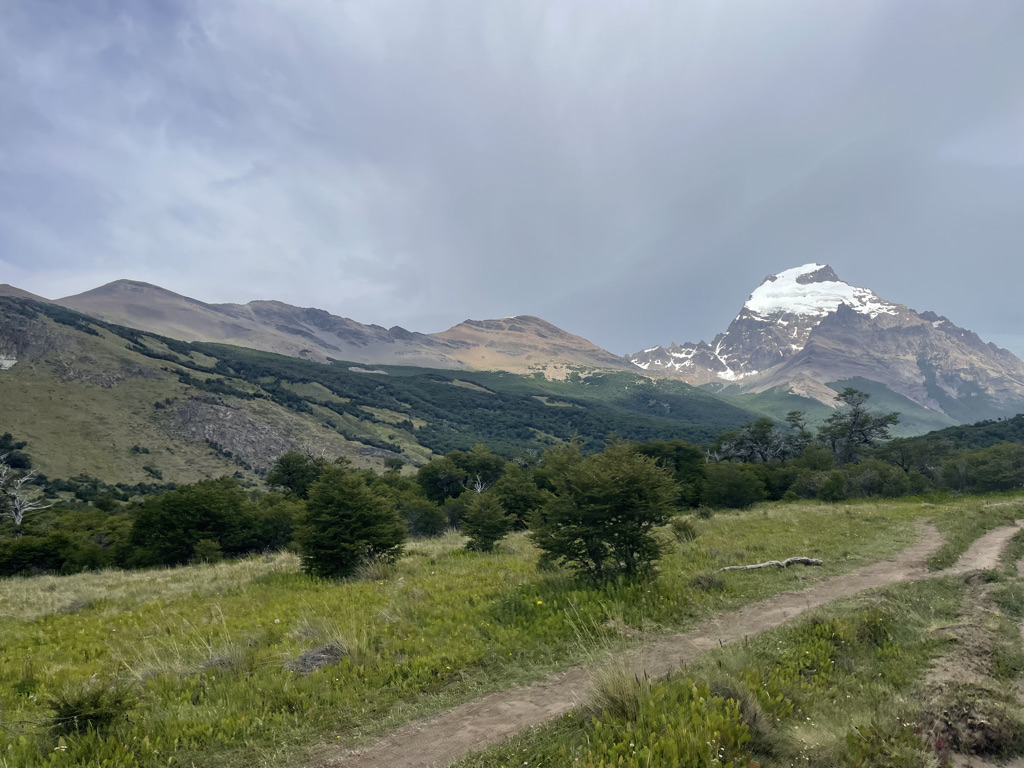
Days 7-9: El Chaltén (Argentina’s Hiking Capital)
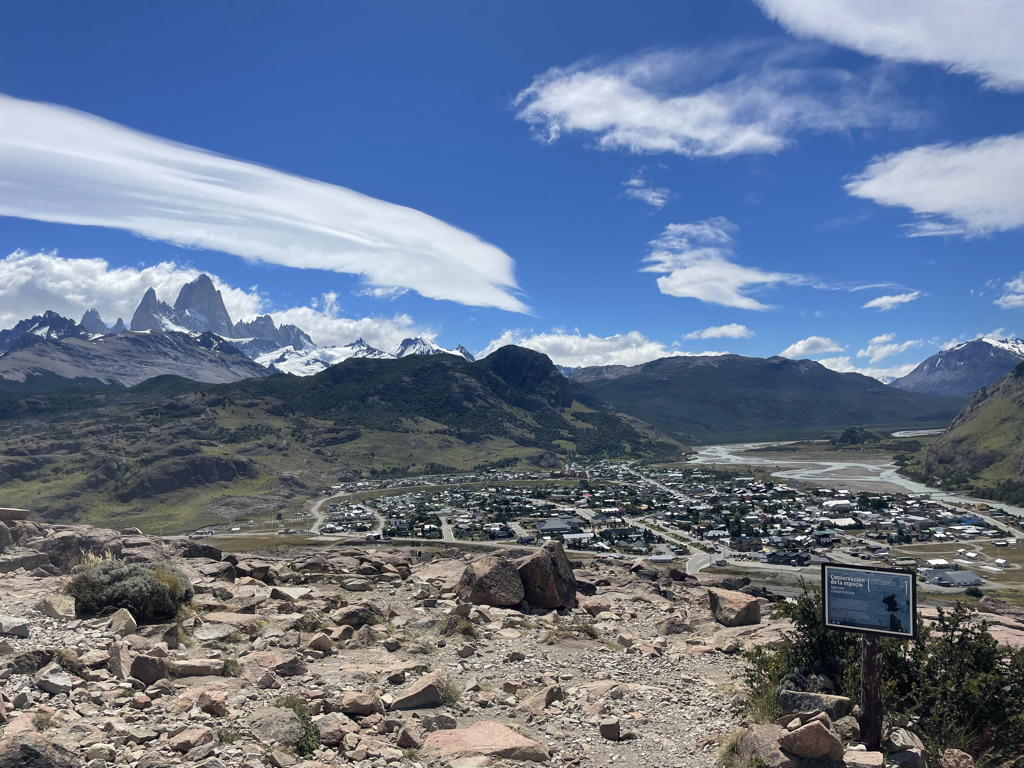
El Chaltén is small, cozy, and completely centered around hiking, which I loved! The trails are accessible by walking from town, which means the mountains are right there! Immediately upon arriving, I knew I would love it here!
Day 7: Arrive + Explore El Chaltén
I took the 8:00 AM bus from El Calafate to El Chaltén on Chaltén Travel and arrived at 10:40 AM. I checked into my accommodation, Hosteria El Puma,
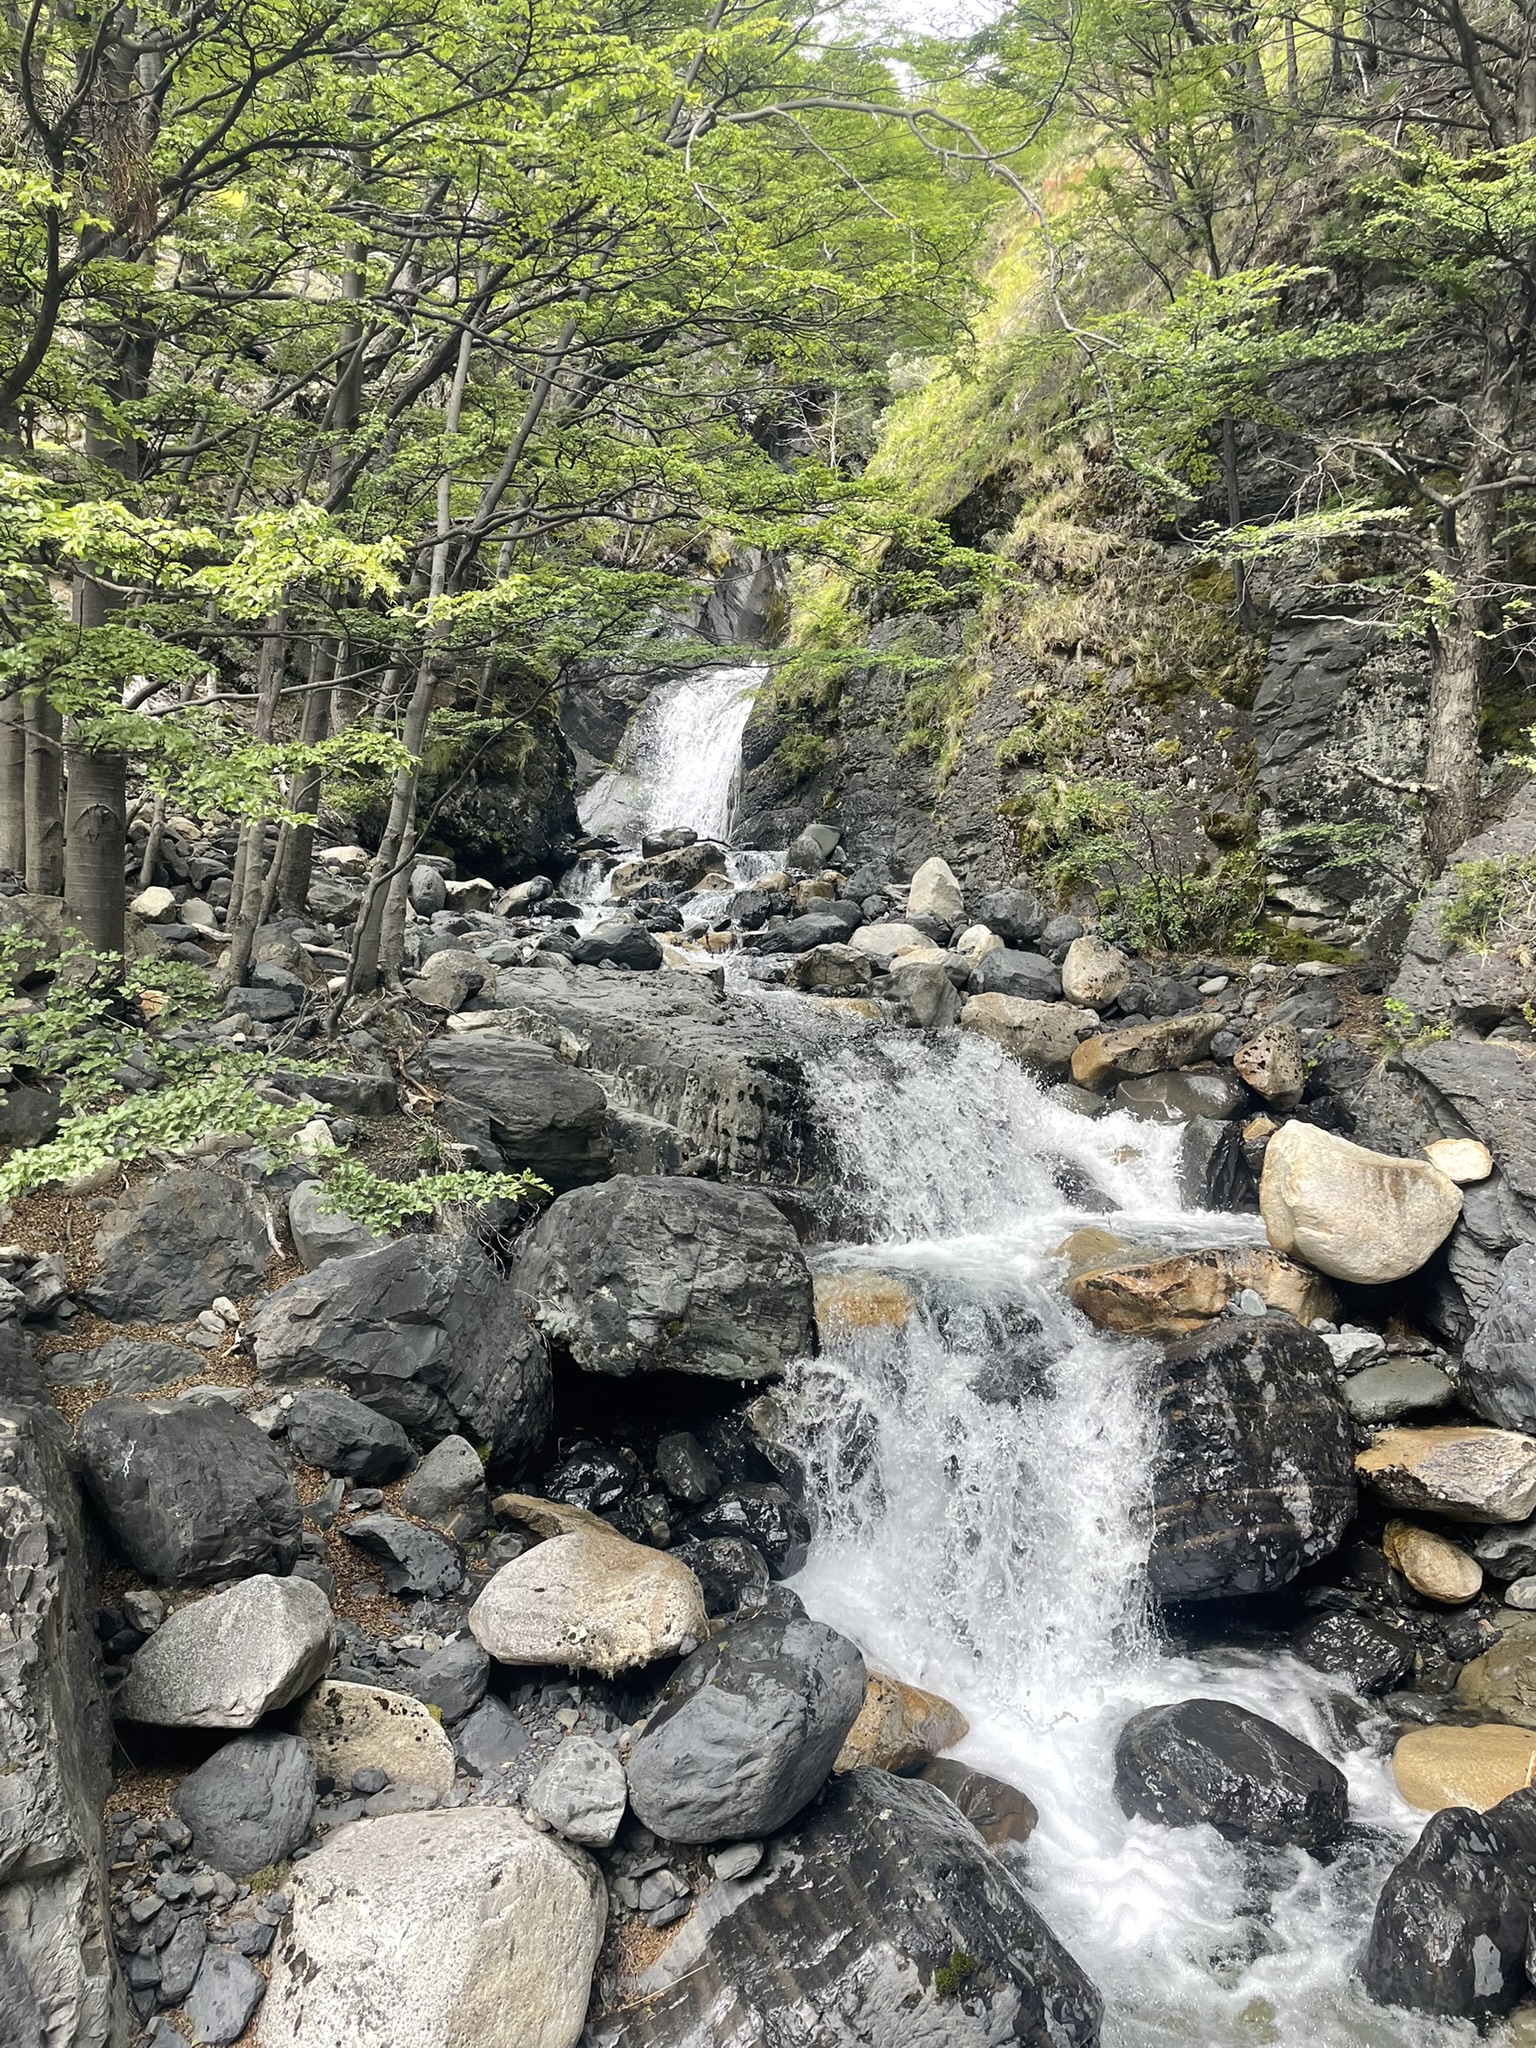
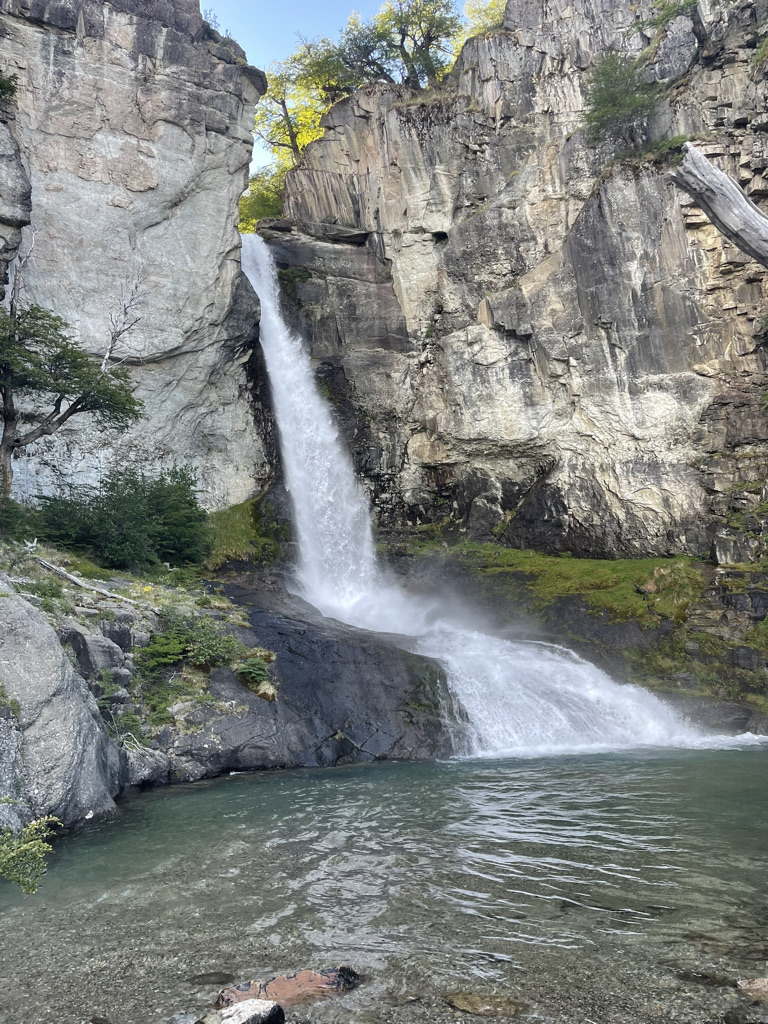
The original goal was to just explore the town, so we had sandwiches at La Lomiteria, and then we ended up feeling like doing something more (I told you I thrive on busy trips!), so we did two smaller hikes: Los Condores Lookout and Chorrillo del Salto. Both were great if you are looking for shorter hikes to either viewpoints over the city (Los Condores Lookout) or a peaceful waterfall (Chorrillo del Salto).
After that, we had dinner at the restaurant at our accommodation, Hosteria El Puma, which was really great and I would recommend it.
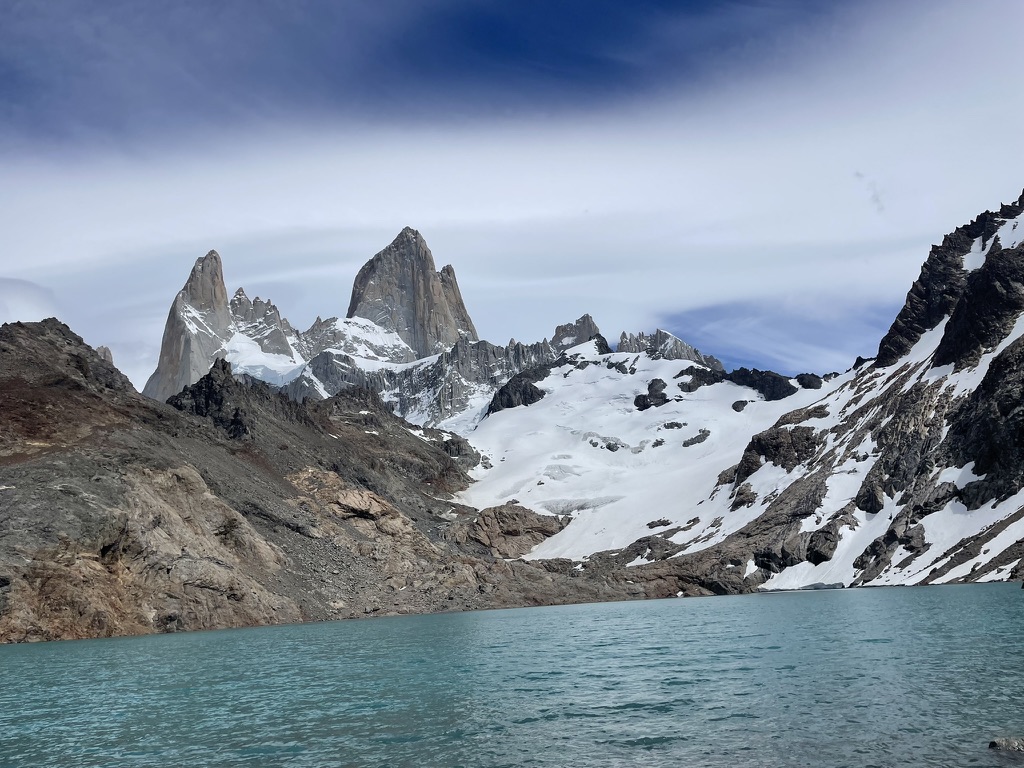
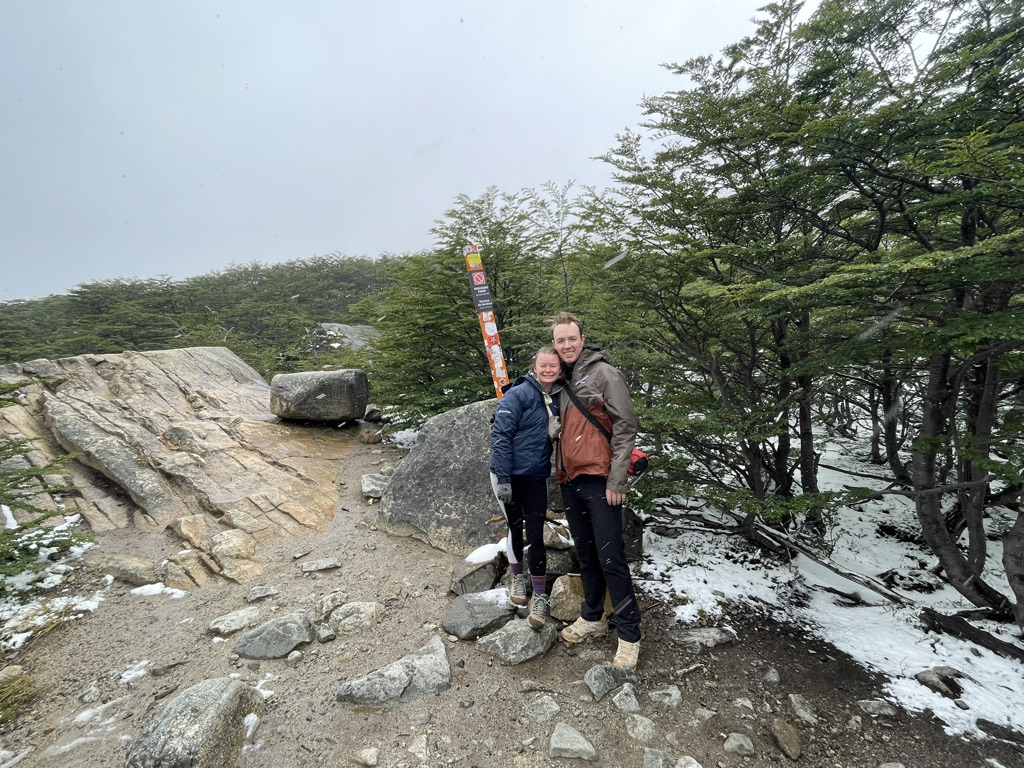
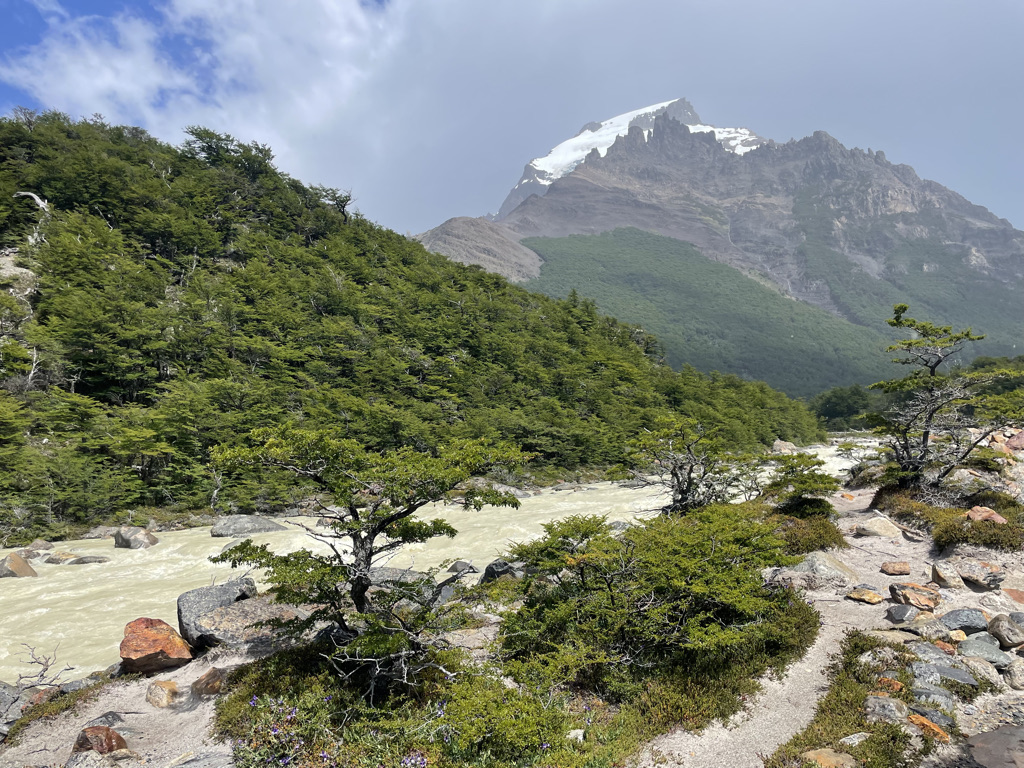
Day 8: Laguna de los Tres
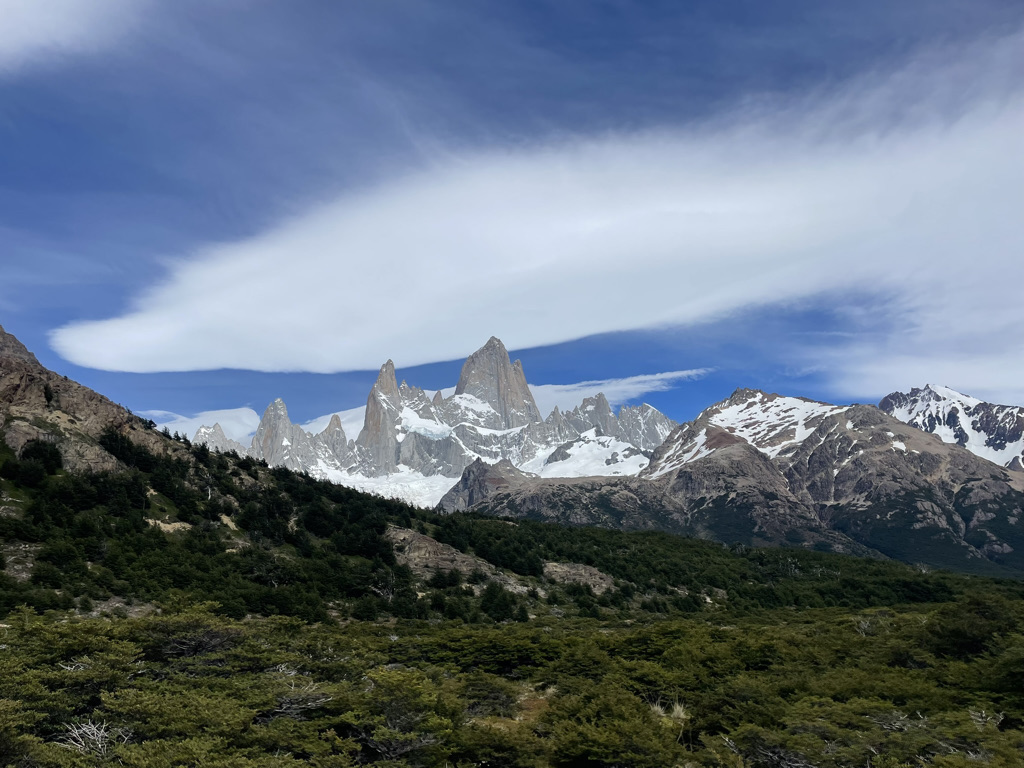
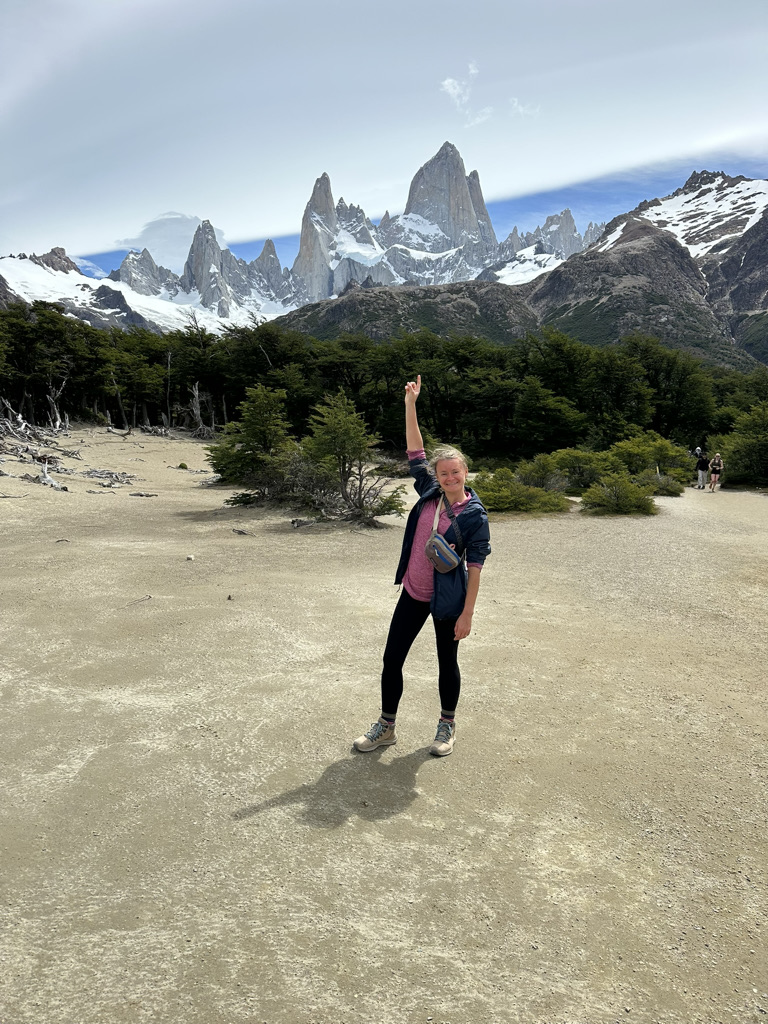
Hiking the Laguna de los Tres trail with the breathtaking views of Fitz Roy was the highlight of this leg of our trip. We got lucky with perfect weather: sunny, warm, and just a hint of wind. If you have good visibility, this hike is absolutely worth it!
It is a challenging trek, mostly because of its length. The trail starts with a steep ascent, then levels out for most of the route before the final mile, which climbs straight up to the spectacular viewpoint you came for. And wow! It did not disappoint. Make sure to take the extra detour down to the water and then up to the left for an even more secluded and stunning perspective of even bluer water!
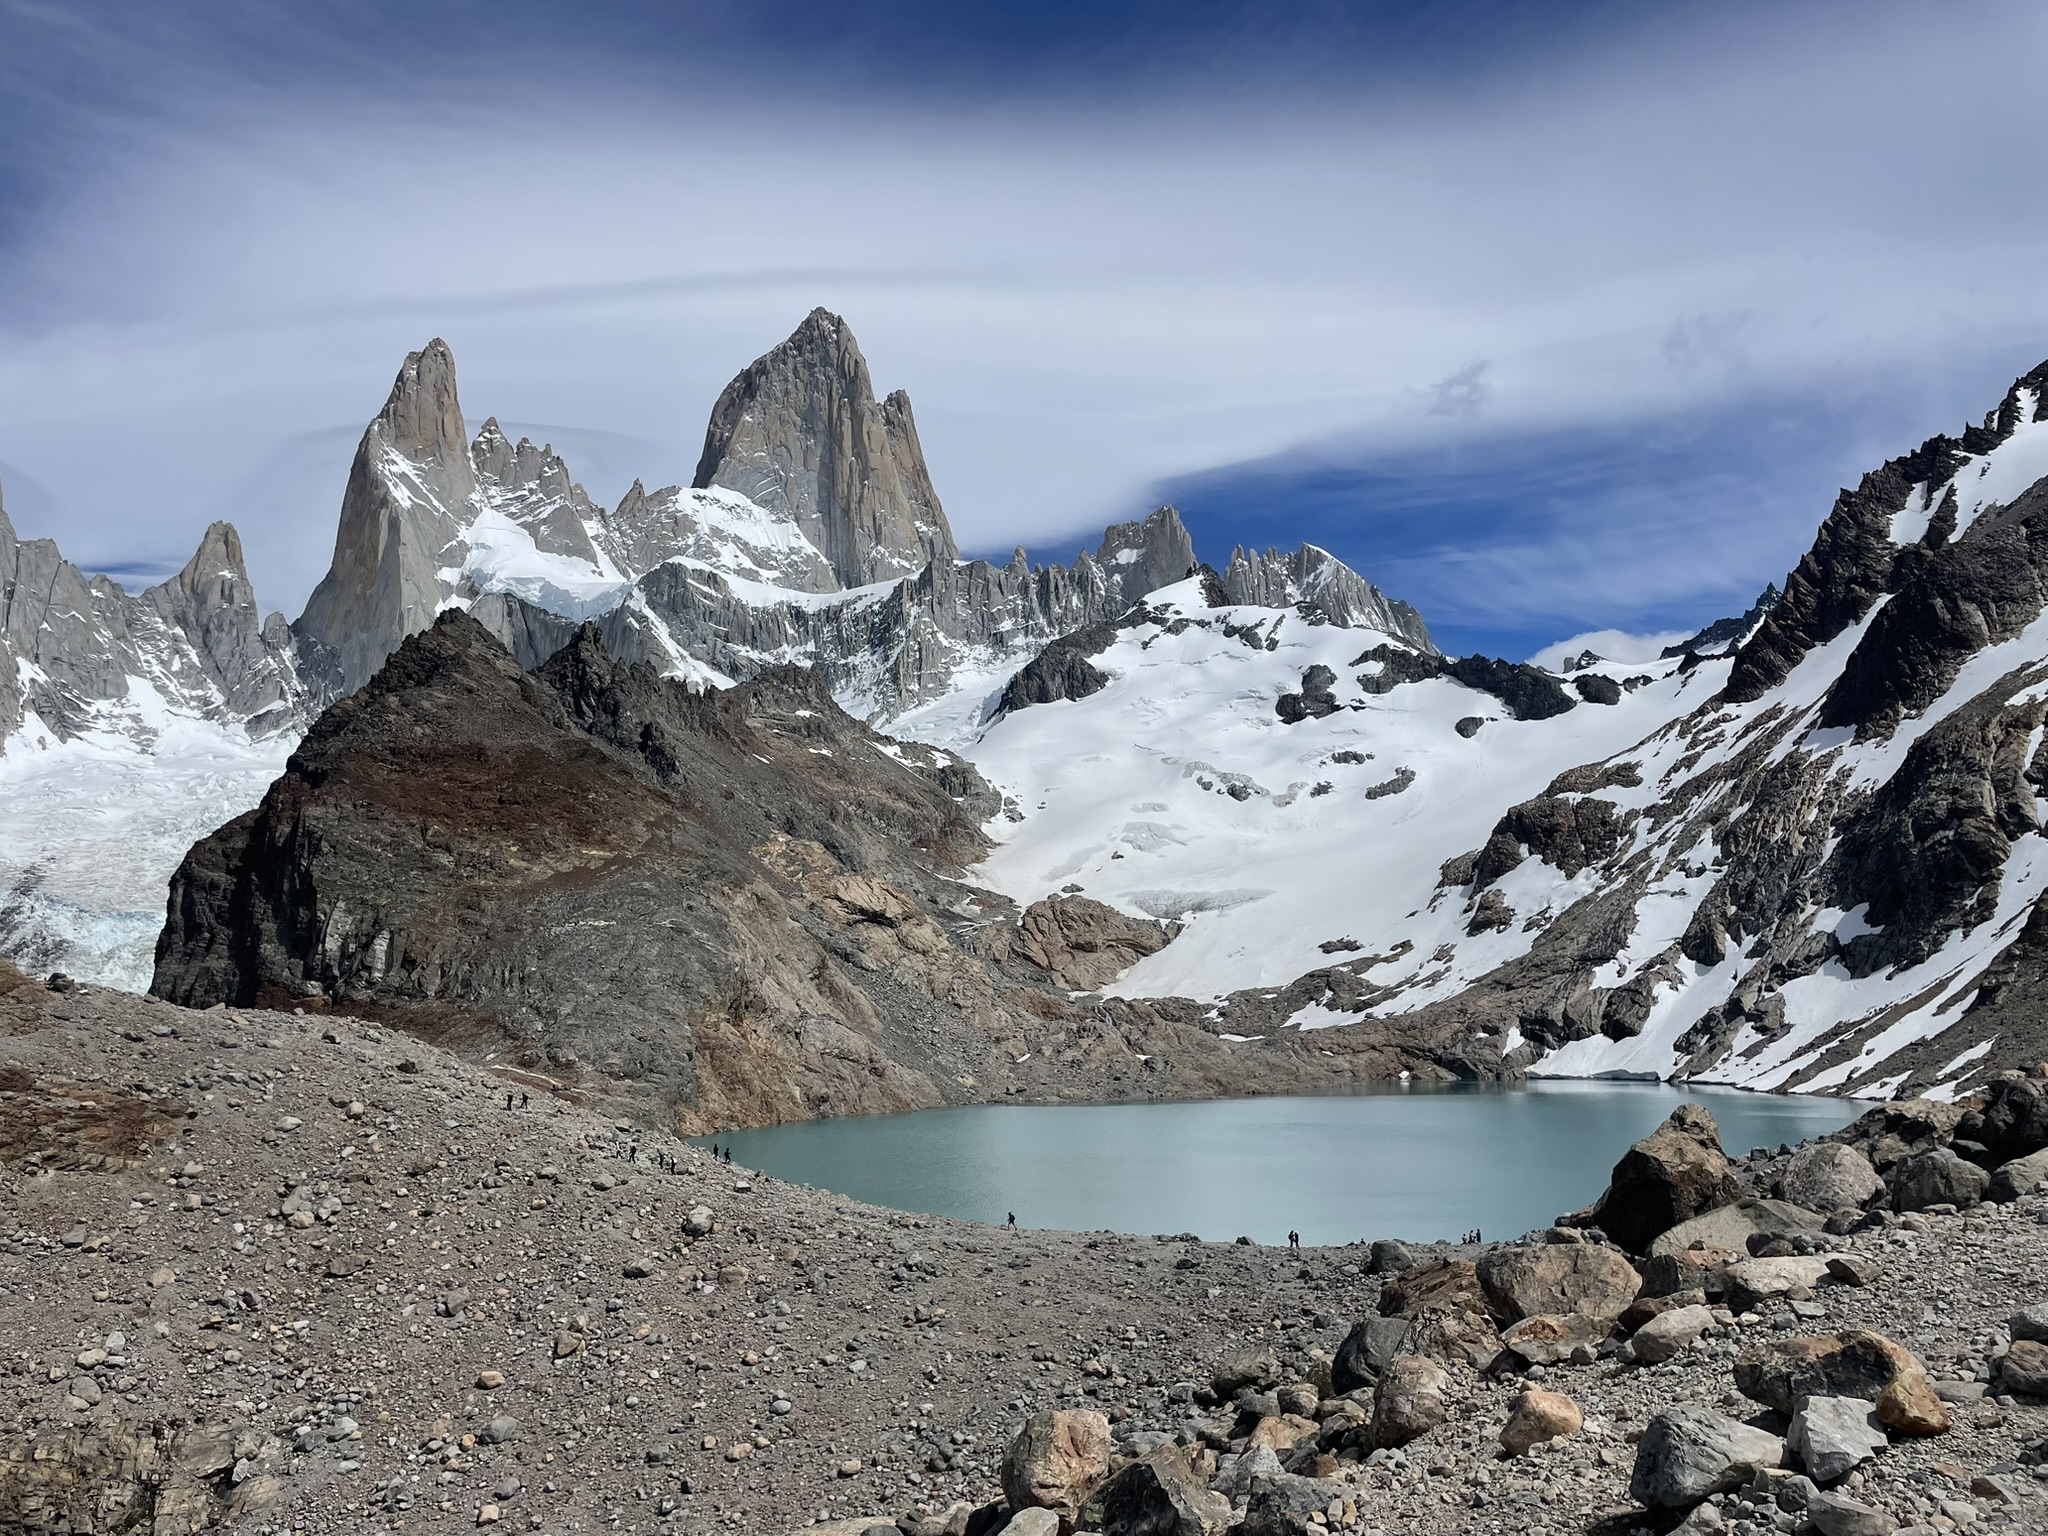
Keep in mind, this is a popular hike. You will likely encounter slower groups and a bit of trail congestion, so patience is key. But once you reach the lagoon, you can soak in the serene water and jaw-dropping views peacefully.
What I wore: Hiking boots, hiking socks, leggings, and a long-sleeve Nike quarter-zip. I brought my Columbia rain jacket and gloves, but I only really needed them at the viewpoint where it gets windier.
Mileage: ~15.84 miles and ~5,143 feet of elevation gain (Apple Watch)
After the hike, our feet were dying, but we decided to make a pit stop at La Cervecería Chaltén right after for food and a well-deserved beer. The vibes here are really good, and the Stew is amazing!

Then, I showered and was excited to lie horizontally in my bed, which was much needed for my legs.
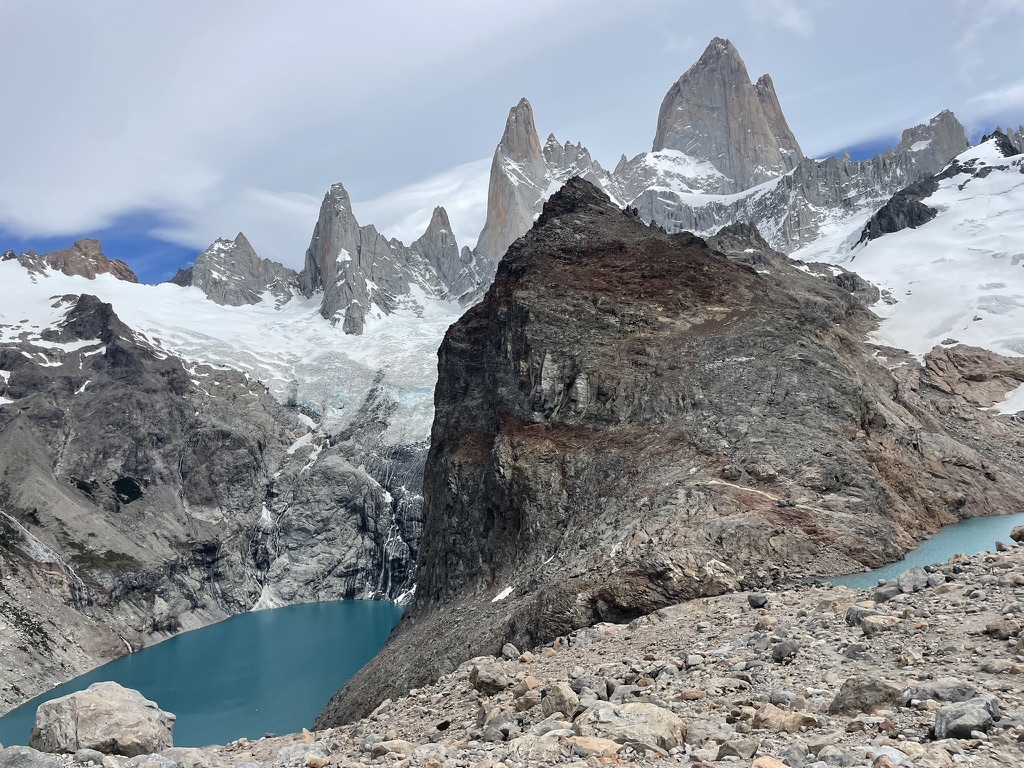
Day 9: Laguna Torre
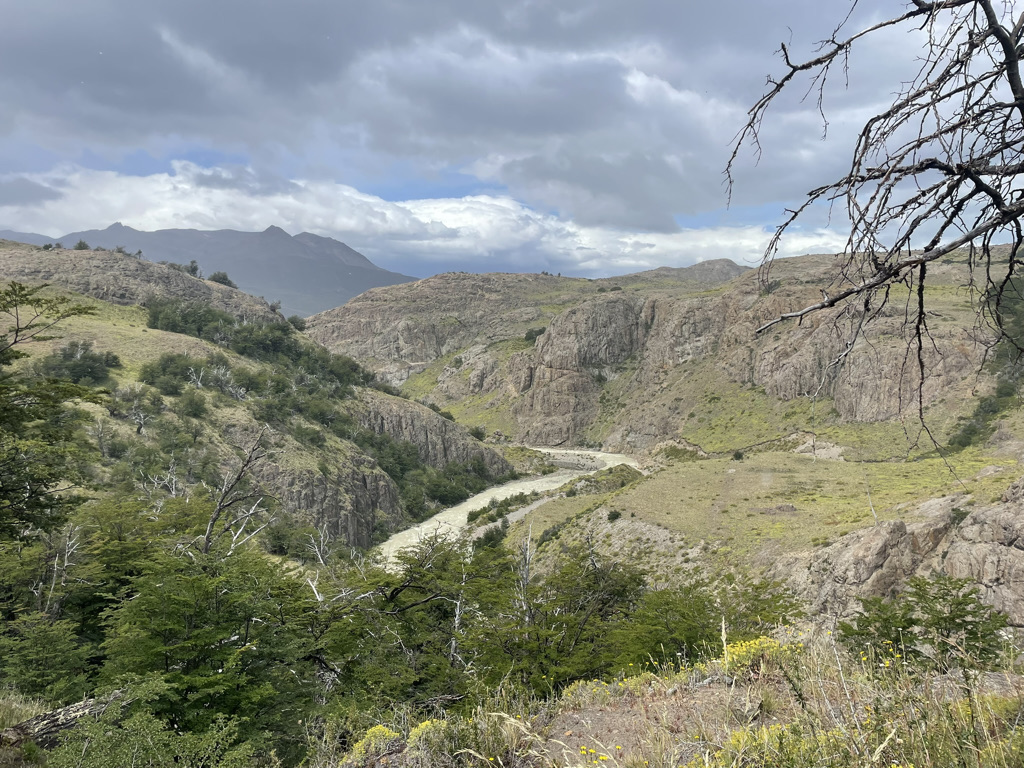
I am not going to lie, there was a slight thought in my head of not doing another big hike today with the amount we had been hiking on this trip. But I decided to push through to do the Laguna Torre Hike!
The trail starts with a steep climb, but then levels out for the remainder of the hike, without the final climb you get at Laguna de los Tres. It is still a long trek, but much easier overall.
The weather was not on our side this day, and visibility was limited. We reached the endpoint but couldn’t see all of the towers. While that was a bit disappointing, I was so grateful we had done Laguna de los Tres the day before under perfect conditions. I approached this hike more as a “bonus adventure,” and it was still enjoyable as the scenery along the trail makes it worth the effort.
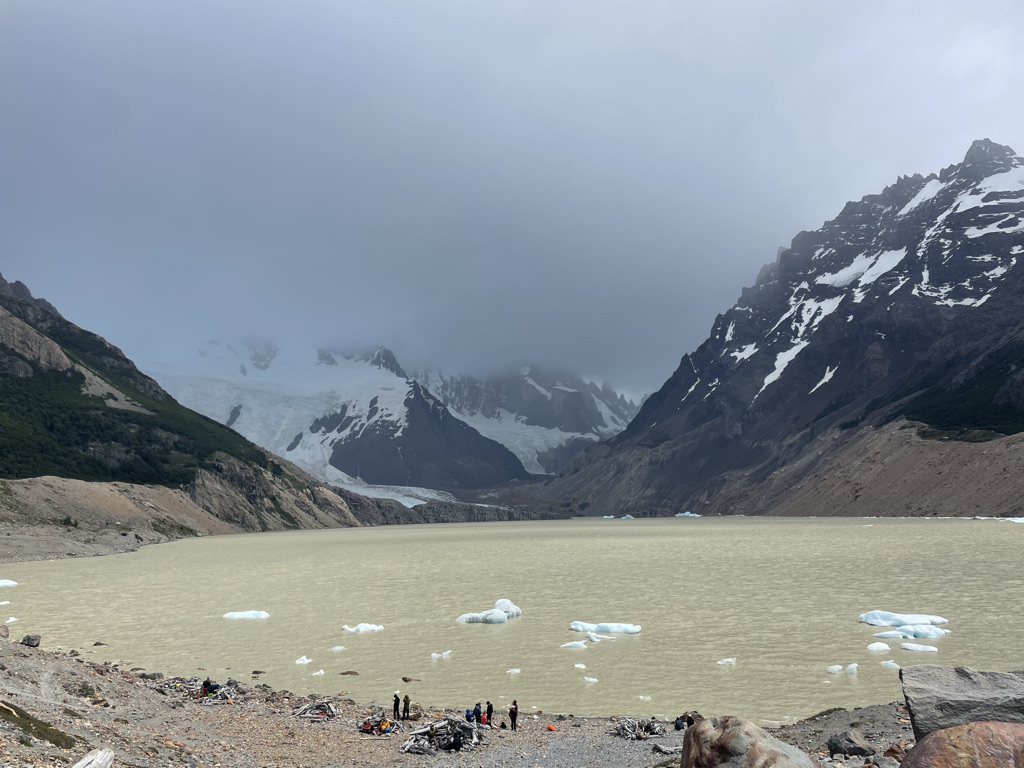
A word of advice: If seeing the towers clearly is important to you, plan this hike for a clear day. Otherwise, it is still a pleasant hike with beautiful surroundings, just without the dramatic finale.
Mileage: ~11.37 miles and ~2,331 feet of elevation gain (Apple Watch)
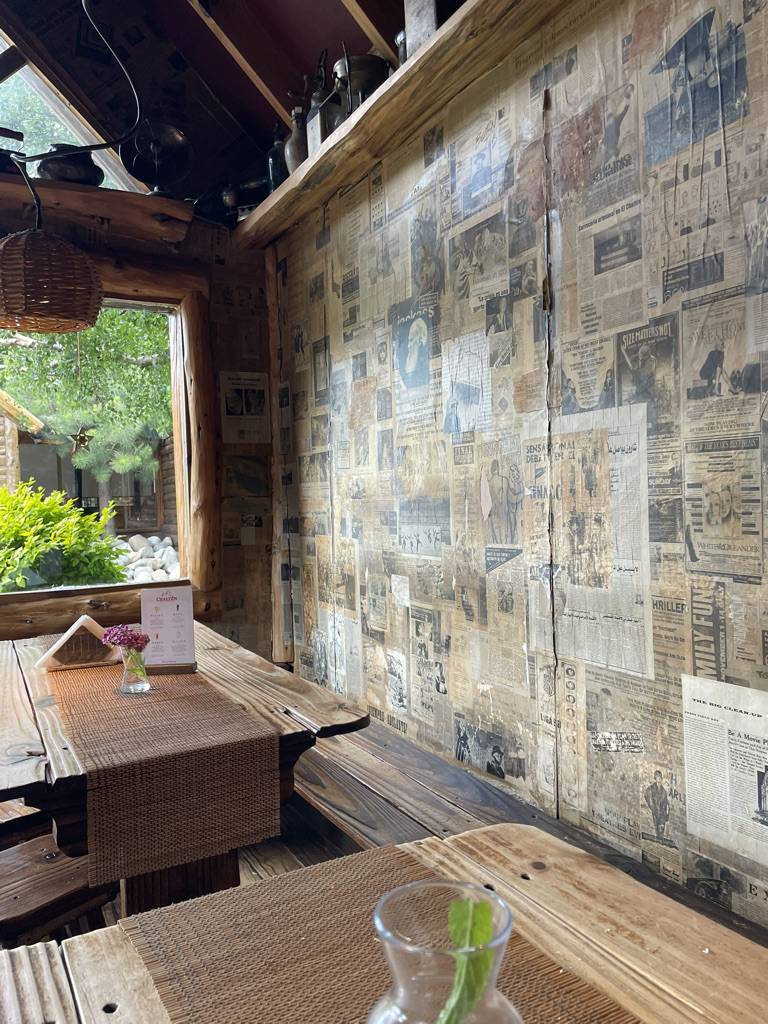
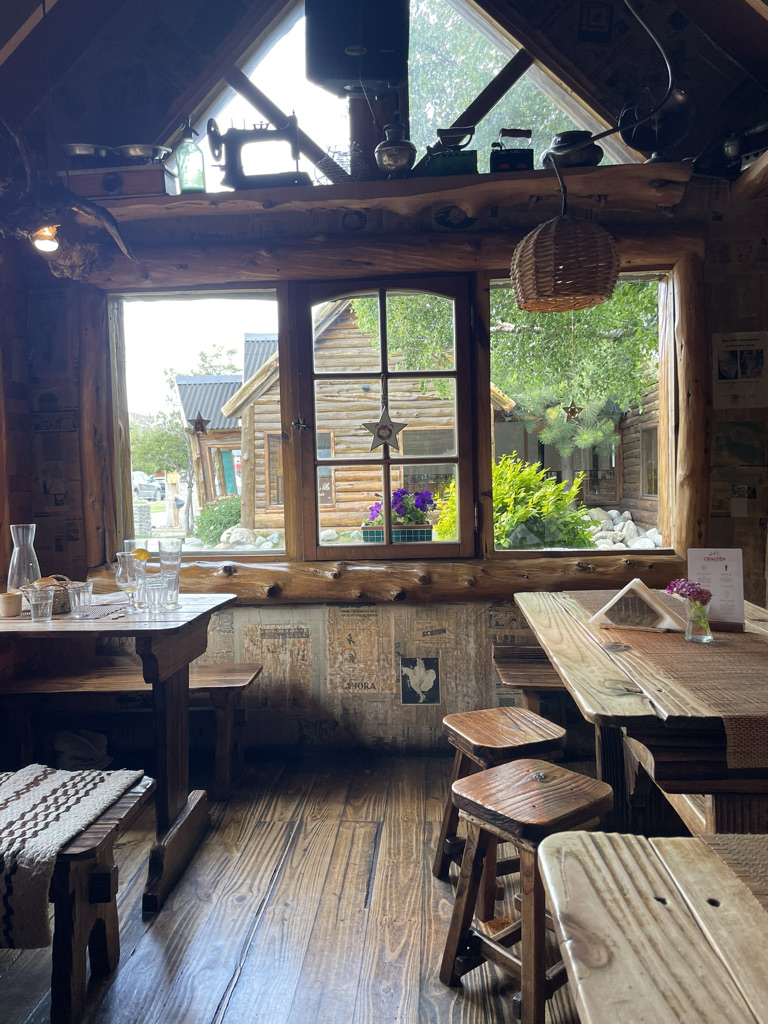
After the hike, we went to a cute coffee shop inside a hotel called Kaulem Café. It was the perfect stop right after the hike to grab a refreshing mint lemonade or a latte with a sandwich.
That evening, I took the 6:00 PM Chaltén Travel bus back to El Calfate and arrived at 8:40 PM. I checked back into my accommodation, Mabra Suites, before heading to the El Calafate airport the following morning for my 8:20 AM flight to Buenos Aires.
Day 10-11: Buenos Aires
I spent the two remaining days I had on my trip in Buenos Aires before I flew back home; I won’t get into that in this Patagonia Itinerary, but a blog post for it will be coming soon!
Final Thoughts
This itinerary is full but intentional. It allowed me to:
- Do most of the W Trek
- Experience both the Chile and Argentina sides of Patagonia
- Hit the most iconic hikes and landscapes
If you are trying to decide:
- Less time? Pick Chile or Argentina
- Same amount of time? This itinerary works perfectly
- More time? Add rest days/weather buffers or Barlioche
Patagonia Tips
Be Prepared For The Weather: Patagonia’s weather is extremely unpredictable. Sunshine, wind, and rain can all happen in a single day. Be ready to adjust your plans for the hikes, and pack plenty of layers to stay comfortable through it all. Base layers, a warm mid-layer, gloves, and a waterproof jacket are essential.
Plan for Early Starts: Many of your hikes are full-day treks. Start early to make the most of the daylight and enjoy the views with fewer crowds.
Cash and Connectivity: Most places take credit cards, but it is always good to have local currency on hand. ATMs can be limited in small towns like El Chaltén, so carry enough pesos for meals and small purchases. Cell service is spotty, especially on the trails, so download offline maps in advance.
Try Local Cuisine: Try cordero patagónico (slow-roasted Patagonian lamb), empanadas, and trucha (local trout). In El Calafate, have a scoop of Calafate berry ice cream, and pair your meals with a glass of Malbec.
Respect Nature: Stick to marked trails, carry out all trash, and avoid disturbing wildlife. We want to help keep this incredible region beautiful!
Book Everything In Advance: This is a trip that requires a ton of logistics and bookings. Things get busy in the peak season of Patagonia, so make sure to book everything beforehand so you don’t have to stress about booking anything while on the trip.
Have Documents Easily Accessible: Print or screenshot digital copies in a separate album on your phone of your itinerary, tickets, and important documents to have handy throughout the trip.
Stay Hydrated and Healthy: Keep hydrated, always carrying enough water, snacks, and having electrolytes on hand during your long hikes.
Savor Every Moment: Take time to enjoy the unique flavors and sights Patagonia has to offer!
Booking Checklist
Transporation
- Bus to/from Puerto Natales to Torres del Paine
- Shuttle from Torres del Paine to Central
- Boat from Paine Grande to Pudeto
- Bus from Puerto Natales to El Calafate
- Bus to/from El Calafate to El Chaltén
Accommodation
- Puerto Natales
- Torres del Paine Refugios
- El Calafate
- El Chaltén
Activities
- Torres del Paine Entrance Ticket
- Los Glaciares National Park Entrance Ticket
- Perito Moreno Glacier Trekking
Need Help? I’ve Got you!
If you want someone else to handle the research and planning without losing the freedom of independent travel, I would love to design a custom Patagonia itinerary for you, tailored to your timeline, hiking level, and travel style. Just click the link here or send me an email. I would love to help!
Follow for more on social media and email me with any questions!
2 responses to “The Ultimate Patagonia Hiking Itinerary: Torres del Paine W Trek, El Chaltén & Perito Moreno Glacier”
[…] I have a full blog post on how to plan your W-Trek Hike here, so check that out for more details OR I have a complete Pagatonia Hiking Itinerary you can check out here. […]
[…] Laguna de los Tres in El Chaltén was one of the highlights of my Patagonia trip! This iconic trail leads you to epic views of Mount Fitz Roy and stunning turquoise water. It is a […]